At this stage of the project, it was now time to consider the options for printing and presenting the final Body of Work. The intial submission, as confirmed in December 2020 and per the Module Handbook, was to present a physical portfolio of work at the Final Review on 27th January. Unfortunately, with the nationwide lockdown and related restrictions now in place and the university facilities closed, the submission of the final Body of Work would have to be made digitally.
Despite this change of circumstances, I wanted to continue with physicalising my work. This part of the process, when using purely digital means, is just as essential as taking the initial imagery. Also, by doing so, this makes the work more ‘real’ in what is increasingly becoming a virtual existence.
These developments have also resulted in all teaching being online until mid-February at the earliest. This meant the Group Tutorial scheduled for the 20 January, the Final Review on 27 January and the Feedback and Forward Planning Tutorial on 3 February would be conducted via Microsoft Teams.
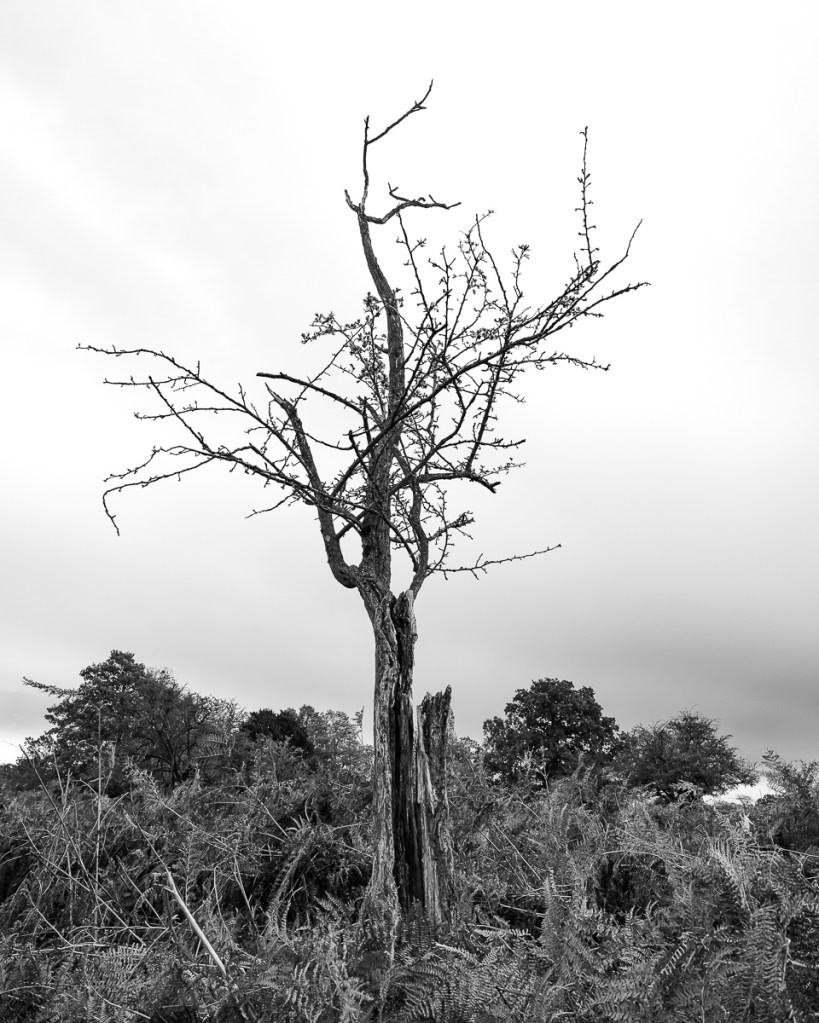
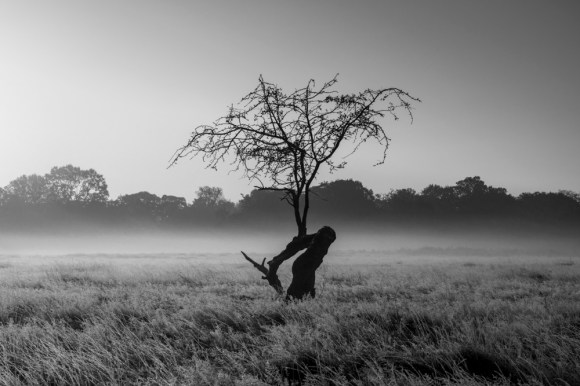
In addition to this change in circumstances, as of 8 January 2021, it has been directed by the School of Media and School of Art at University of Brighton that no off-site working can be undertaken or authorised during this lockdown until further notice. Students have been asked to not draw, film or photograph on location, or work in any other way outside our homes. As such, until the circumstances change I am unable to take further images in Bushy Park. Luckily, I have got to the stage of this project with a cohesive Body of Work, a set of subworks, further experimentation concepts and an extensive collection of tree images that could be utilised for Stage 2 of my Photography Research Project.
Print Decisions
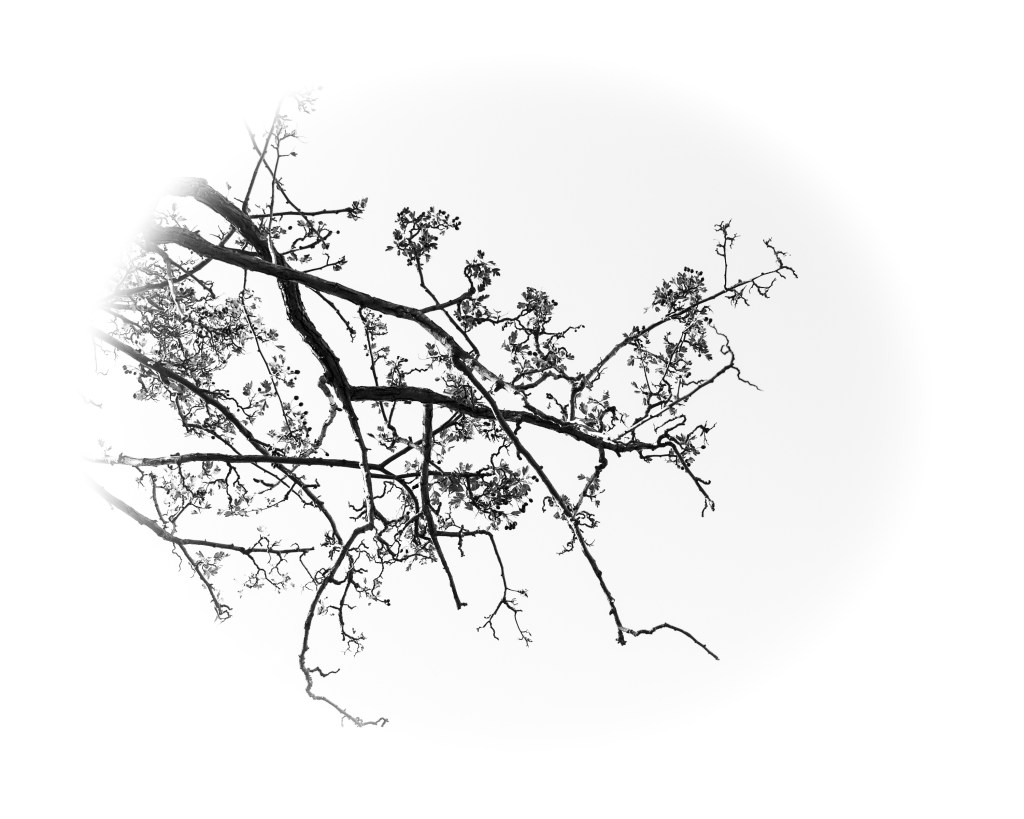
Having produced a test print using Hahnemühle German Etching 310 fine art paper, I knew that this would be my substrate of choice.

So I could affordably test and present the six final selected images printed in this way, I planned to order these at these at 16″ x 8″ on this paper with a 5mm white border. This border helps keep the print in good condition when handling. As the fine art requires the ink to be sprayed onto the paper’s surface (hence the term Giclée – French for spray) it makes the print susceptible to being damaged or smudged.
Also, if a print is framed using a mount it gives a margin of paper. This means the there is less likely to be a gap between the print and edge of the mount.
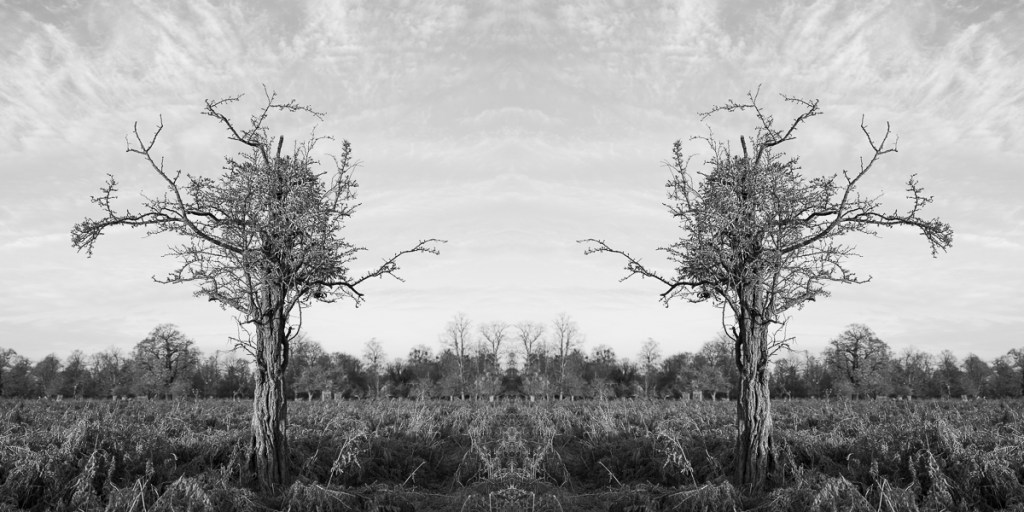
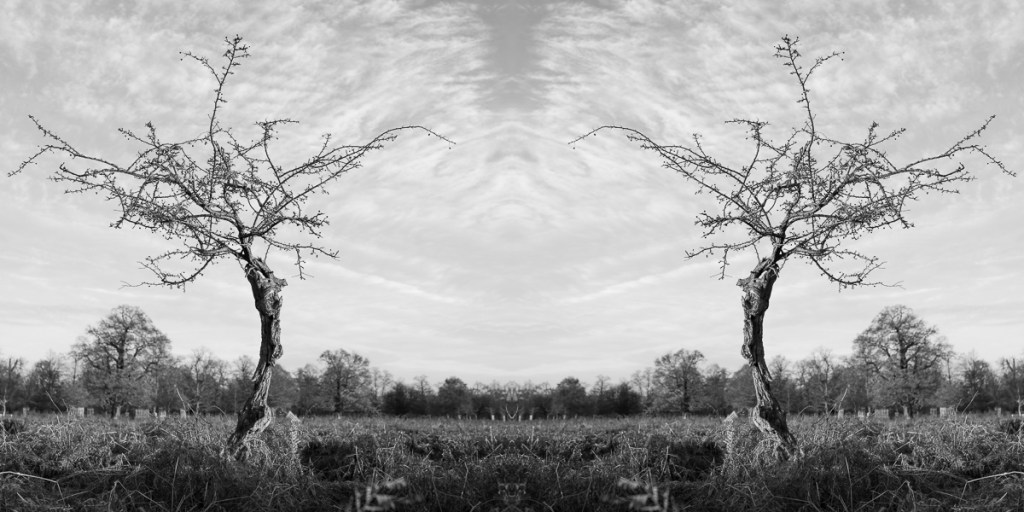
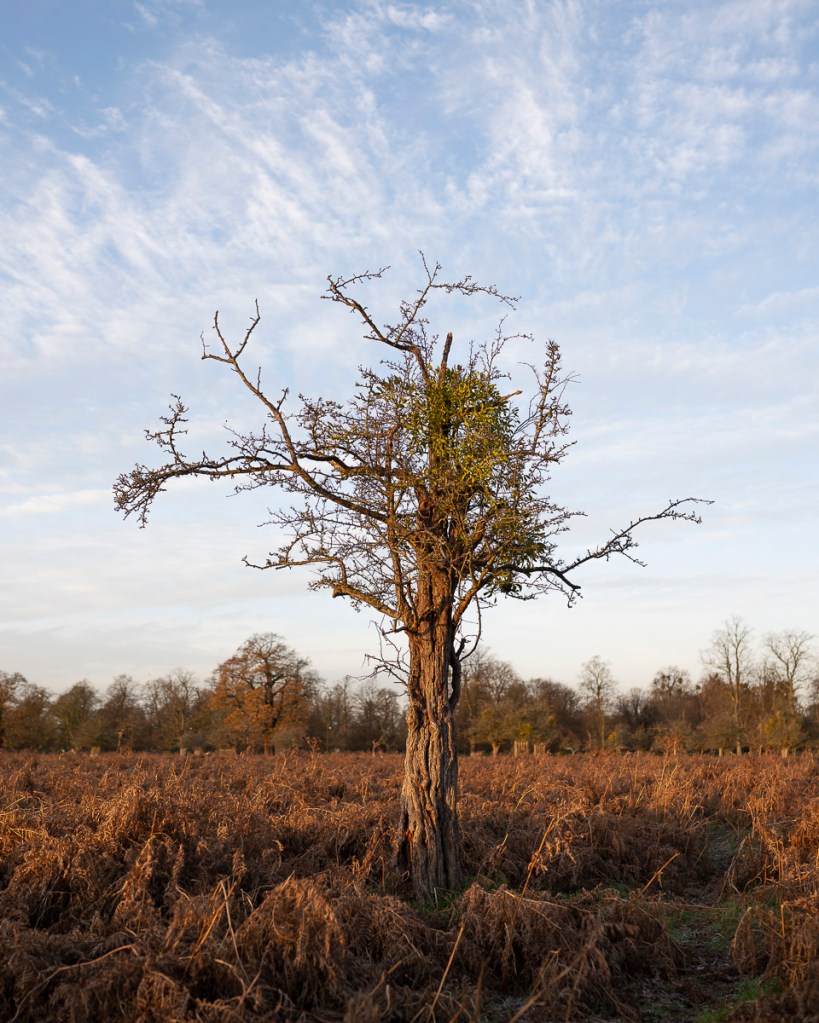
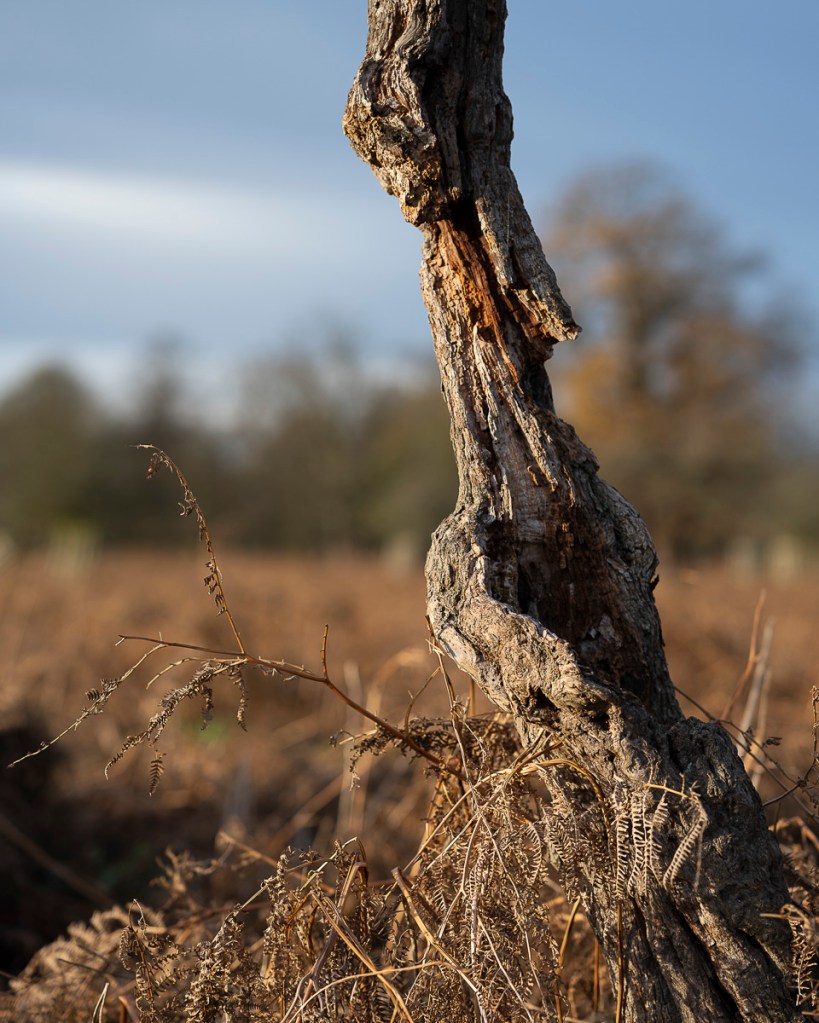
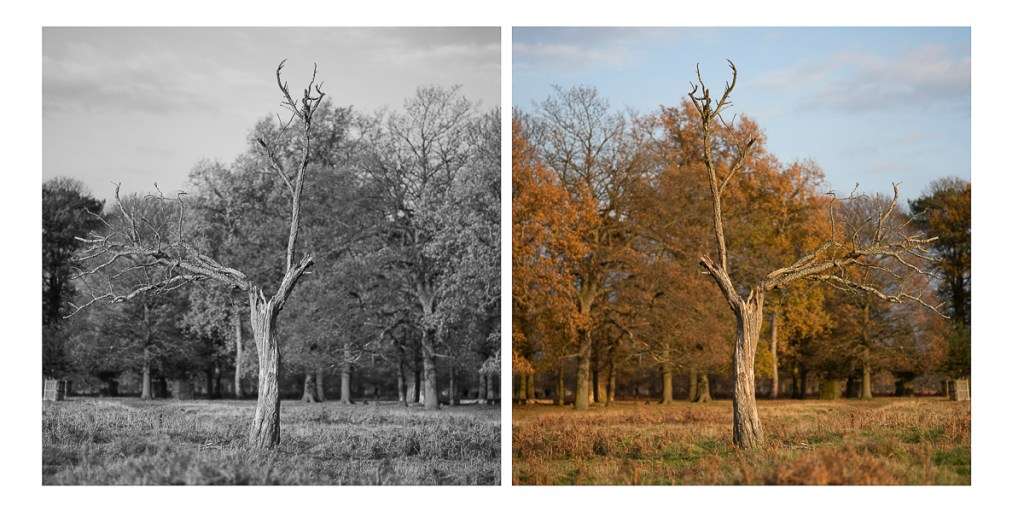
In addition I planned to order a 12″ x 8″ print of this image on the same paper.
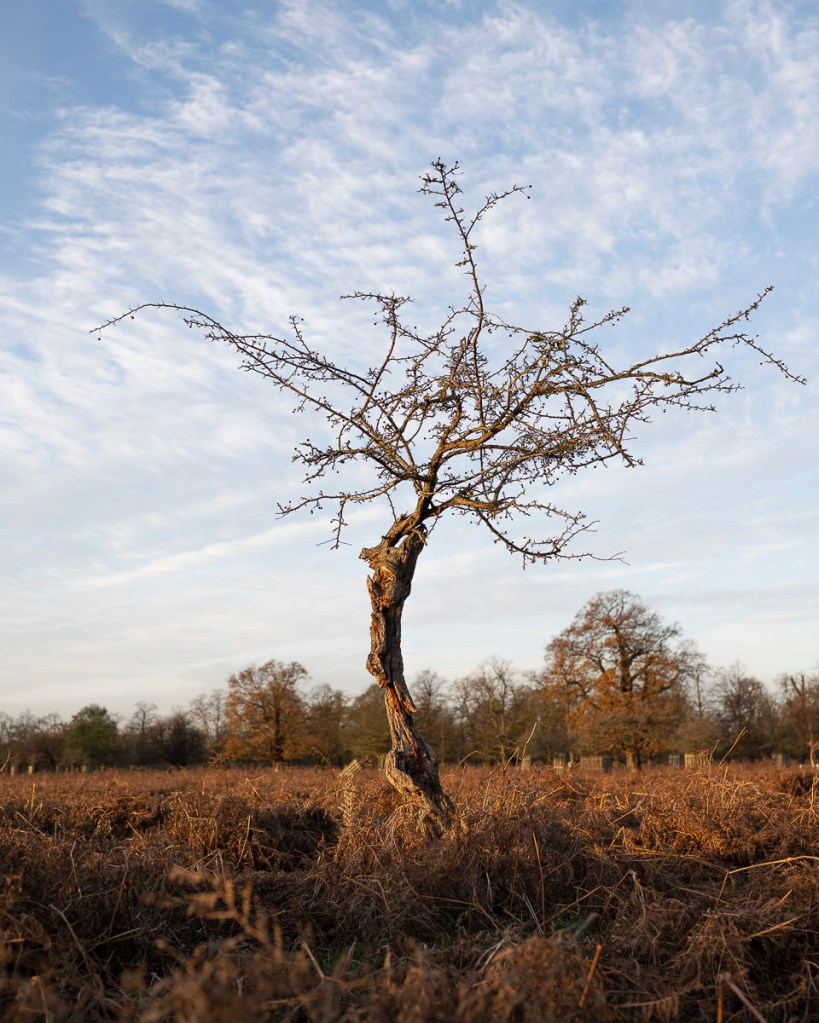
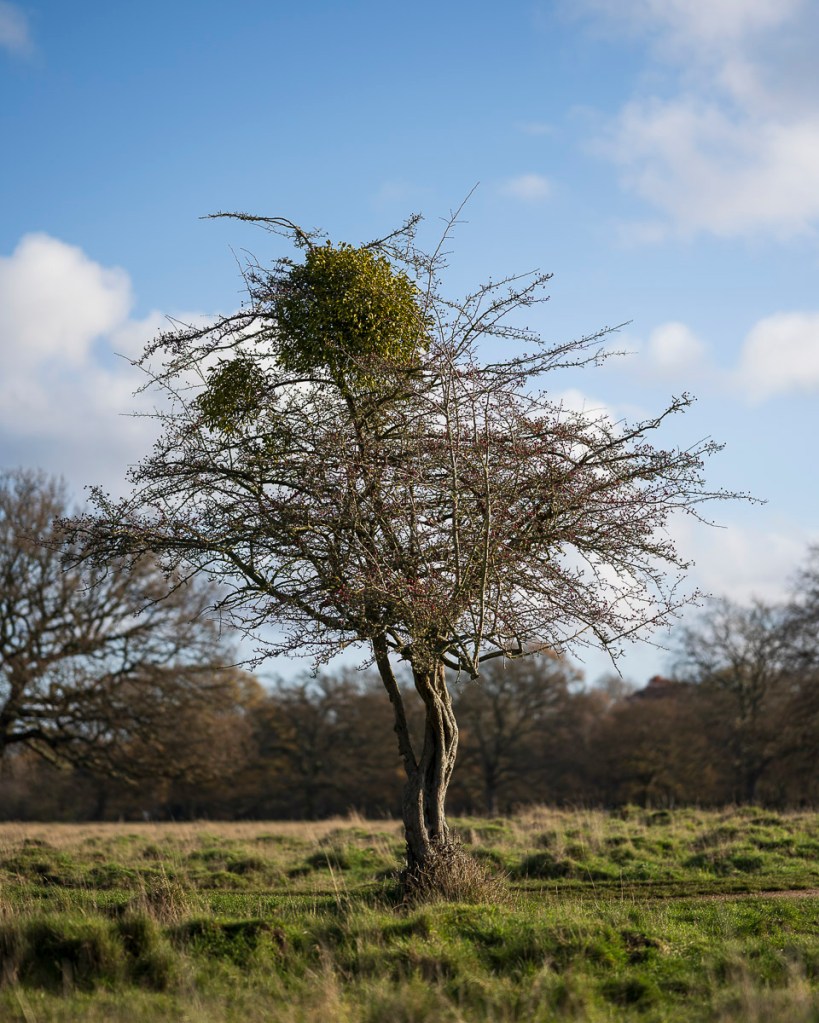
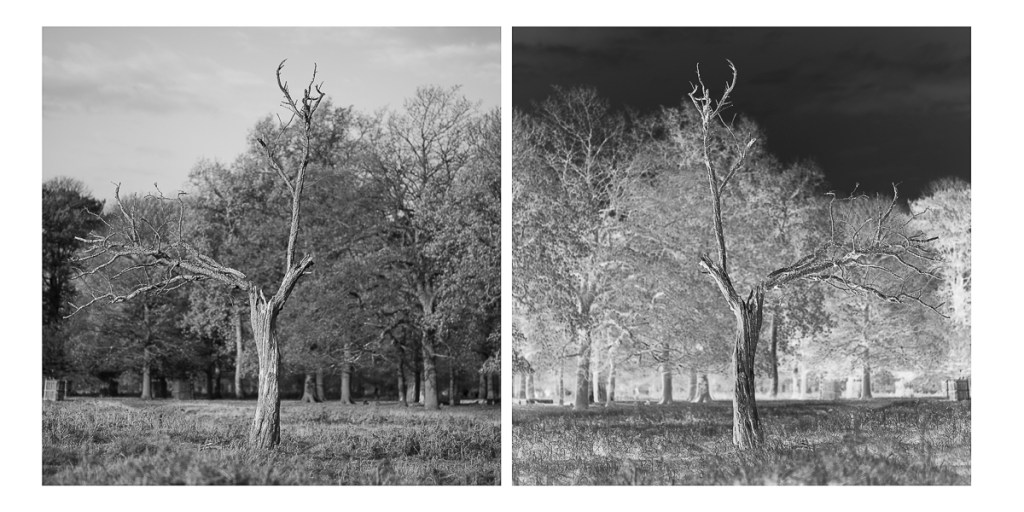
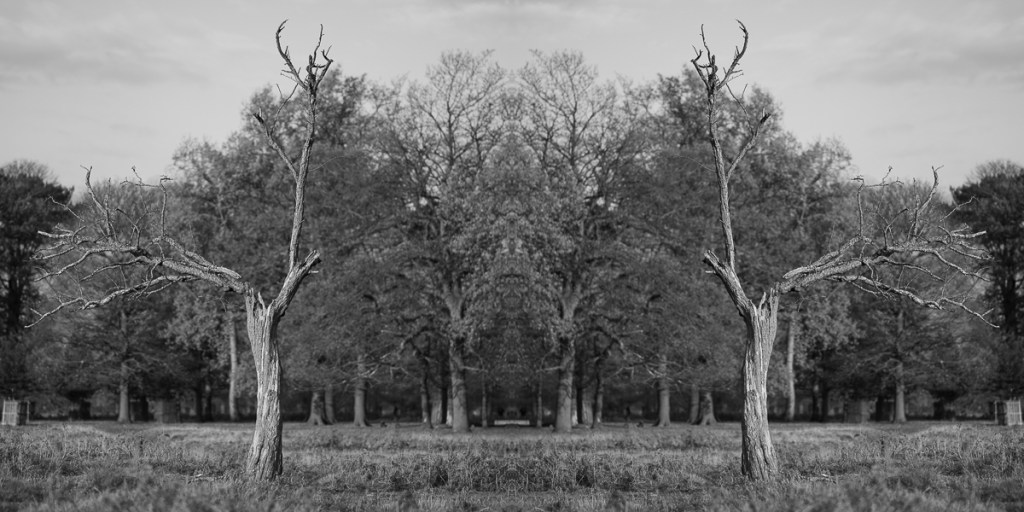
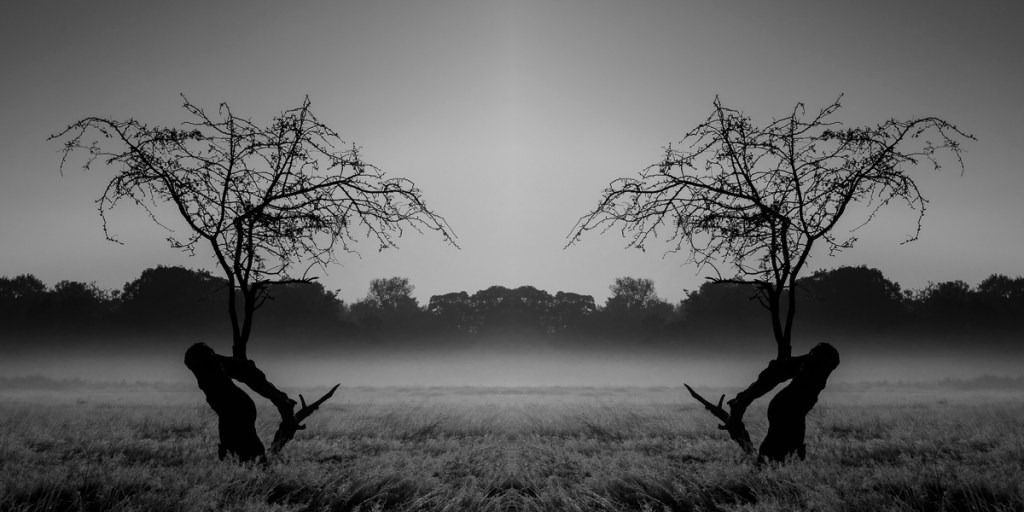
I also planned this one in 9″ x 6″, again on Hahnemühle German Etching 310.

The bureau I chose to produce these prints was Spectrum Photographic. I hadn’t used this company before, but thought I should take a look at their offerings. When comapared to my regular printers (DS Colour Labs and Print Foundry), they had the edge for these test prints. In addition to a speedy turnaround, they also have have a 20% student discount. As such, this made the total price cheaper and/or quicker than the other two. However, the downside is that they do not have a framing service so I need to take that aspect into consideration when producing work for exhibition.
While placing my order I also noticed that Spectrum Photographic had a wider range of Hahnemühle papers available, all of which are acid free and archival.
The following details were taken from the Spectrum Photographic website that I can use for quick reference.
NEW Hahnemühle Hemp 290gsm
This ink jet media is made of 60% hemp fibre and thanks to the bright white colour of the hemp fibres, no optical brighteners are required. The lightly textured surface gives the paper a pleasant, silky feel. Colours and details are brilliantly reproduced, the depth of the black truly stands out and contrasts are reproduced with stunning effect.
NEW Hahnemühle Agave 290gsm
70% of this unique, environmentally friendly inkjet paper is made from sisal fibres. The rough, yet delicately defined surface texture gives the subject a captivating sense of depth. A premium coating guarantees outstanding print results with excellent reproduction of colour and detail, deep black and optimum contrasts.
Hahnemühle Photo Rag® 308gsm
A popular paper for re-producing high quality for graphic, illustrations and fine art images. This paper type has a fibrous finish, much like a smooth watercolour paper.
Hahnemühle German Etch 310gsm
This heavyweight paper with a fibrous finish, perfect for re-producing watercolour and ink re-productions.
Hahnemühle Fine Art Pearl 285gsm
This coated paper type reproduces impressive pictorial depth and is ideal for punchy black and white images. We would also recommend this paper type as digital alternative to the traditional Baryrta prints.
Hahnemühle Bamboo 290gsm
The first ink jet paper made from 90% bamboo fibres and 10% cotton. This warm base paper has a smooth surface texture, which is perfect for matt warm tone black and white images.
Hahnemühle Photo Rag® Pearl 320gsm
This coated paper types has a warm base white and is recommend for warm tone black and white images and another great digital alternative to warm tone traditional Baryrta.
Hahnemühle Photo Rag® Metallic 340gsm
This is a silvery-shimmering FineArt inkjet paper with a specially formulated inkjet coating for FineArt use. The natural white cotton paper contains no optical brighteners and has the characteristic Photo Rag® surface structure and sumptuous feel. Please note this paper is only available for Studio printing.
Hahnemühle Bamboo 290gsm
The first ink jet paper made from 90% bamboo fibres and 10% cotton. This warm base paper has a smooth surface texture, which is perfect for matt warm tone black and white images.
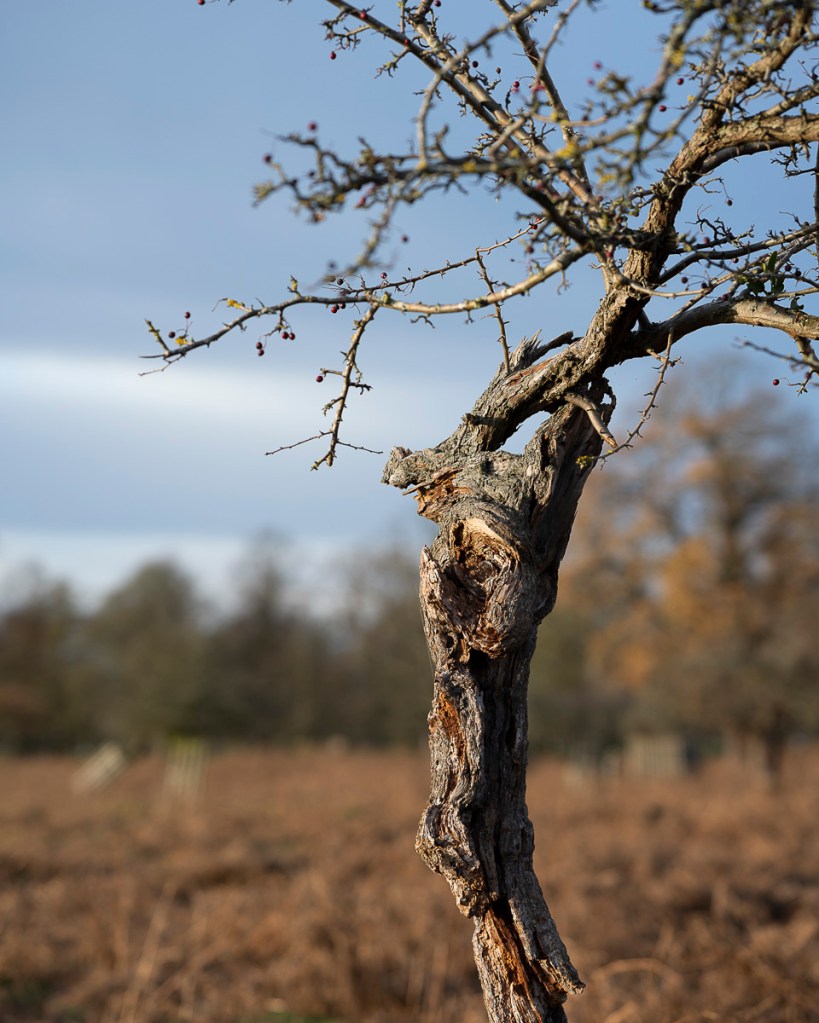
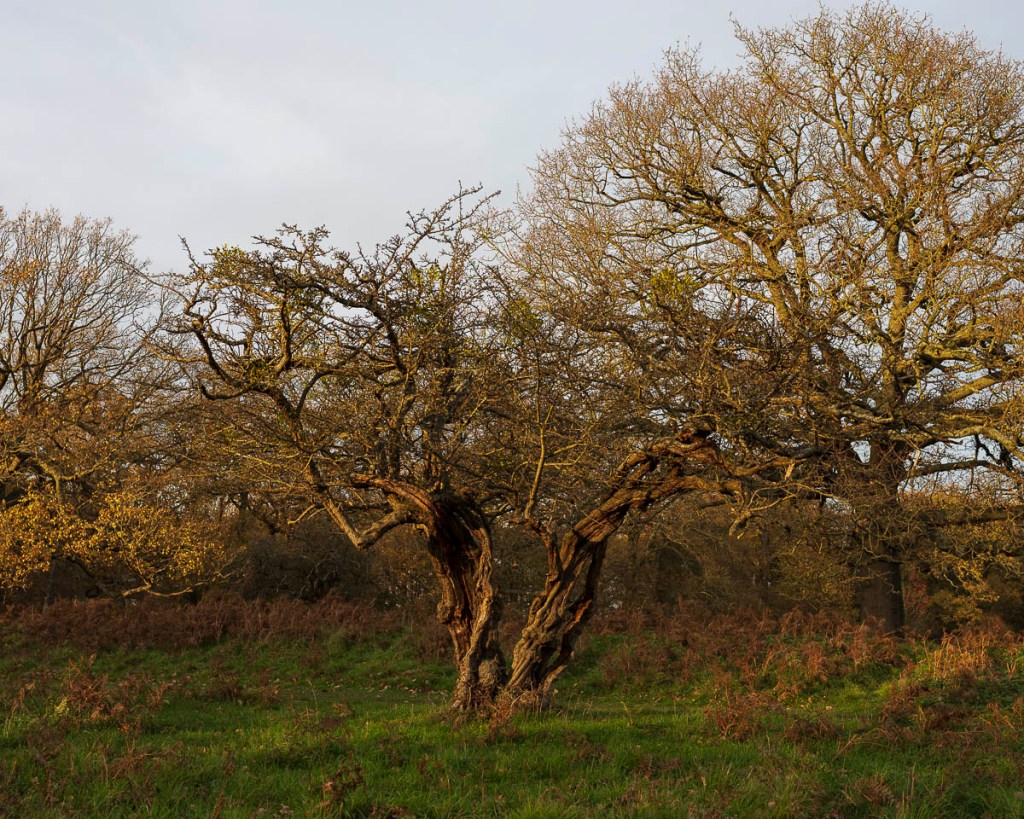
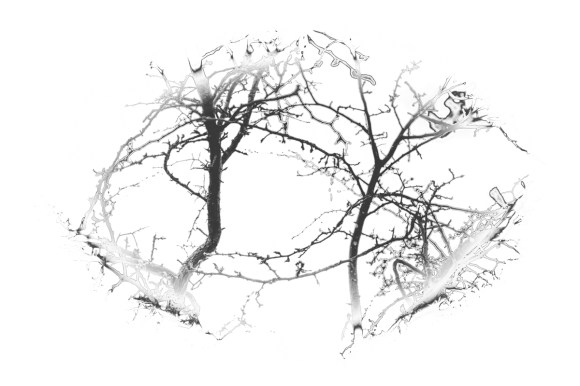
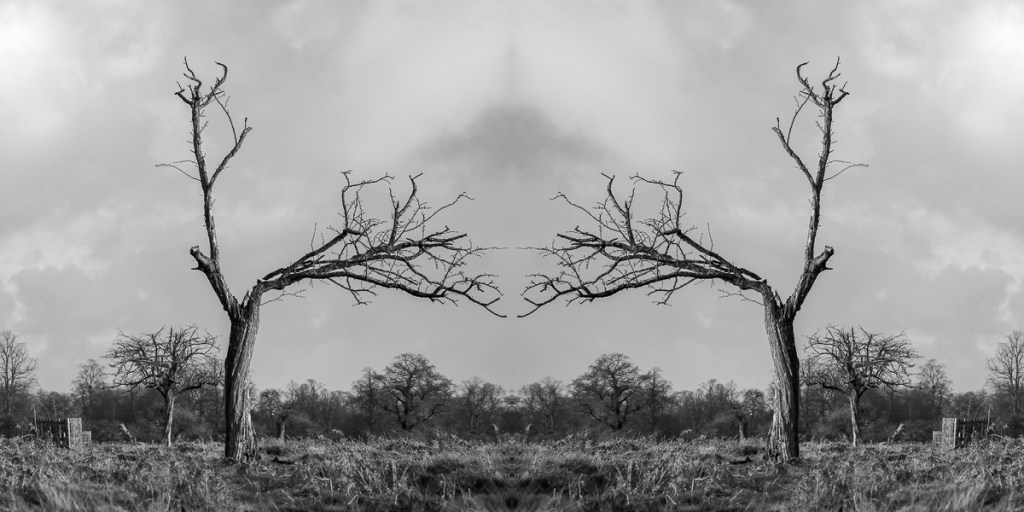
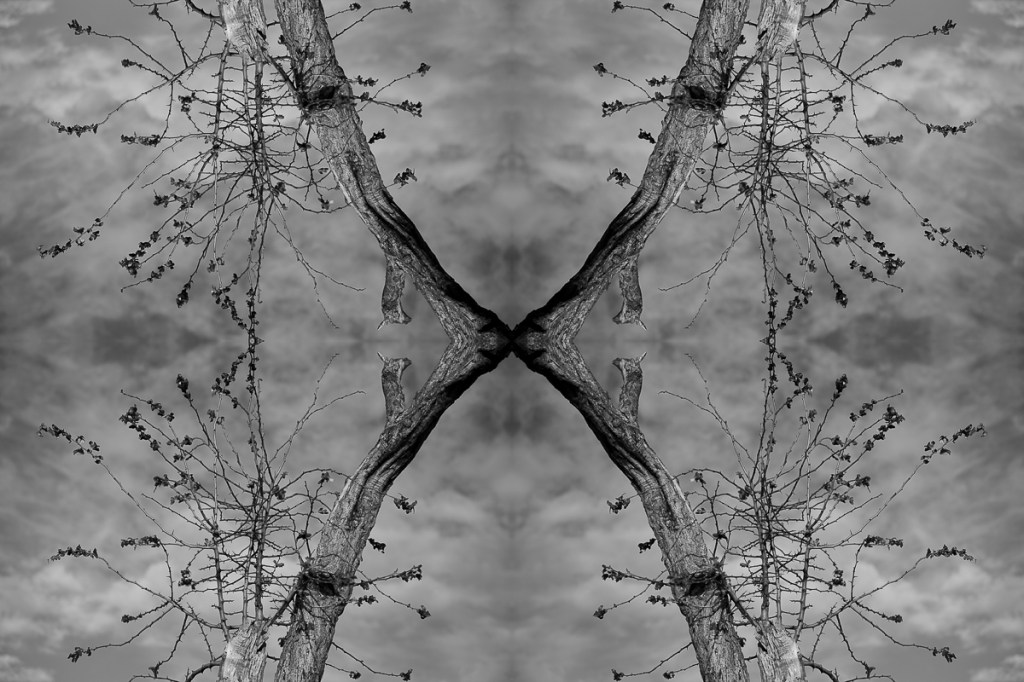
The paper that caught my eye was the Hahnemühle Bamboo 290gsm. In order to test this paper, I created the following image at 10″ x 8″ and ordered a print in that size.
Print Sizing
When considering the maximum size of a print of the images (which I now consider Tree Twosomes), I realised that I needed to make a note of the dpi count of each original file. I had cropped some of the initial images for aesthetics, which meant there was a variance in the sizes of each one.
I noted the following sizes:
- 5504 x 5504 dpi
- 4897 x 4897 dpi
- 5439 x 5439 dpi
- 4689 x 4689 dpi
- 5296 x 5296 dpi
- 5056 x 5056 dpi
This meant that the largest print option at 300 dpi (based on the smallest size) could be 9912 x 4945 dpi, which is just under 32″ x 16″. If I wanted to have the exact measurement, the resolution sacrifice would be negligible based on previous research.
Potential Exhibition Pieces
There was one particular issue with using Hahnemühle German Etching 310, which I discovered during the AGM60 Module. This paper can’t framed and mounted using the Framed Pro Mount. Then I recalled seeing a float mount. This is when the fine art print appears to ‘float’ within a frame with the edges are slightly elevated and the edge of the paper can be seen.
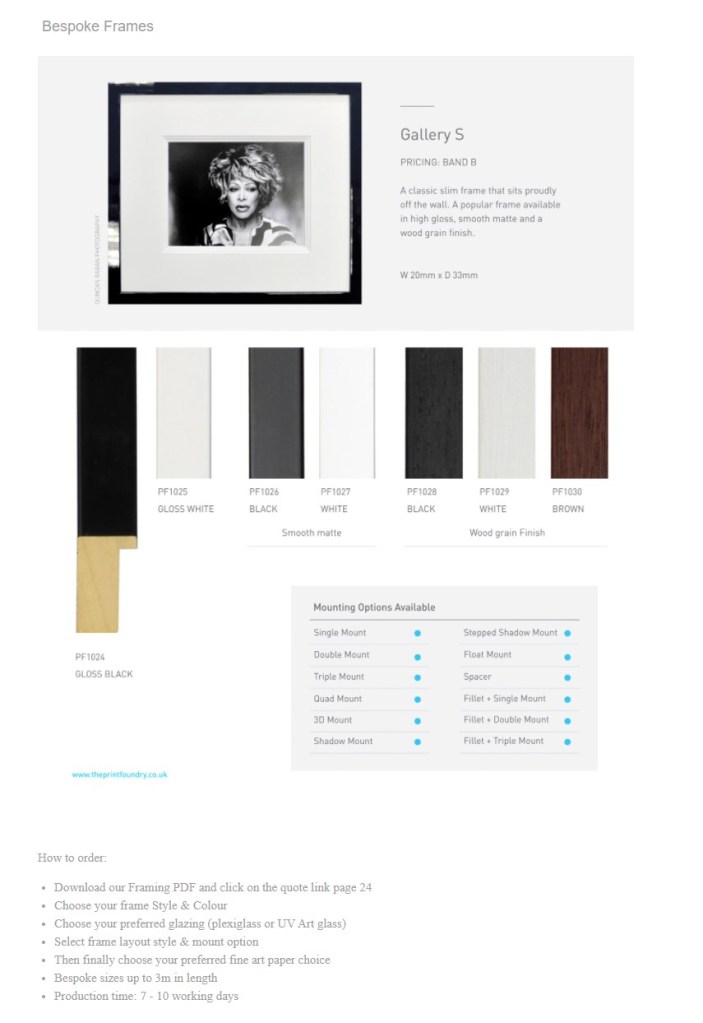
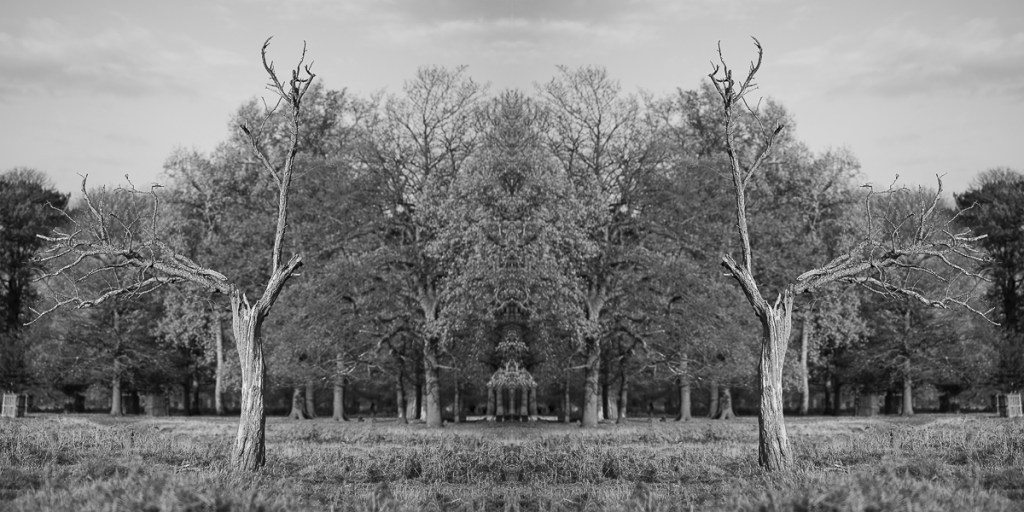
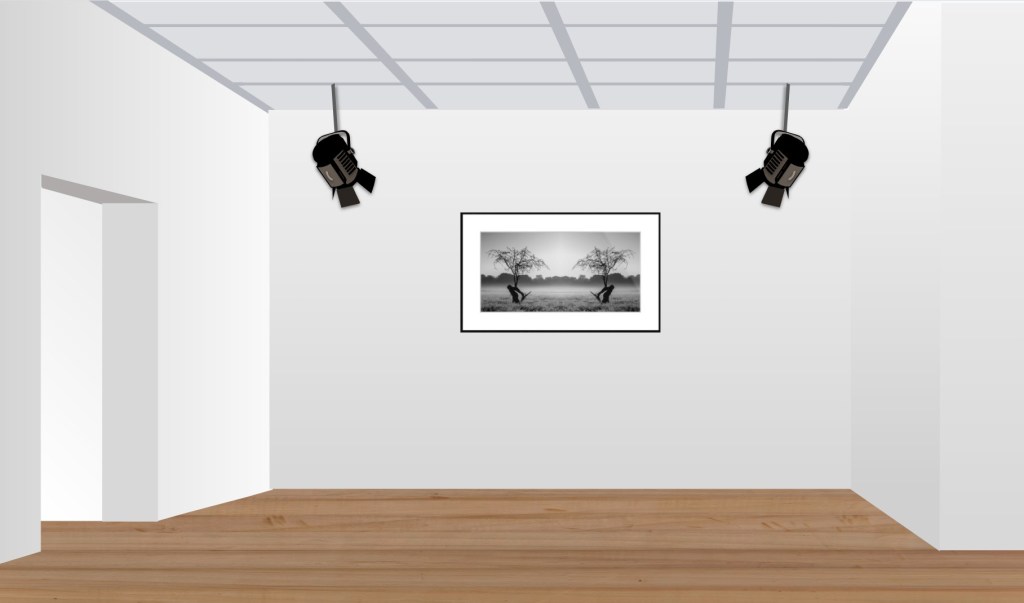
My bureau of choice for this was Print Foundry Lab. My intention at this stage was to order one image as a float mount print sized at 24″ x 12″ set within a Gallery S Black Woodgrain Finish frame as shown above. To reduce the refletions, I chose museum glass. The border around the frame would be 2″ wide, so the finished piece would be 28″ x 16″.
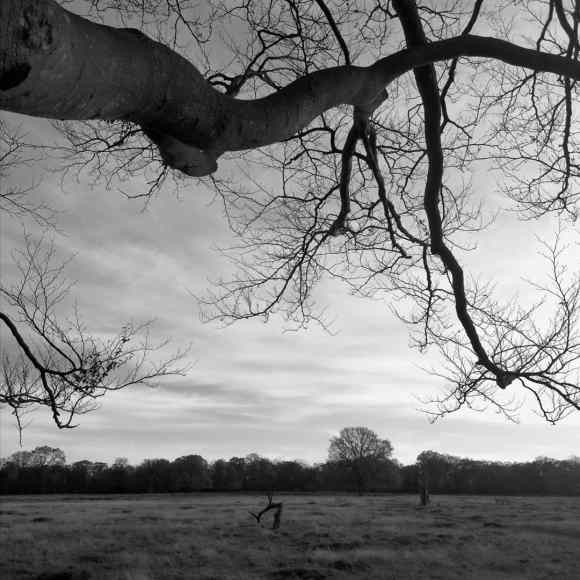
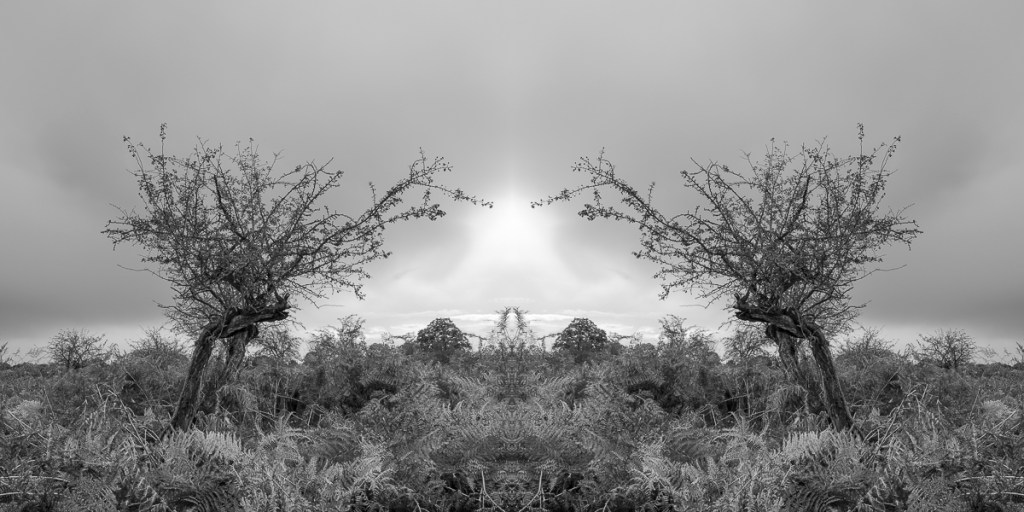
I chose the following image for this test. It is my favourite of the images that I would happily have on my wall at home. This is, potentially, how it will look.
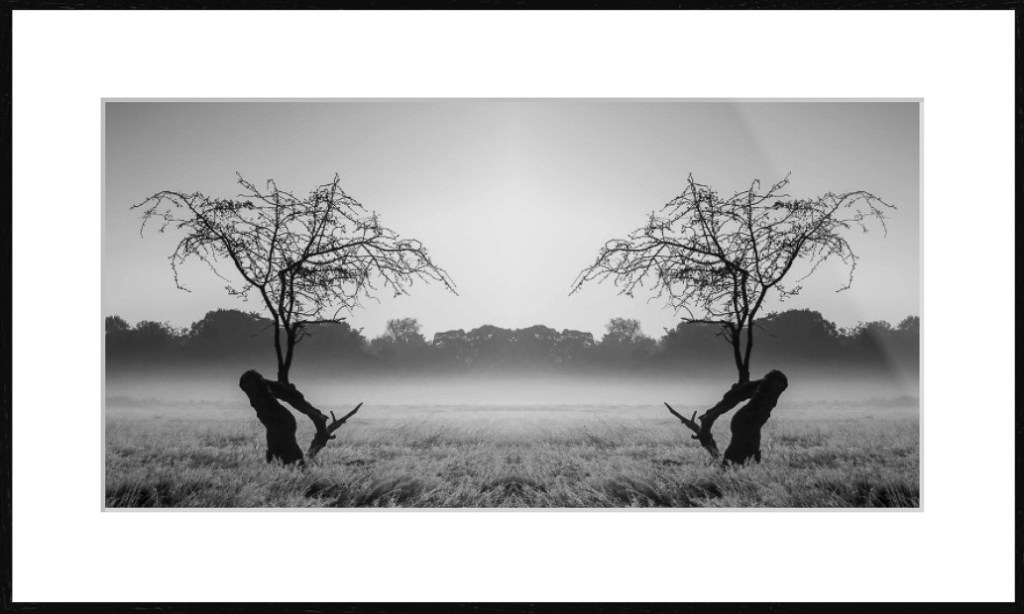
The lead time would be 7-10 days, so potentially I could have this before the Group Tutorial on 20 January 2021.
Presentation Options
With regards to presentation, I created the following gallery mock ups to get a sense of how these images could work in groups or as individual images. This is one the assumption the final pieces would be exhibited within a traditional ‘whitewall’ environment.
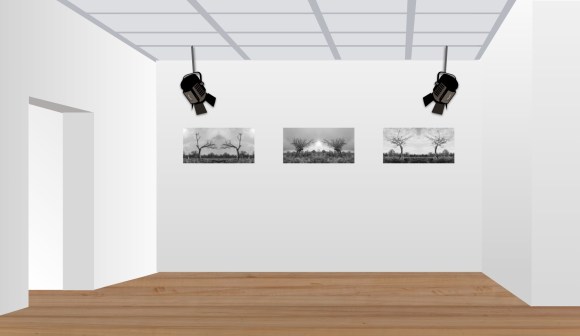
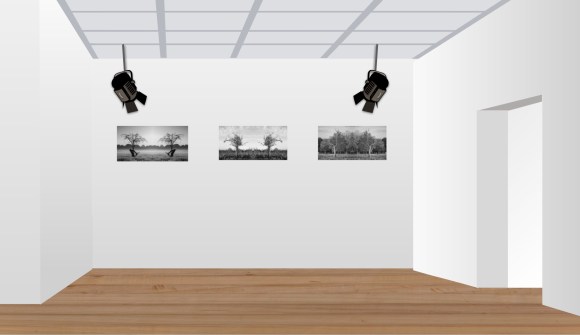
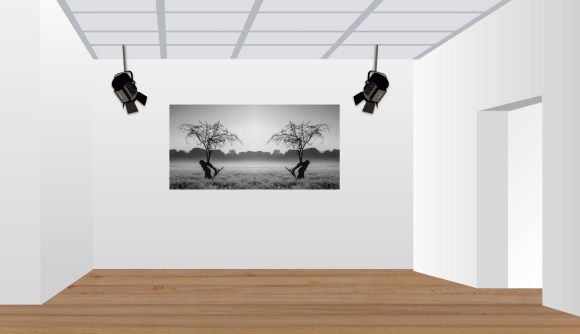
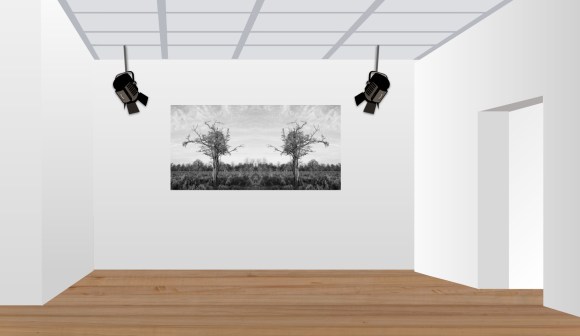
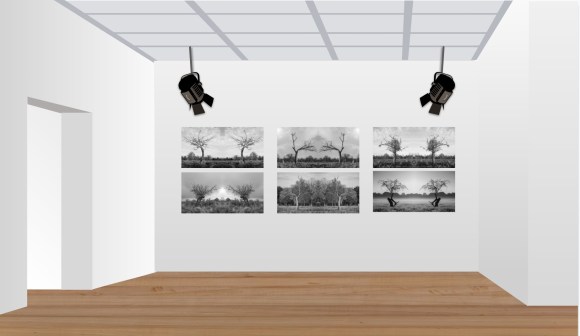
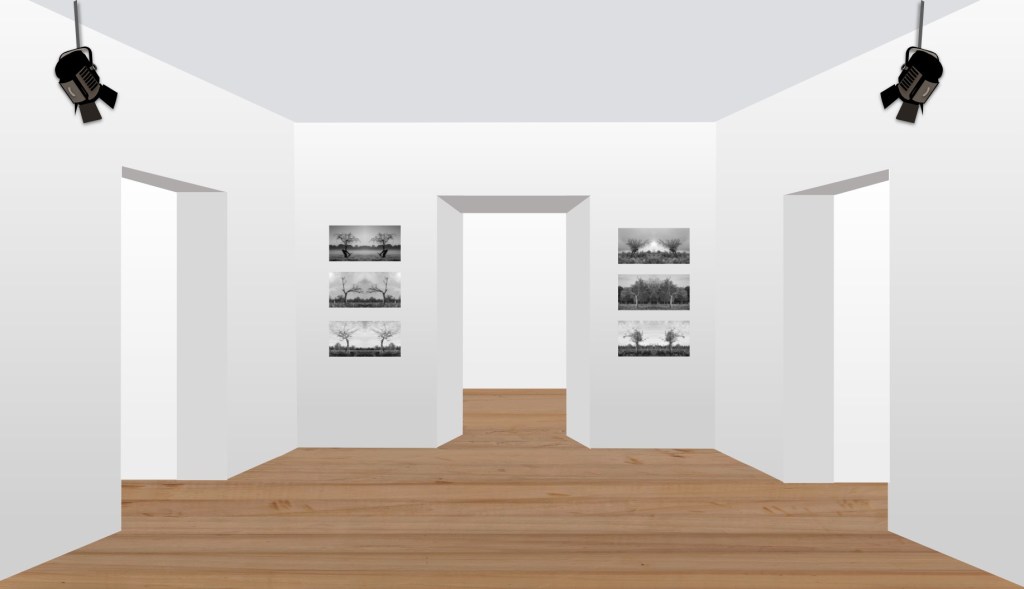
These images were created using an interactive slide template of a virtual gallery. This template is available using Slidemania, a free online resource.
References
Spectrumphoto.co.uk. 2021. Giclée Printing – Spectrum Photographic. [online] Available at: <https://spectrumphoto.co.uk/giclee-prints> [Accessed 15 January 2021].
SlidesMania. 2021. Slidesmania | Free Google Slides Themes And Powerpoint Templates.. [online] Available at: <https://slidesmania.com/> [Accessed 8 January 2021].