For this seminar, I had to (along with the class) consider:
- The creative, technical and practical elements of art/photography practice
- The physical process of making my work
- The final output of my research project
Why?
The reasons were noted as such in the Module Handbook:
As creative practitioners, photographers often get so involved in the conceptual, theoretical and intellectual elements of our practice that we forget to give enough consideration to the actual, physical, ‘making’ aspects of our creative process and choices, and ultimately the full and final form of the work.
During this seminar, the class was due to look at the various resources available, and how artists/photographers carefully consider and incorporate into their process of research and experimentation fundamental elements such:
- Choice of medium and equipment
- Printing sizes and options
- Framing
- Editing
- Exhibition displays to fully realise the potential of the work.
I had to prepare to discuss:
- My technical and creative experiments and approach thus far
- The direct importance of this process and relevance of the decisions in relation to the project’s underlying aims and themes
- My considerations regarding the ultimate final outcome/form of my work
- My plan in relation to producing the work in a timely and fully formed manner
The seminar task is to:
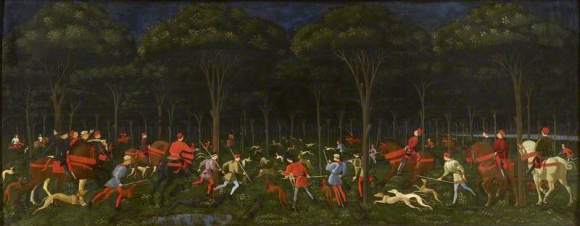
Identify an exhibition, installation, output (book, zine, web-based project, performance, etc.) or single piece of work that in some way relates to my own research project.
For the purposes of discussion, I have to specifically dissect, consider and evaluate the effectiveness of its technical production and execution, e.g.:
- Decisions that the artist made in terms of producing their work
- Use of camera system
- Printing method (medium, size, etc.)
- Mounting and framing
- Sequencing
- Hanging and installation
- Environmental considerations (sound, light, etc.)
- Curation
- And anything else!
One exhibition that has influenced my project was Iron Men, which was held at Phoenix Brighton:
Unit 117: Pt 10 Phoenix Brighton Iron Men Exhibition Ts 1 & 2 LOs 1.1, 1.3, 2.1, 2.2, 2.3 & 4.1
WHY?
This would include the following:
- Identify how I plan to produce, mount, exhibit, install, and/or output my own project
- Produce a test/mock-up of at least one piece of work for presentation purposes
Also need to read and apply the following:
Click to access 19-T-16-Quabeck_paginated.pdf
I also have to be prepared to explain, discuss, and critique my choices in terms of technical production and execution, e.g.:
- Decisions that I have begun to make in terms of physicalising my work
- Camera use
- Printing (medium, size, etc.)
- Potential mounting and framing possibilities
- Sequencing
- Hanging
- Installation
- Environmental considerations (sound, light, etc. if relevant
Technical and creative experiments and approach thus far:
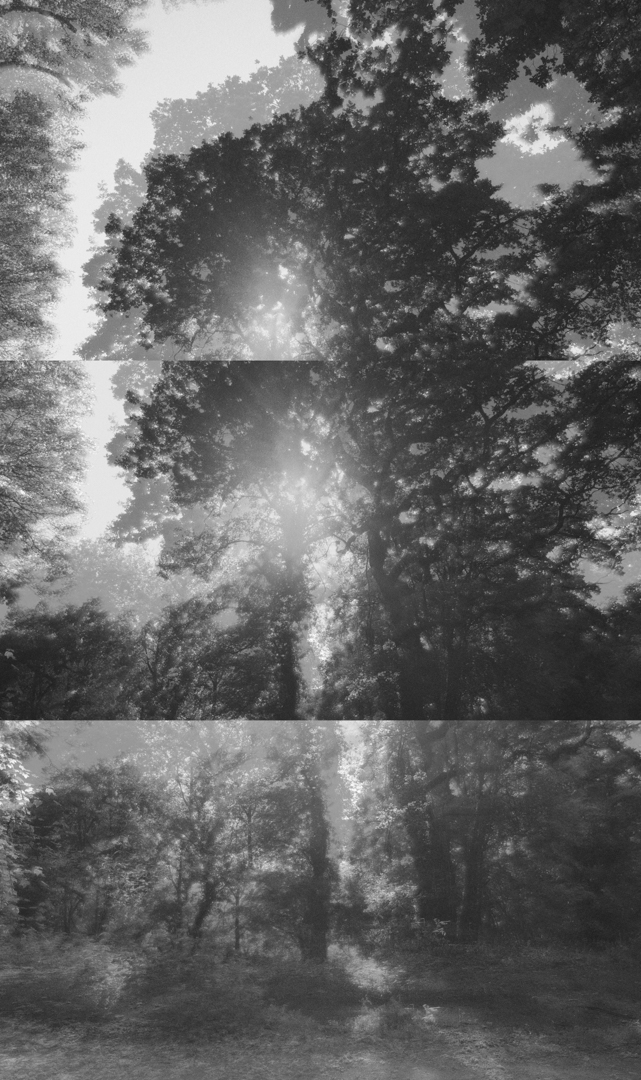
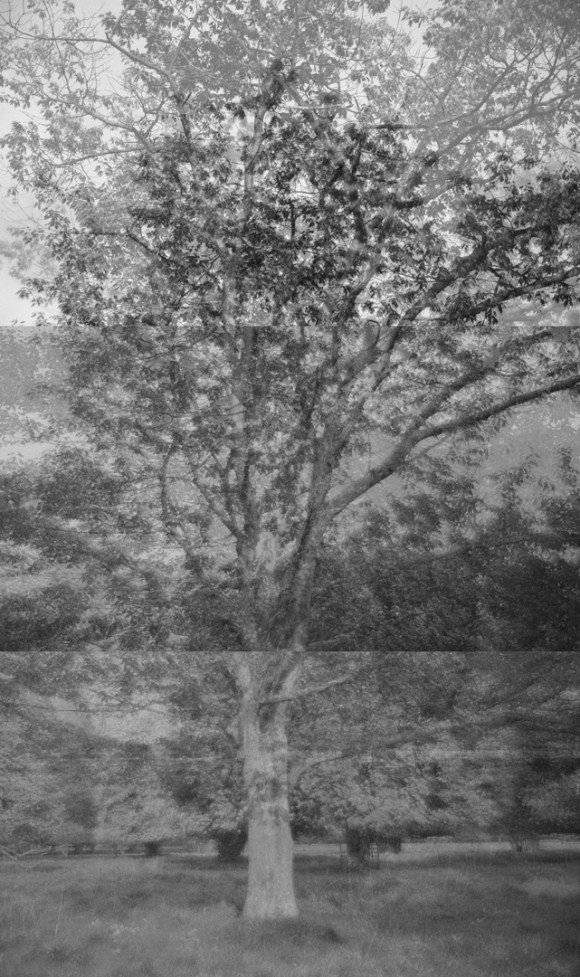
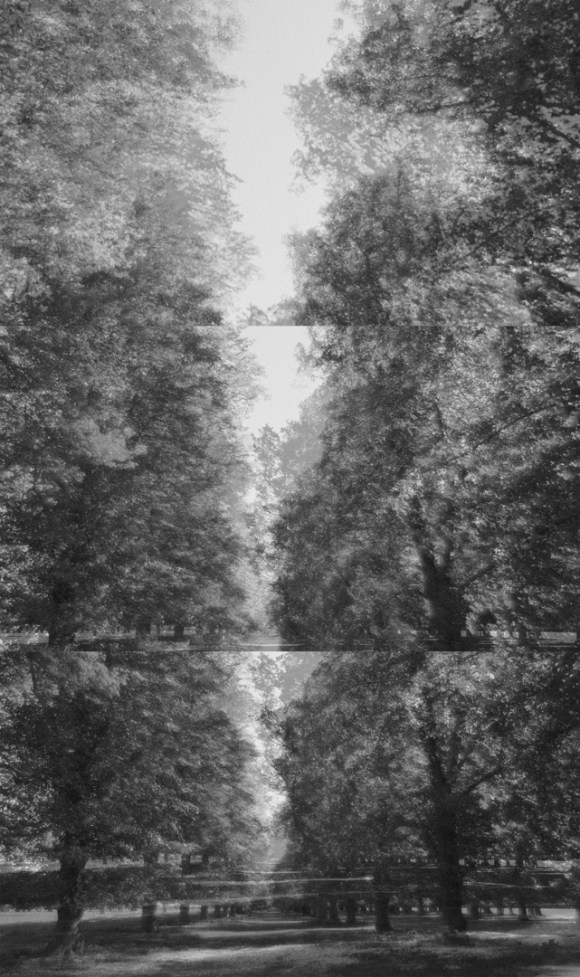
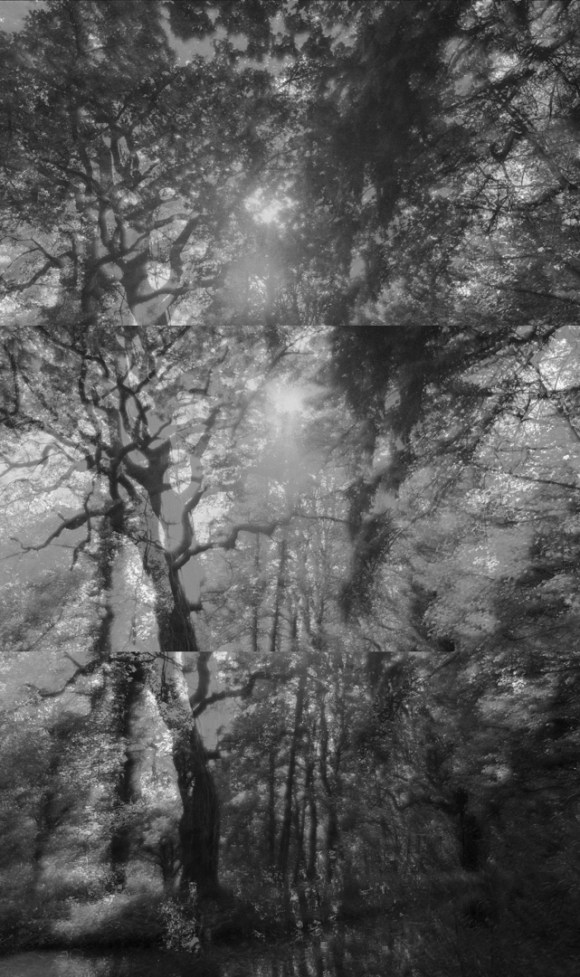
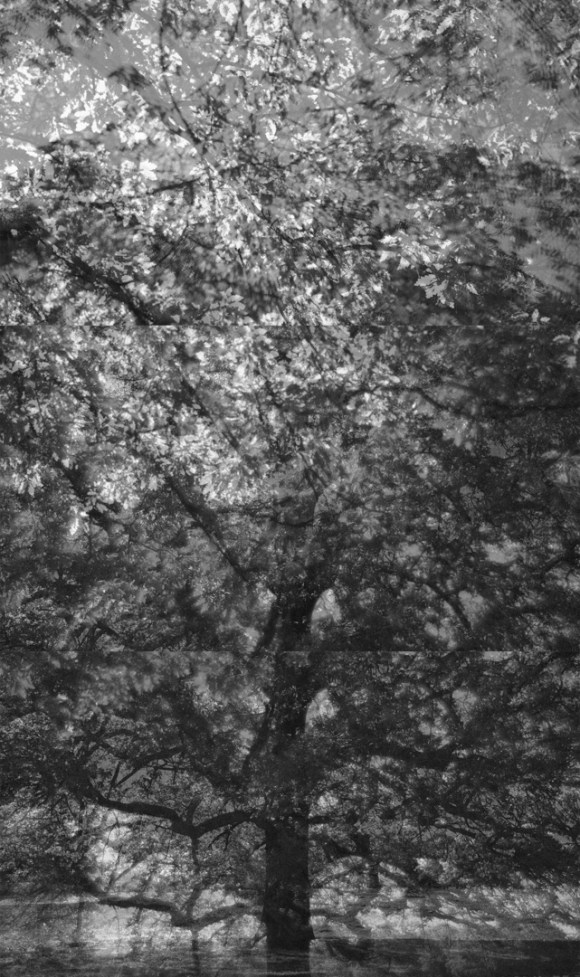
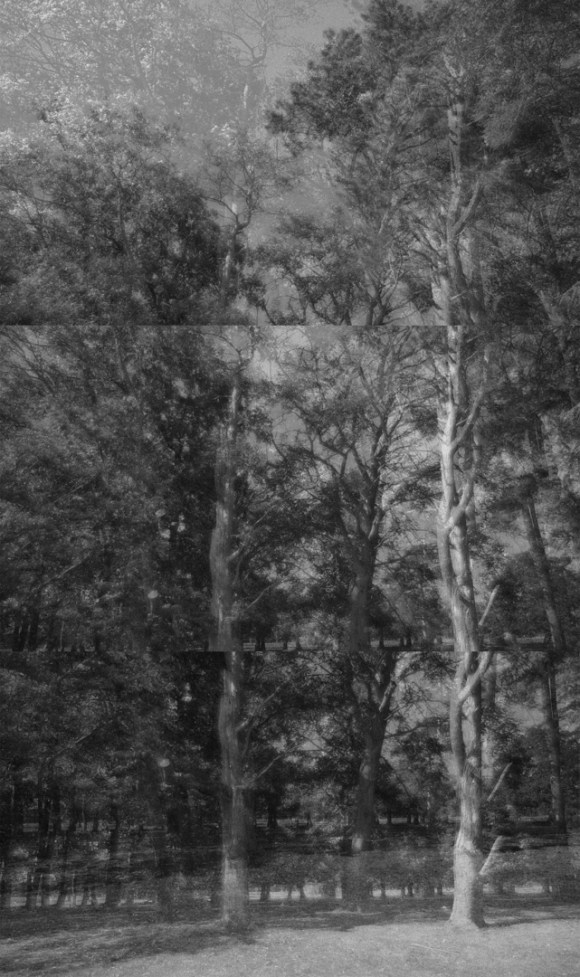
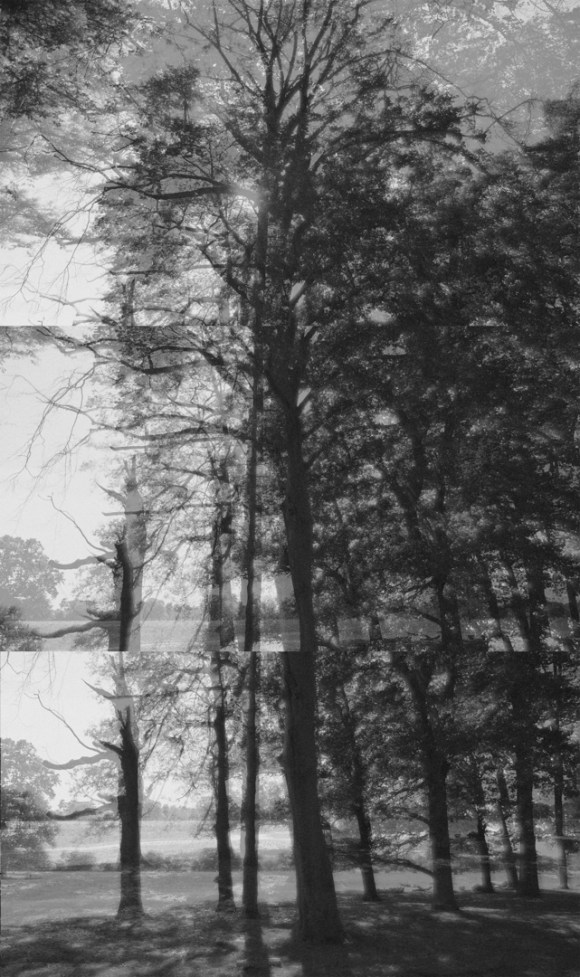
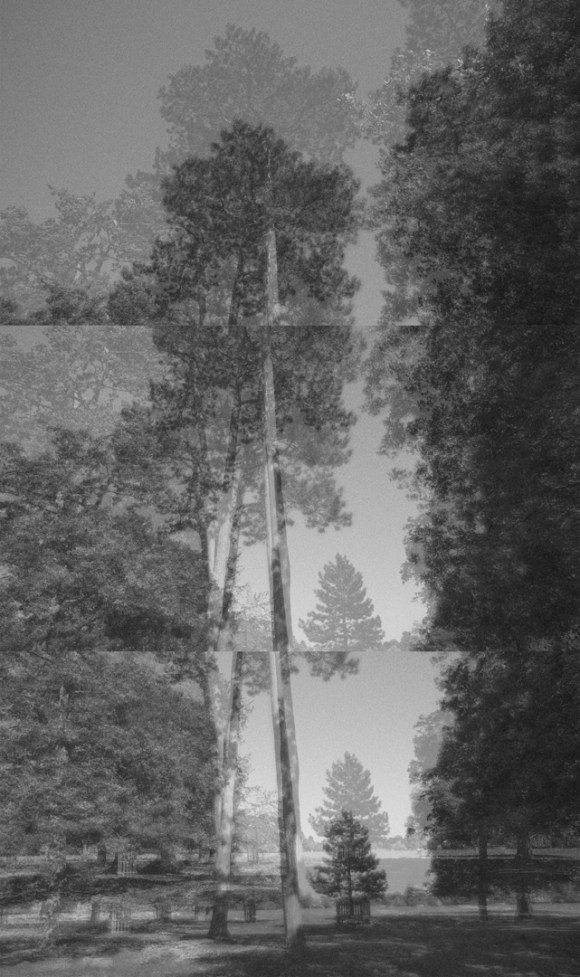
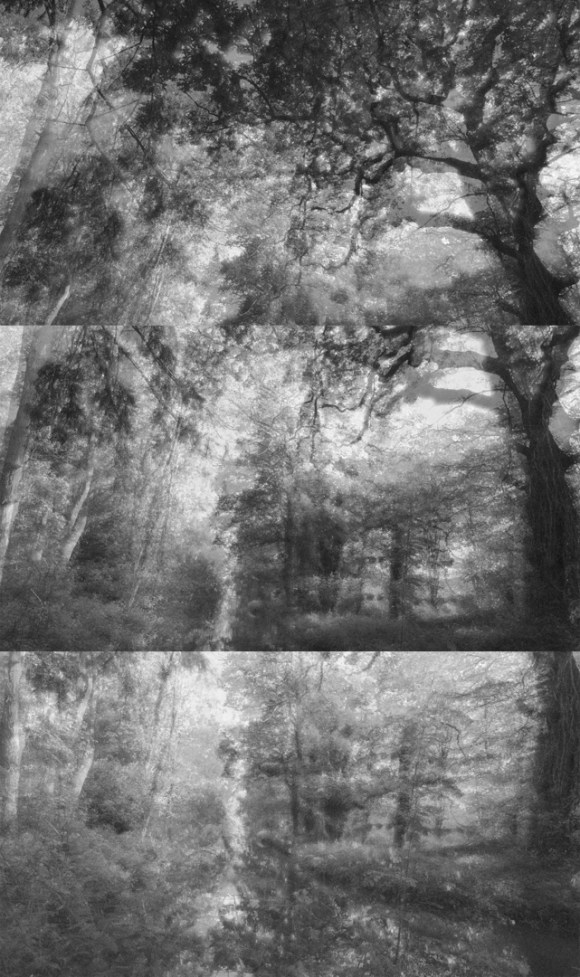
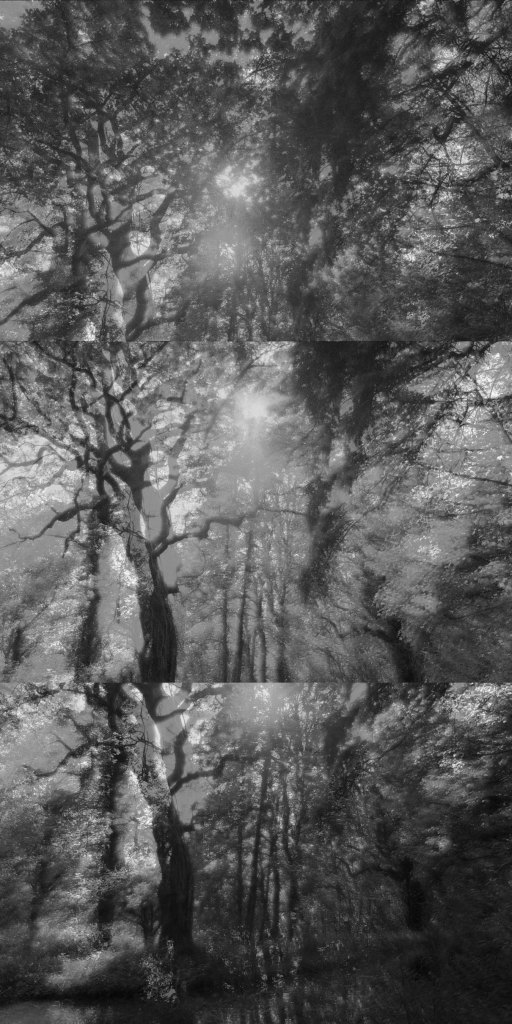
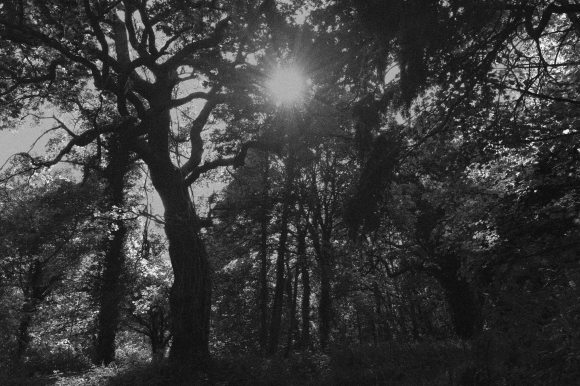
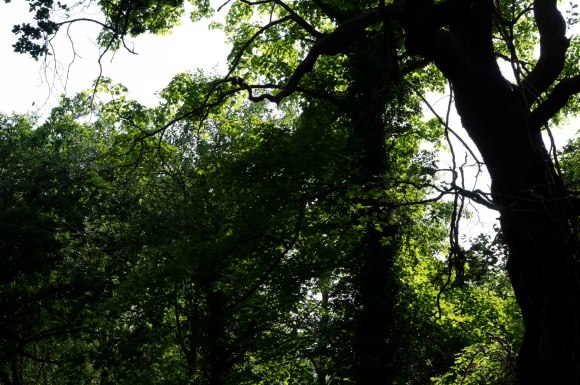
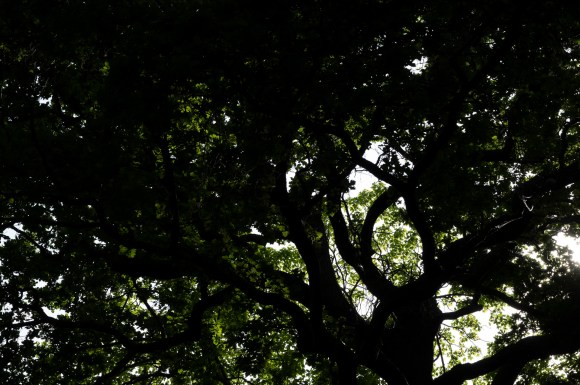
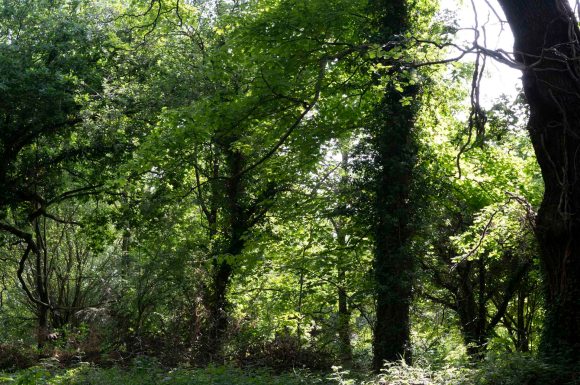
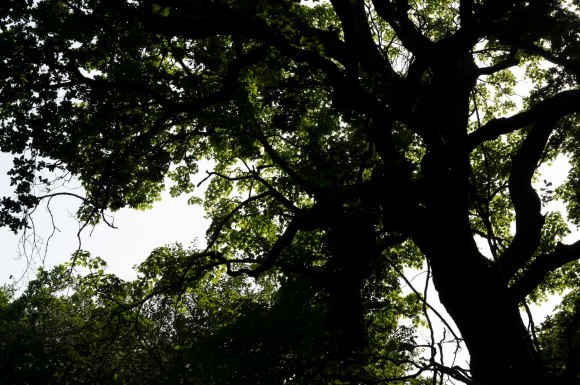
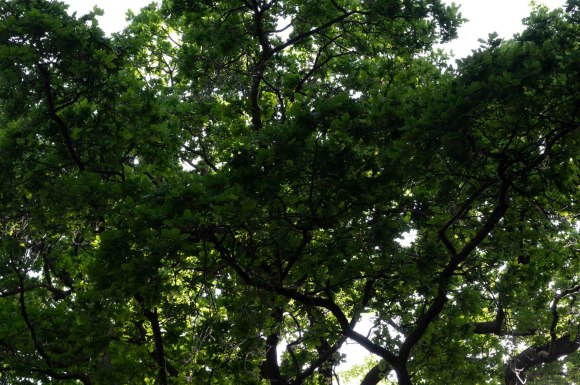
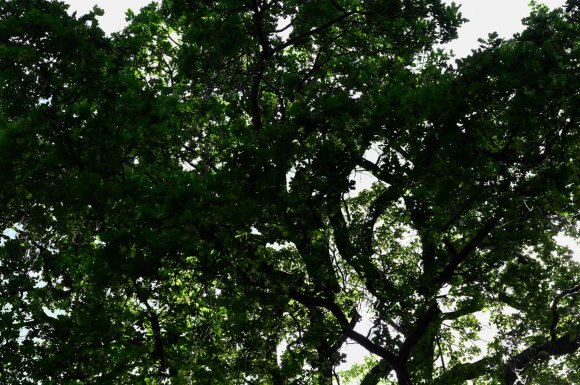
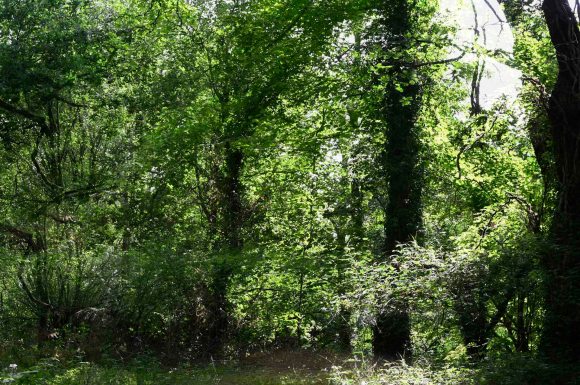
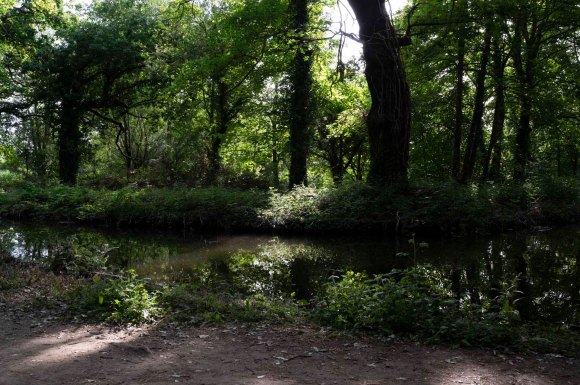
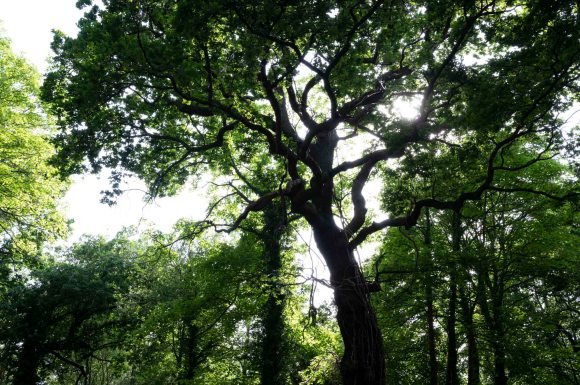
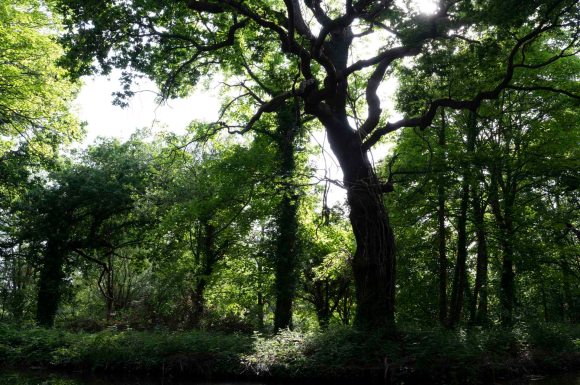
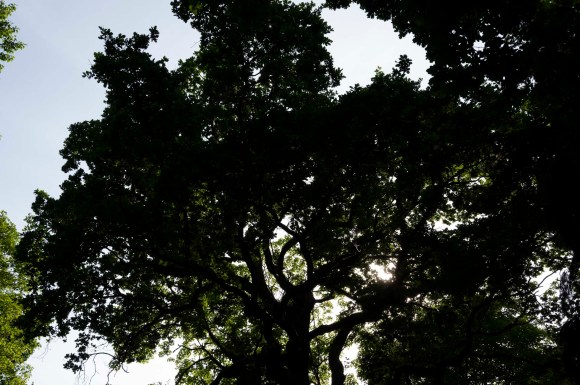
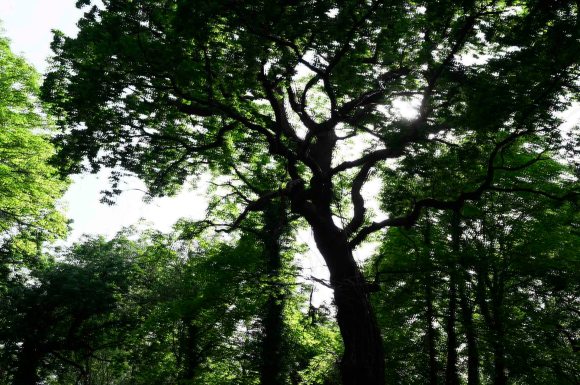
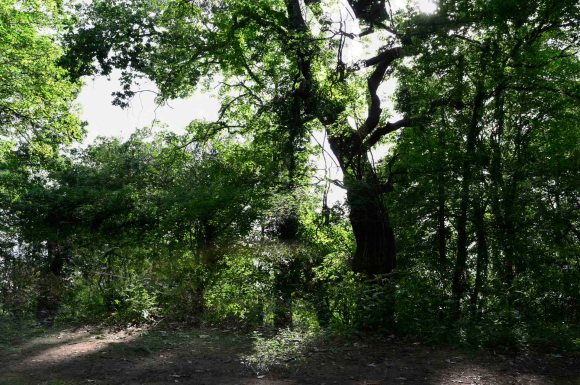
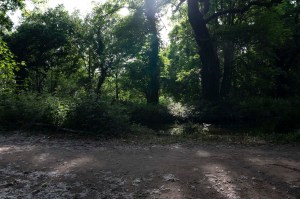
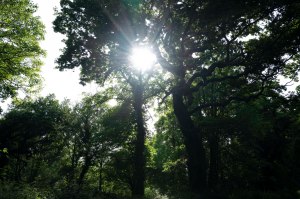
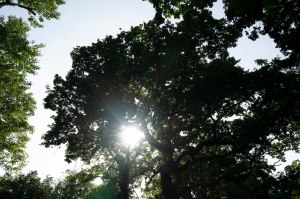
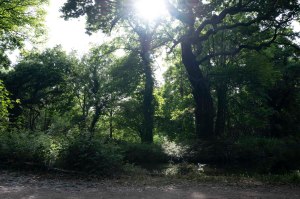
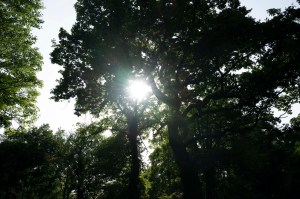
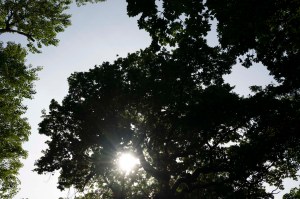
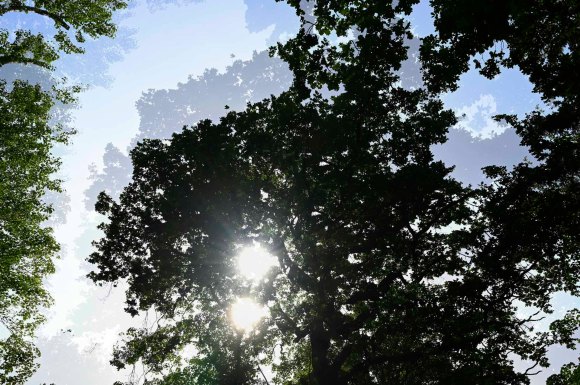
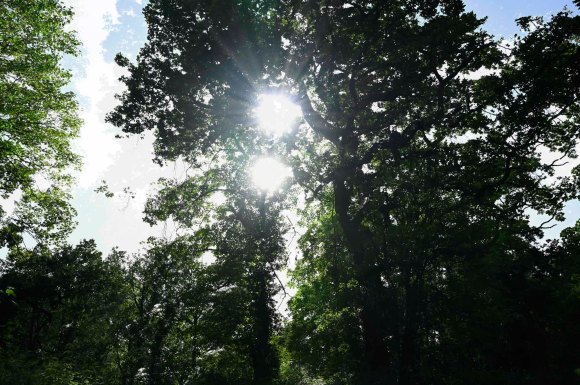
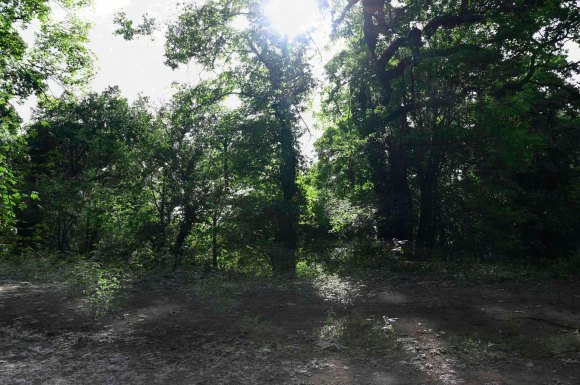
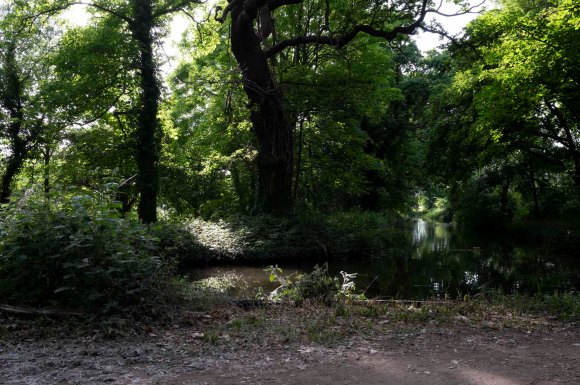
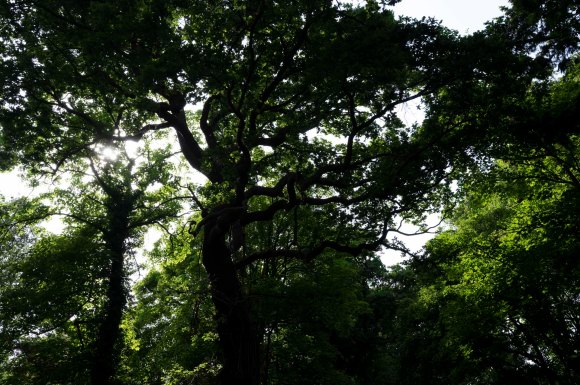
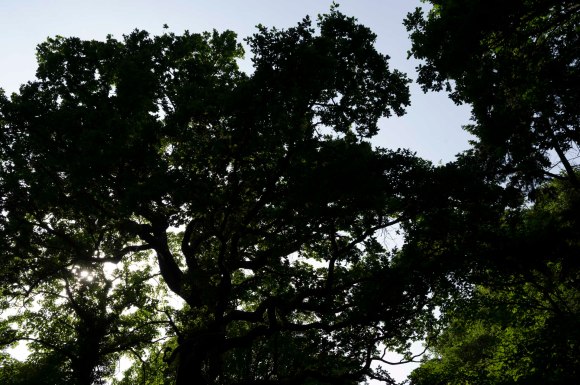
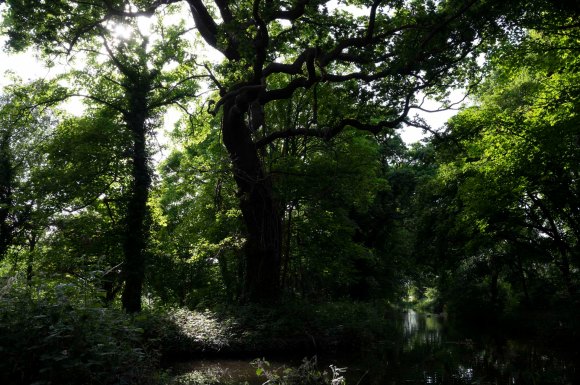
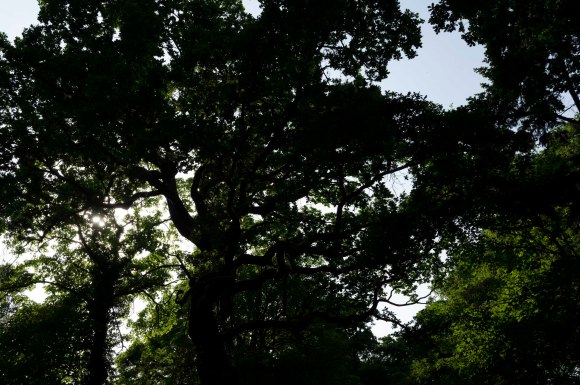
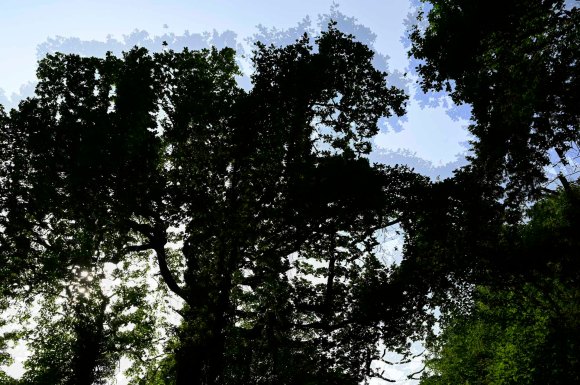
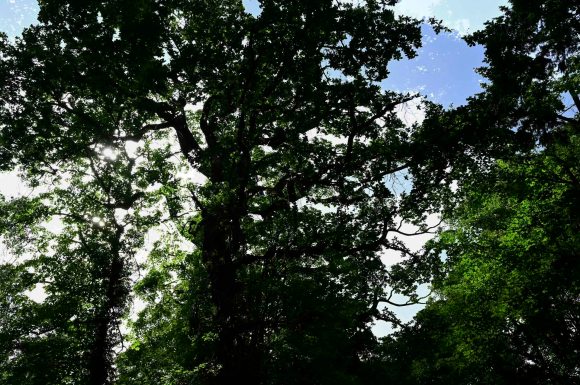
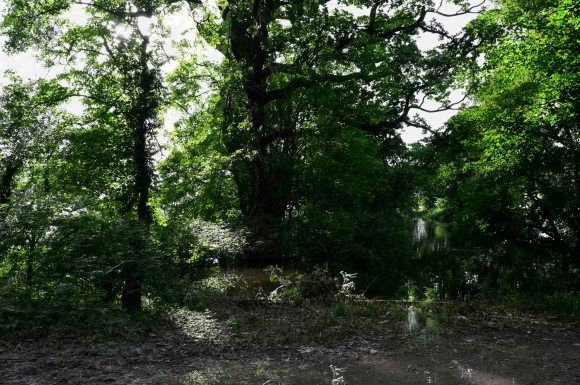
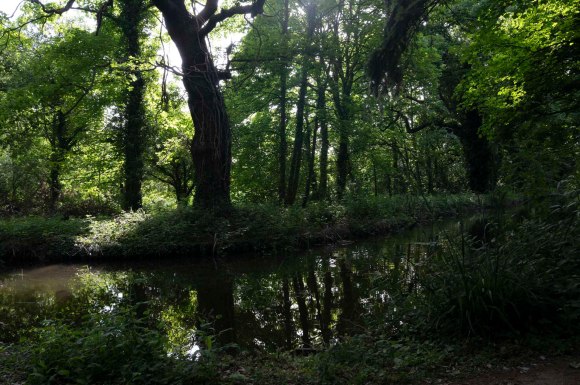
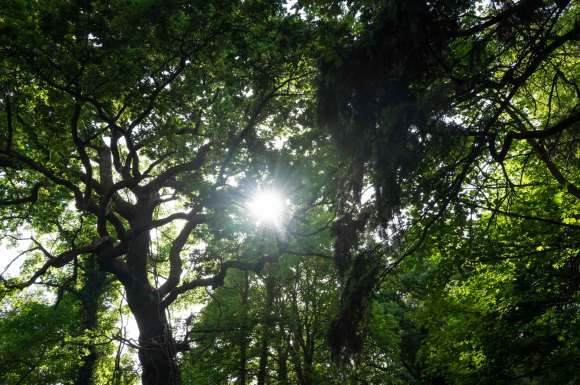
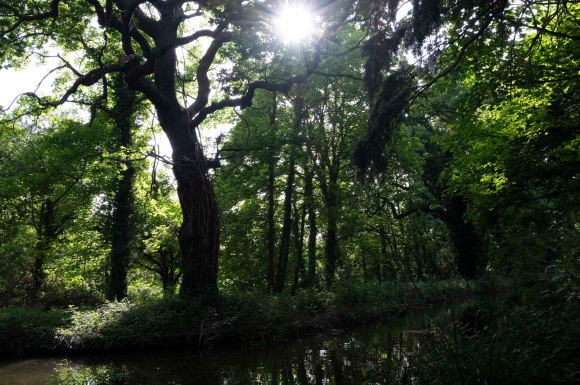
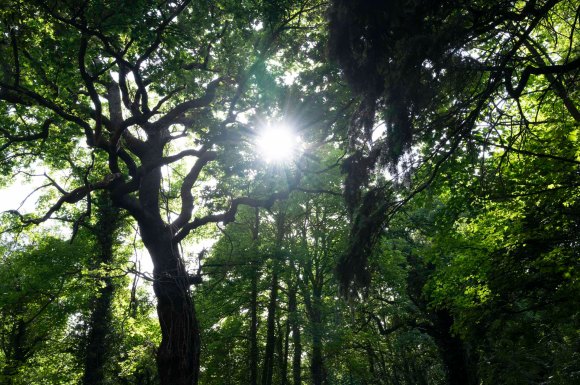
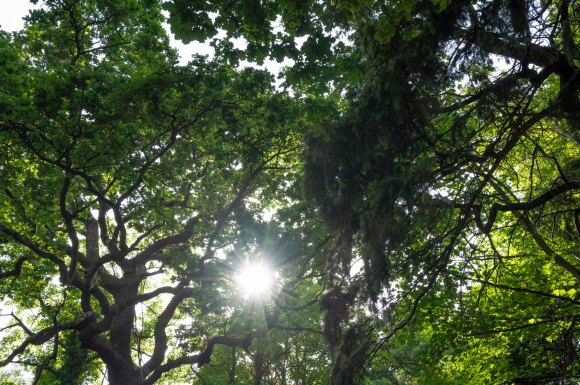
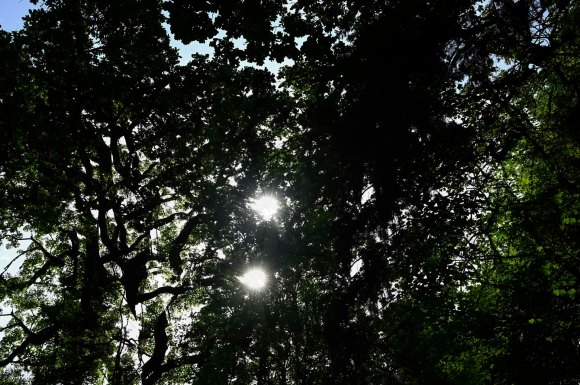
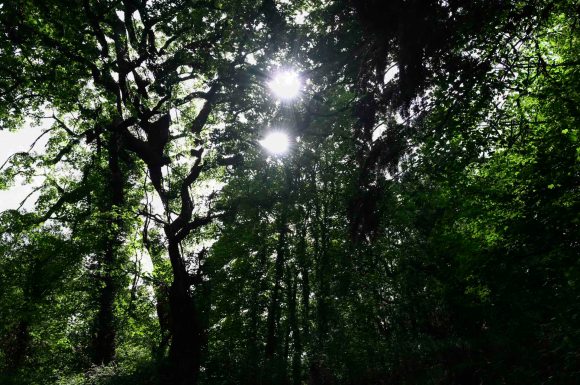
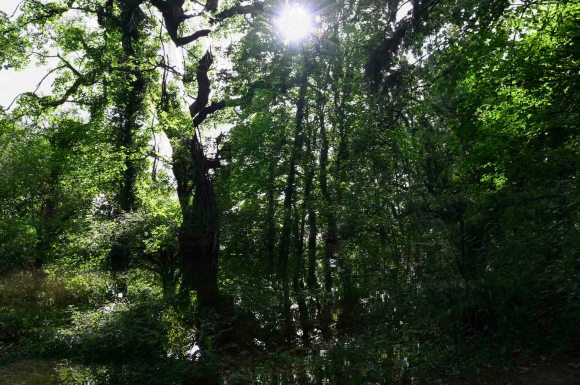
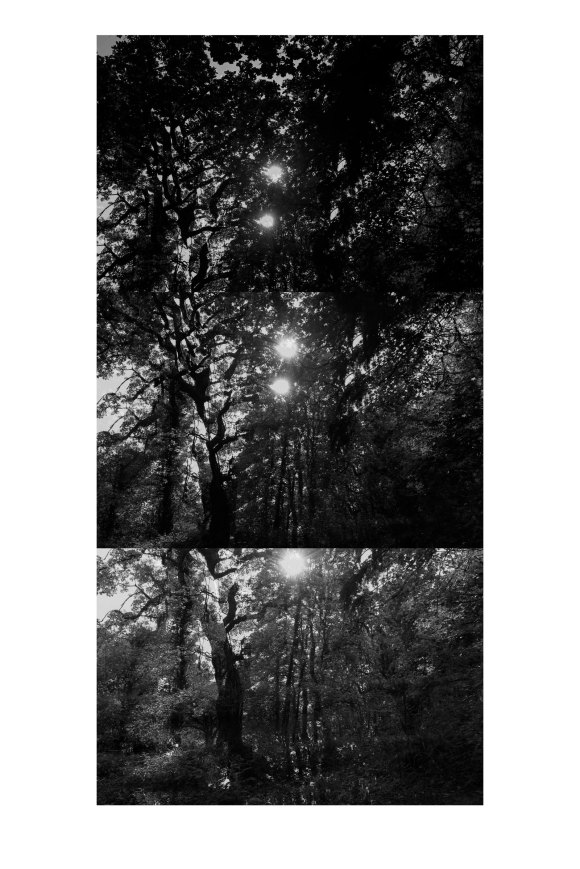
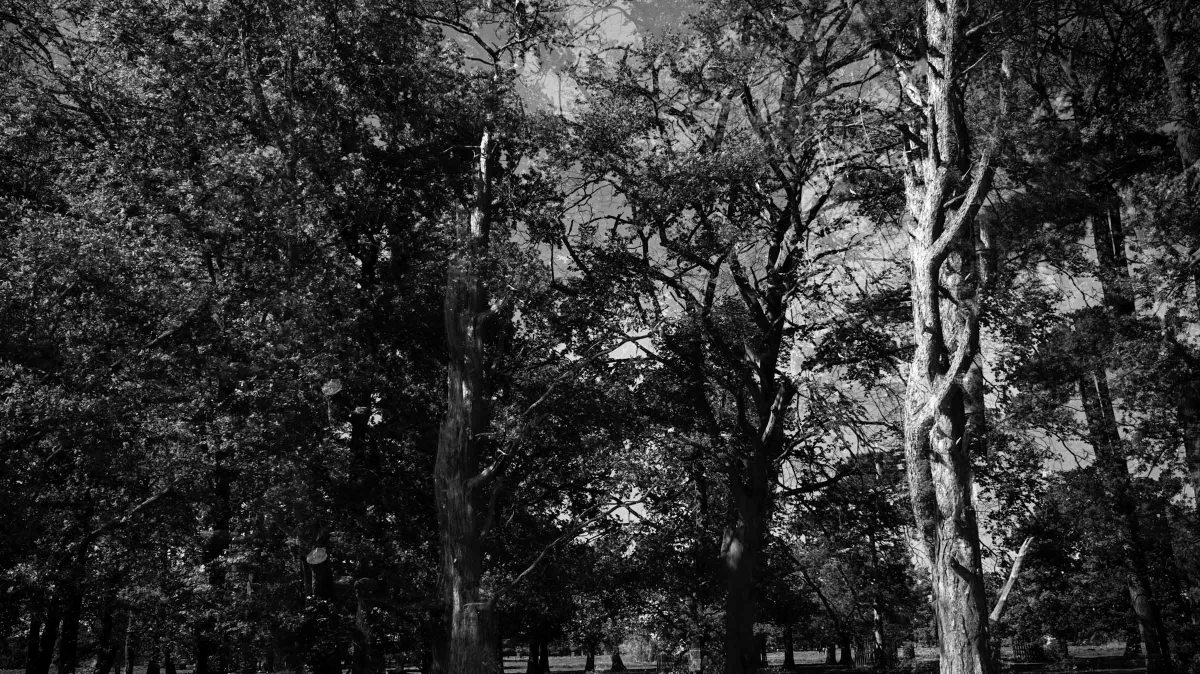
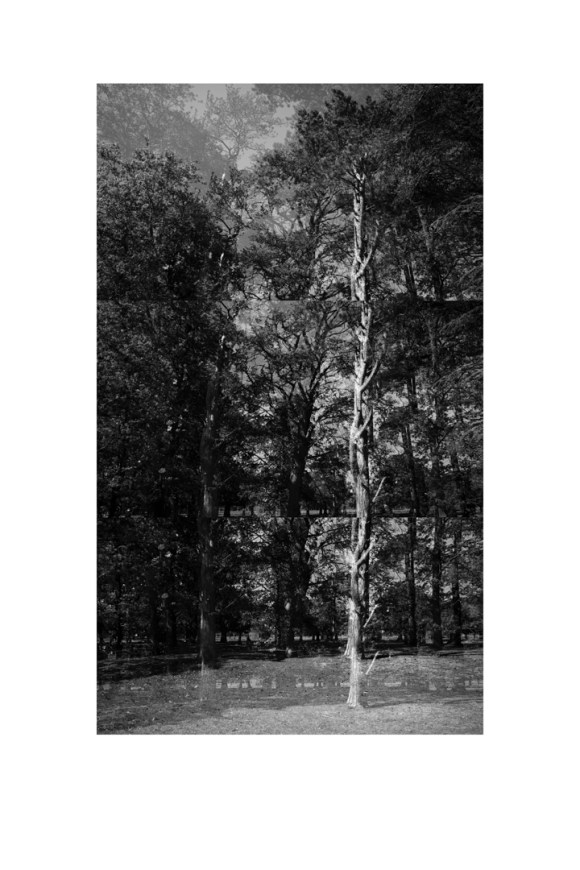
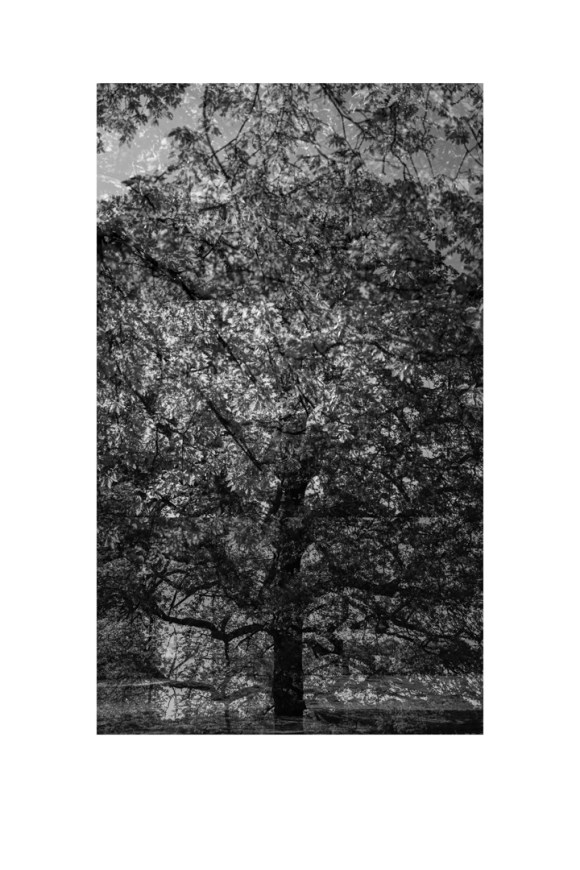
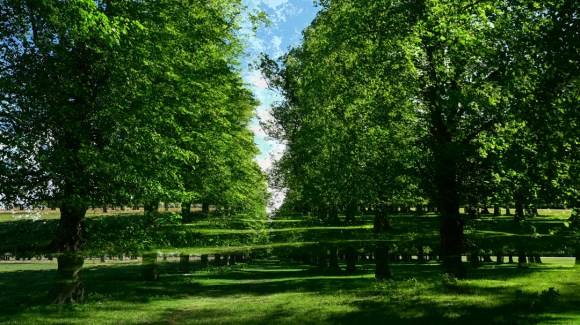
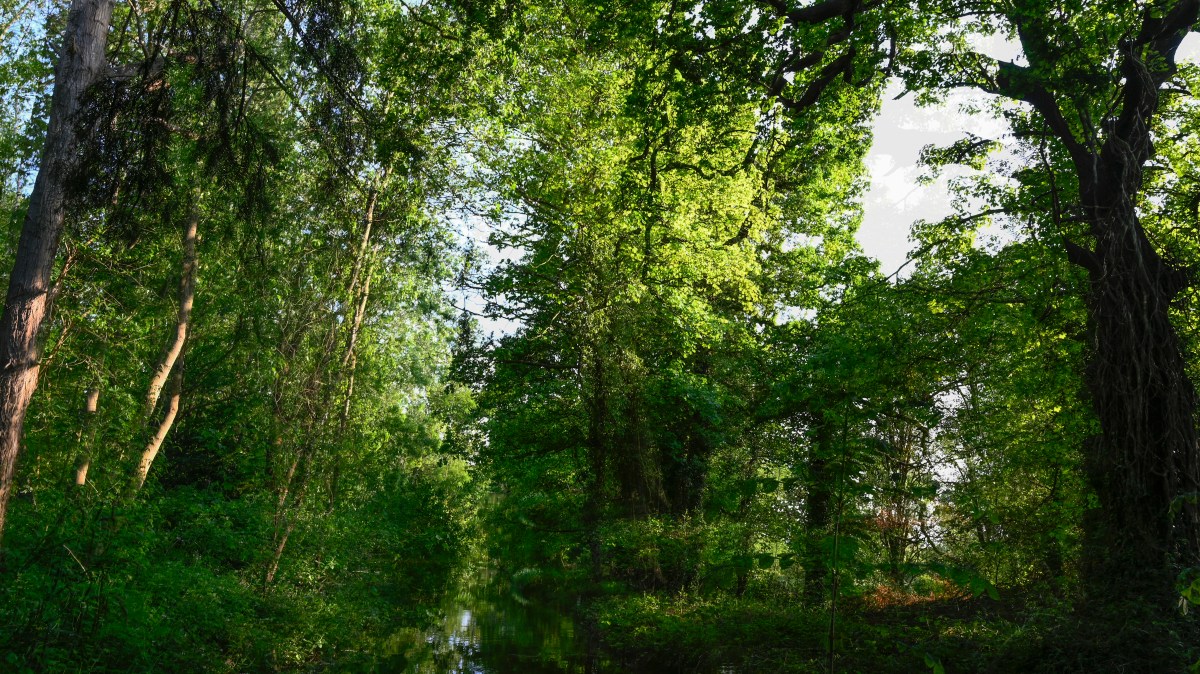
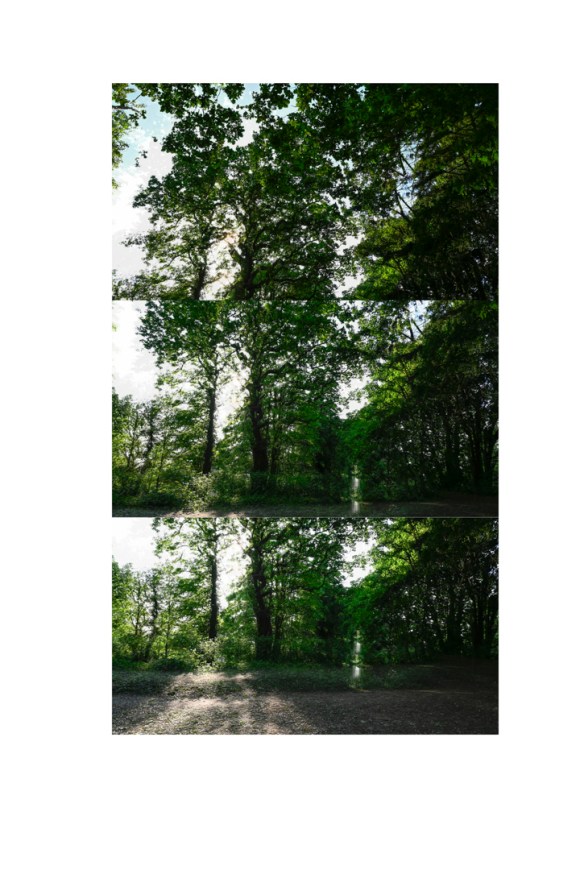
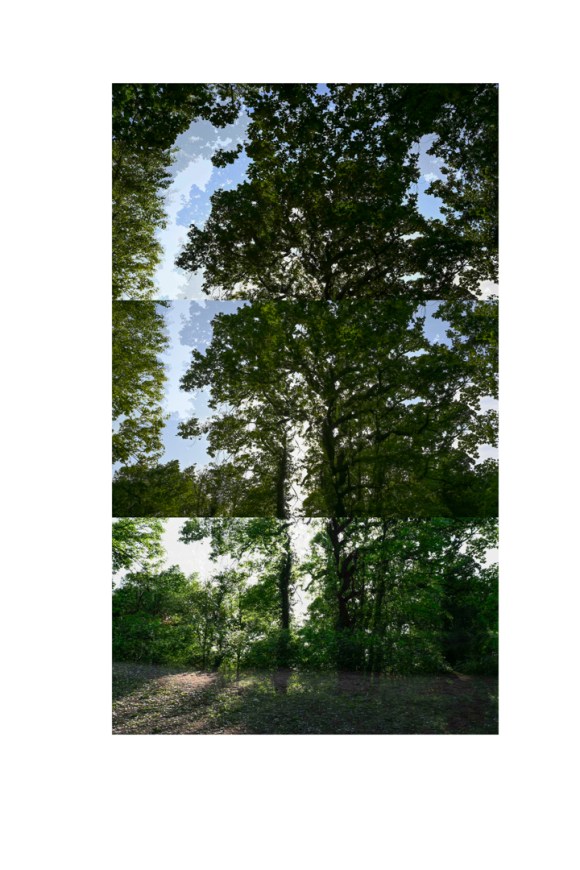
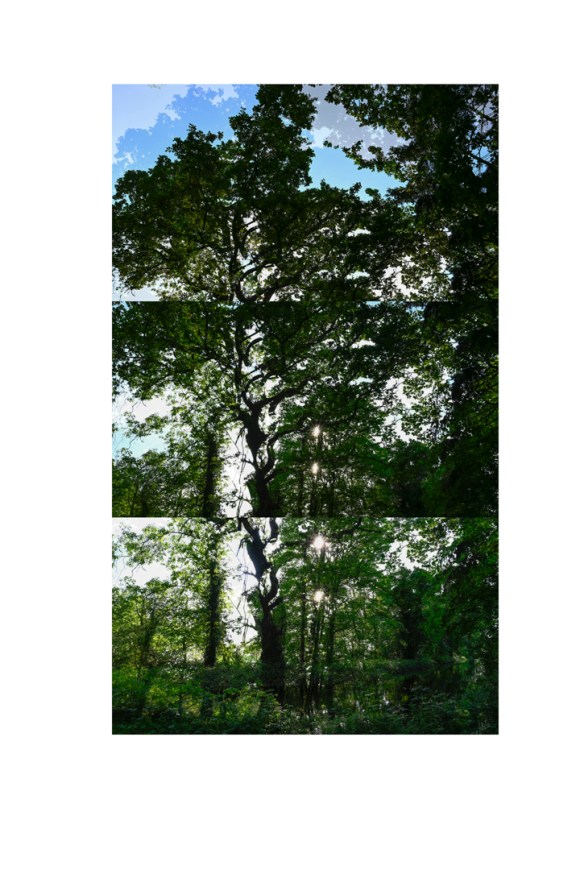
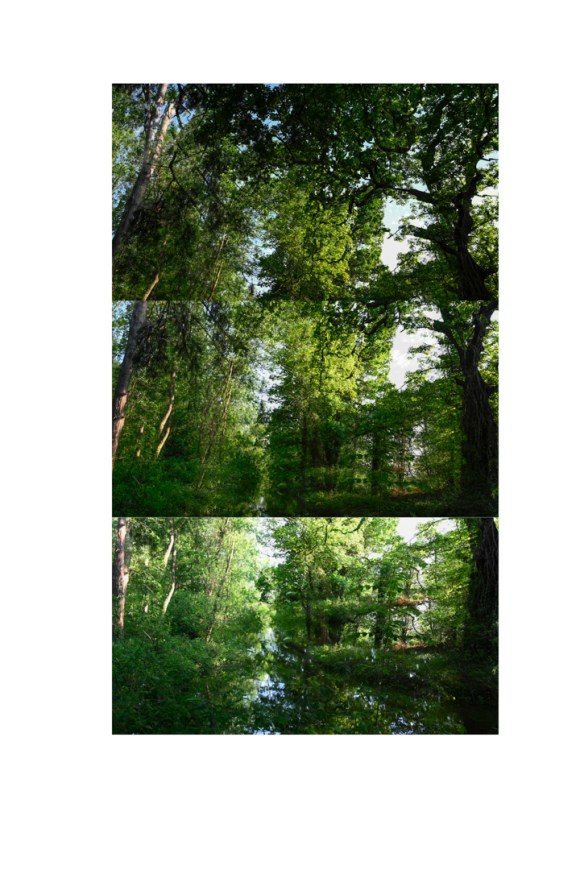
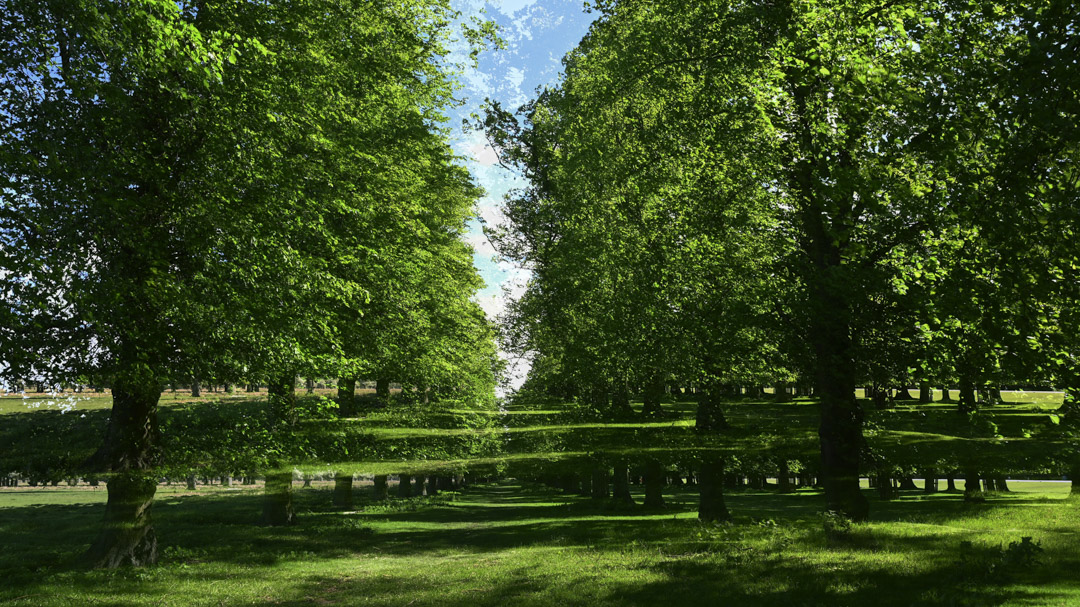
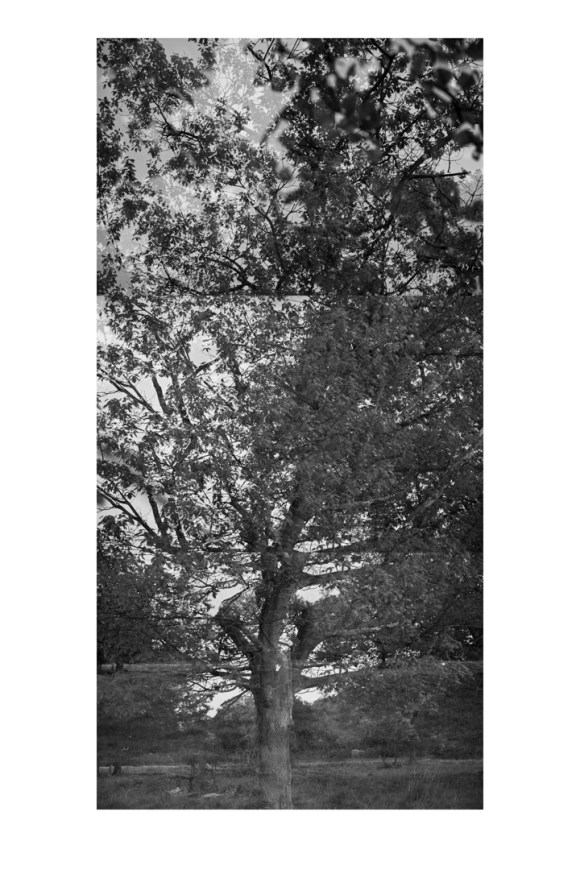
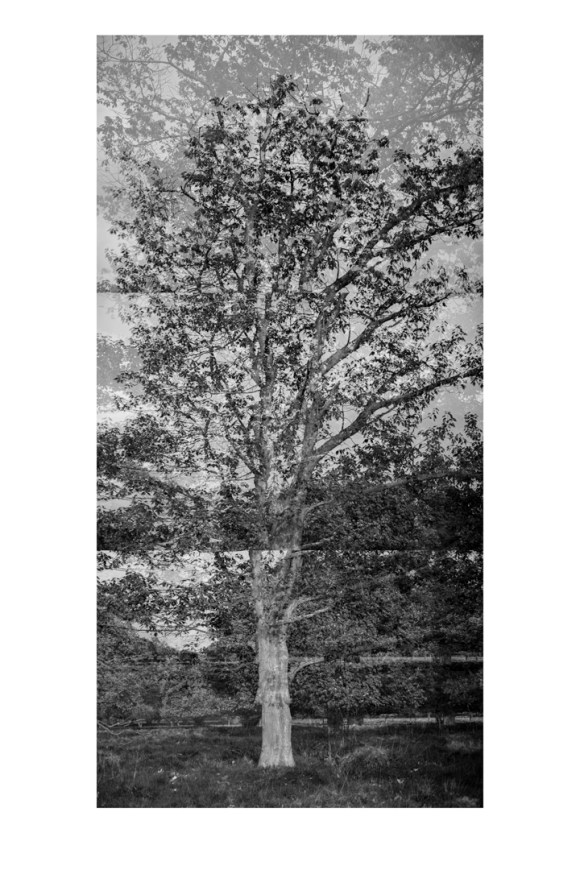
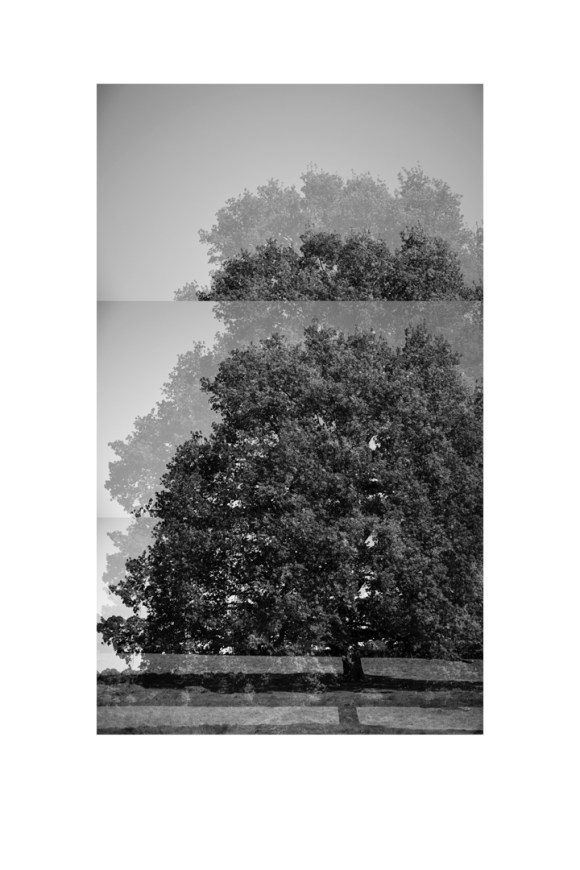
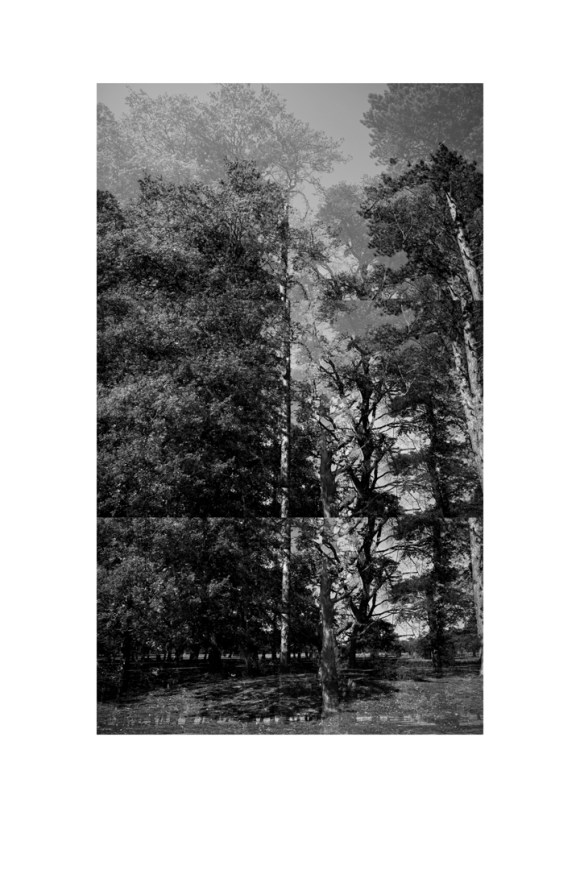
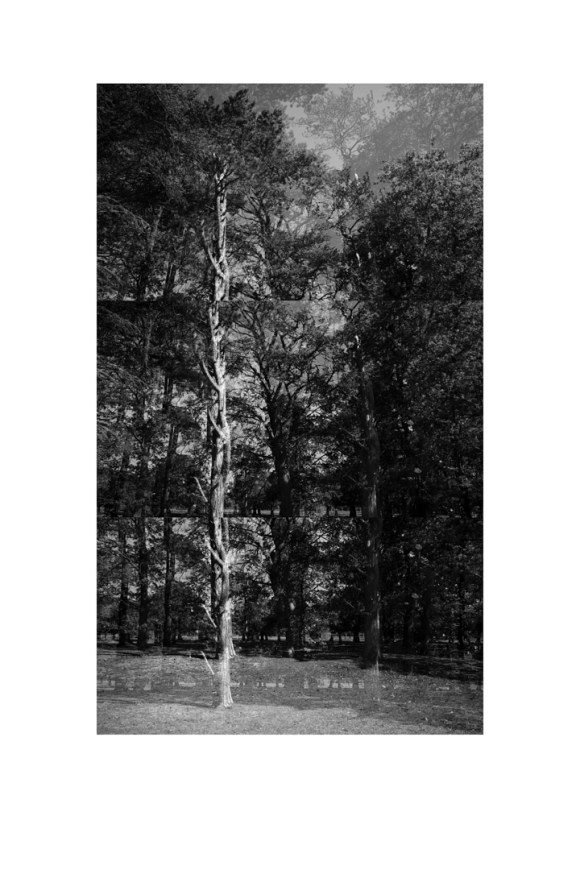
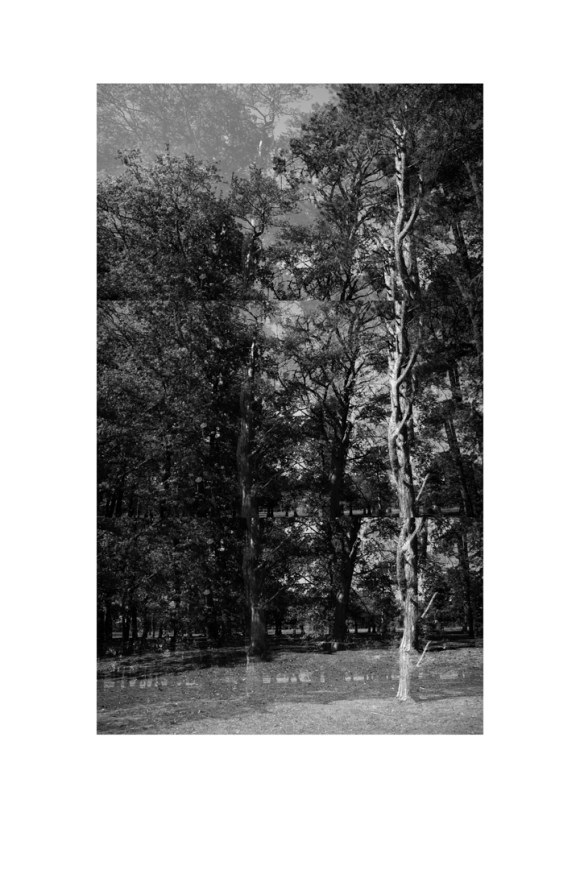
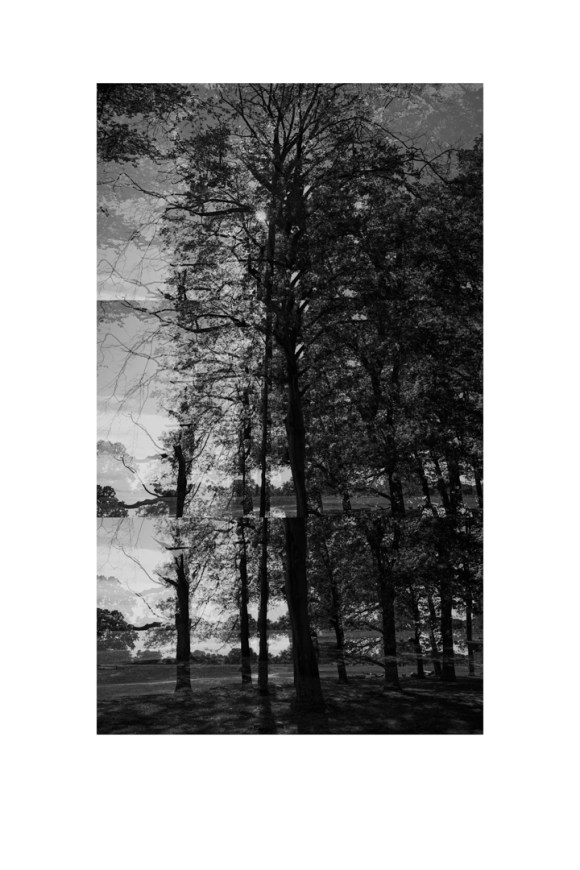
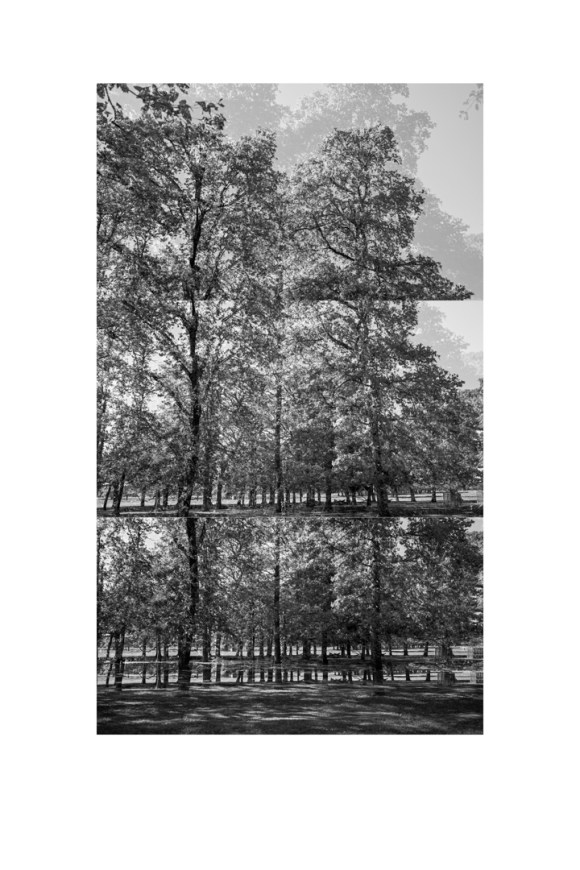
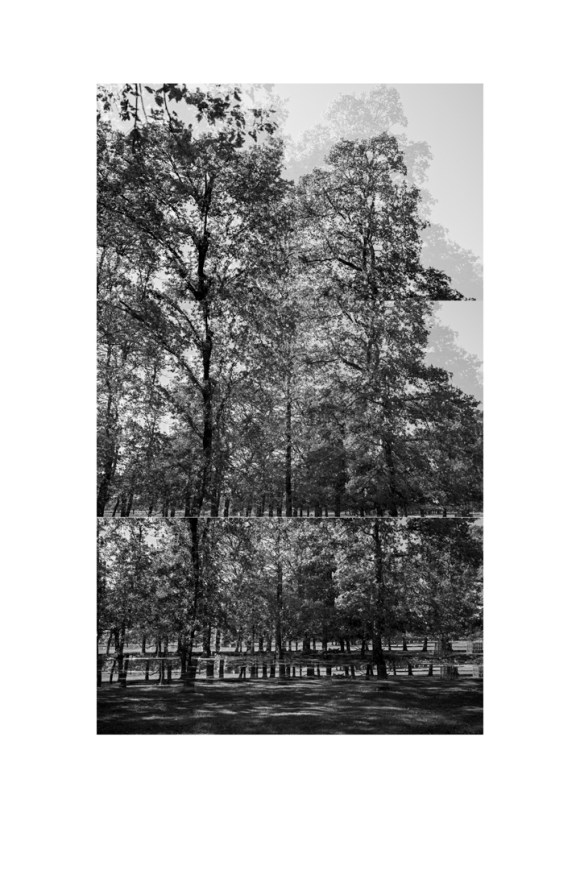
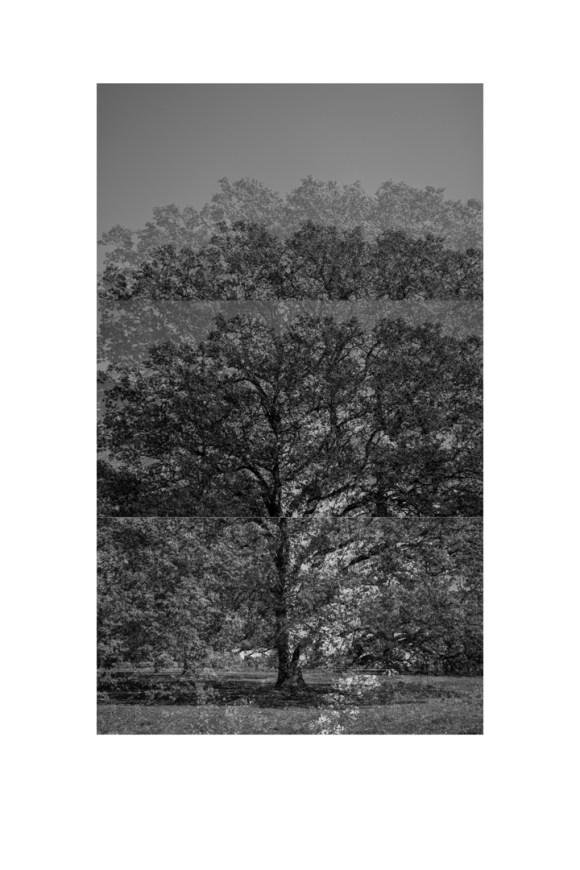
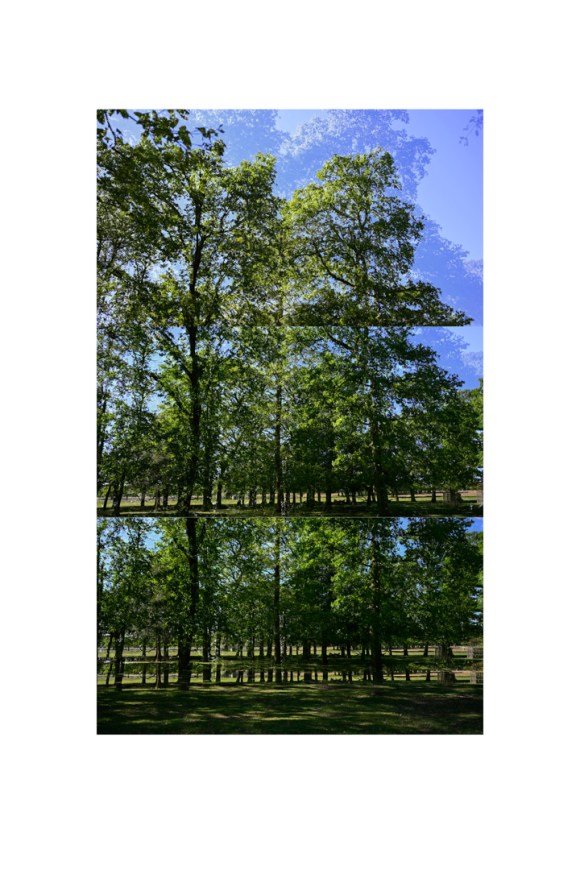
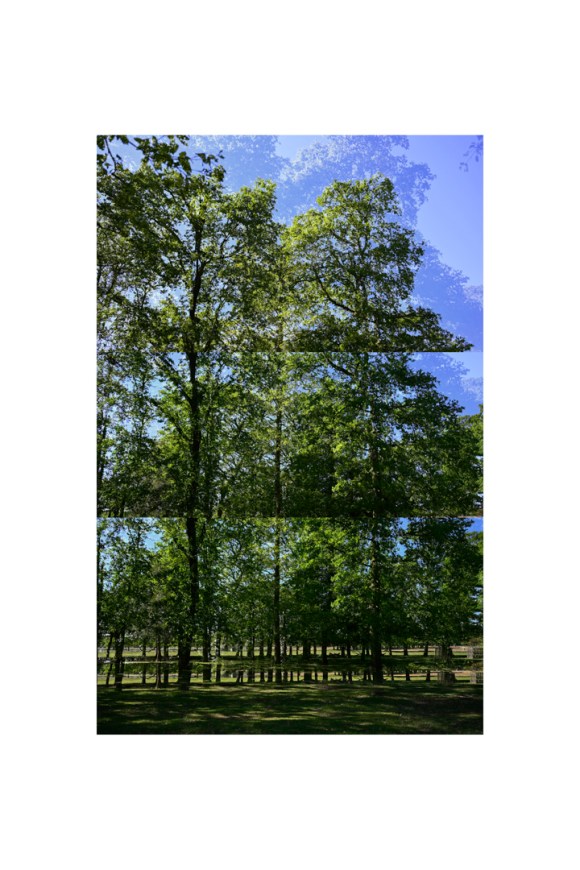
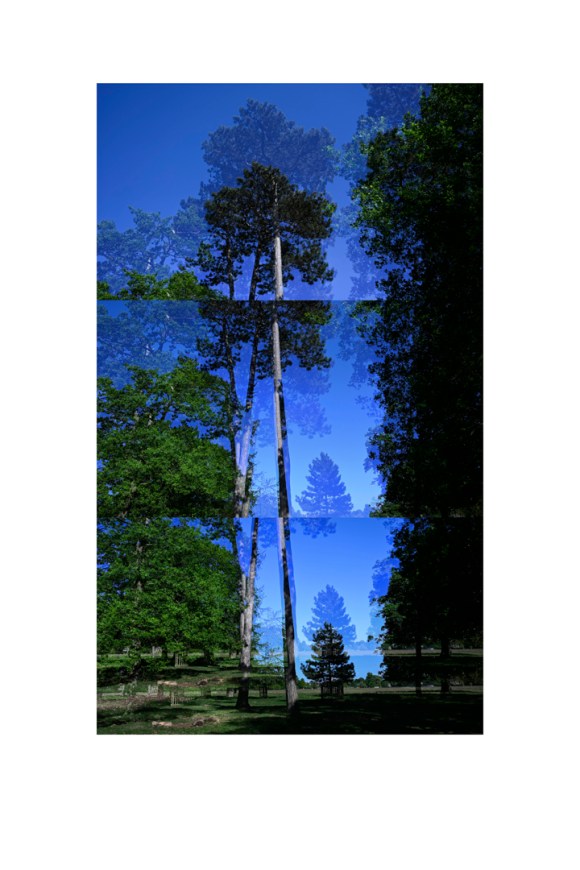
My approach so far is to continue taking multiple exposures of various trees. I have also been taking photos of trees during different times of the day and alternative angles. This experimentation has enabled me to ascertain the forms and the type of light that works best aesthetically.
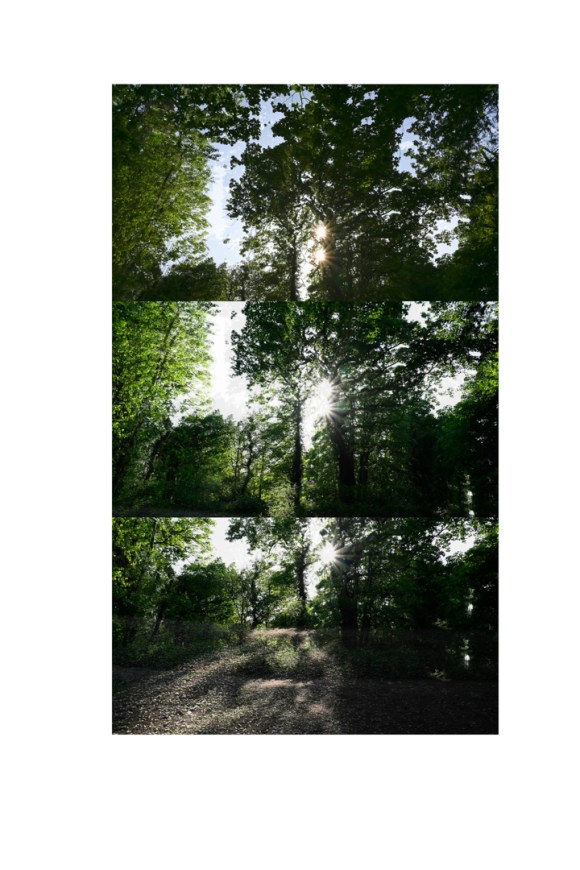
Technically, I have been experimenting further with multiple exposures. I am now working with a camera that enables me to see the original individual either in Live View or with the viewfinder. This enables me to select the composition of the second shot more accurately. I also have the option to take up to 10 multiple exposures, though I doubt if I will be using this facility with this particular project.
This camera then has the option to produce a JPG of the combined shots plus NEF files of the original images. This means that there is less ‘guessing’ of which shots work together. It also means that the individual shots can be worked on separately in either Adobe Camera Raw or Adobe Photoshop then combined as separate layers in the latter. I have used this particular technique when working on a previous portrait project:

My previous camera did not have this function, so either there was a lot of ‘guesswork’ when producing multiple exposures in-camera or extensive post-production editing to get the same effect. This was evident in my images up to and including 5 April 2020.
I first tried the multiple exposure mode on the new camera on 14 April with no prior knowledge of the capabilities. In my naivety, I had assumed it was the same as my previous one. This meant that all the images were shot as JPGs.
After I read the manual and realised the capabilities on offer, I reset the camera to shoot the individual shots as NEF, which then produces the combined image as JPG. This is how the images were taken on 29 April, 3 May, 5 May, and 7 May. I believe that if the setting for the original images is as a TIFF, then a TIFF combined image is produced. I have to carry out further experiments to see if this is so. However, I don’t think that would be necessary if the images were to be edited. All it would do is take up unnecessary space on the XQD card.
I also had realised on 14 May that there are three options of RAW file size – small, medium and large. I had been shooting at ‘medium’ (4528 x 3016 pixels), which means the files were a third of the potentially largest file (6048 x 4024). This observation was enough to remind me of something that my NCFE and BTEC tutor, Zig, told the class:
Be wary of the fact that, when shooting 3:2, that the sensor isn’t necessarily 6000 x 4000 or 3000 x 2000 pixels. It’s always best to crop the original images to a 3:2 ratio to ensure all the details you want in the image remain there. This is something I have to use in future editing when shooting at that ratio.
As I had the intention of exhibiting these images in the largest format possible, the shots so far would have limitations. However, as the final submittance of this project is online, this won’t affect that outcome. Going forwards, I will shoot the original images as large so there is the potential to go as big as possible.
A further ‘frustration’ was realising I had reset the image size to 16:9 (4528 x 2544) for the sessions on 3, 5 and 7 May. This had the double implication of reducing the image further.
Technical lessons learned by this experience?
First, take the time to read the manual and research your new camera’s functions and capabilities.
Secondly, take into consideration what you want to achieve during a shoot and set the camera accordingly before taking the first image.
This has resonance of something I heard during my time training for endurance sports :
P x 3²
This is translated as:
P1 = p***
P2 = poor
P3 = preparation
P4 = p***
P5 = poor
P6 = performance
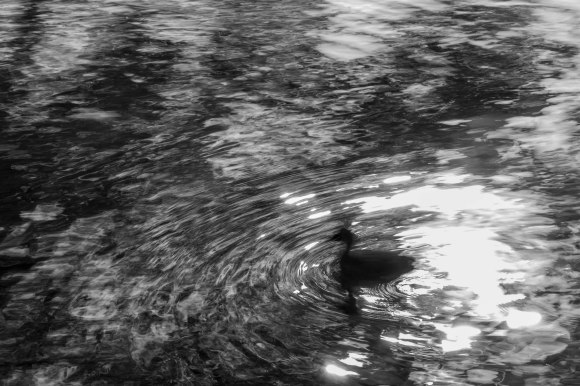
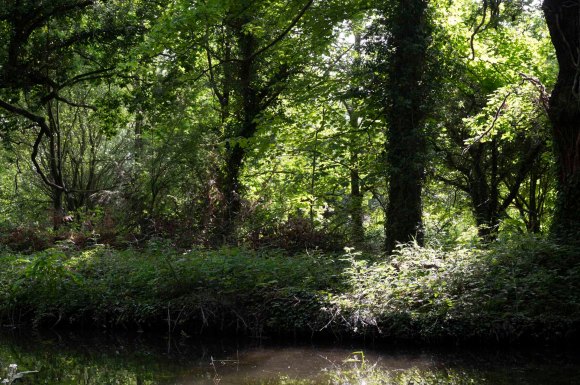
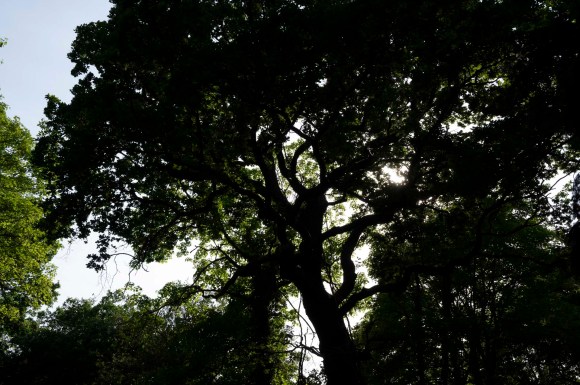
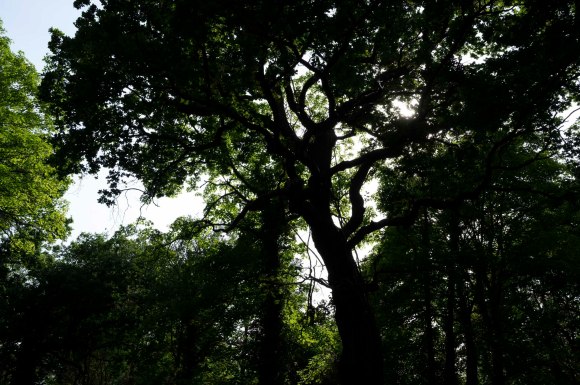
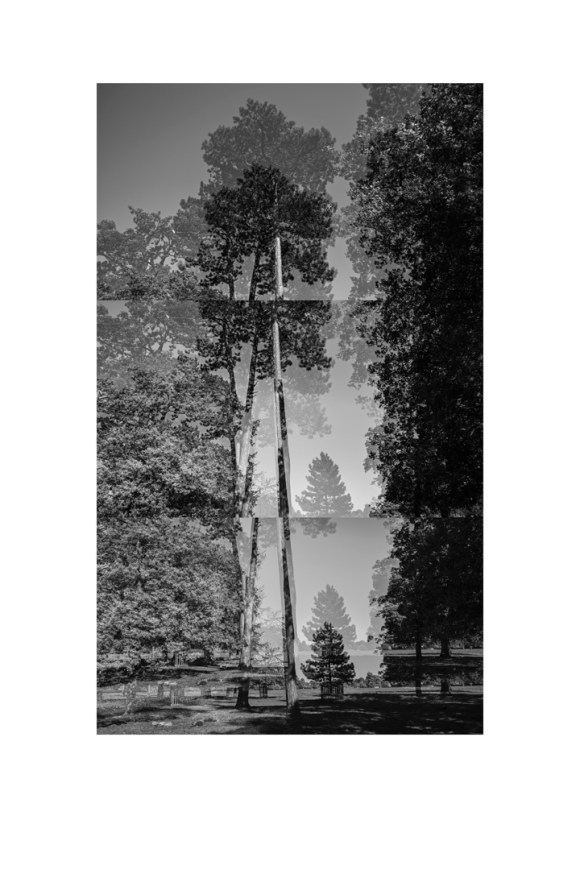
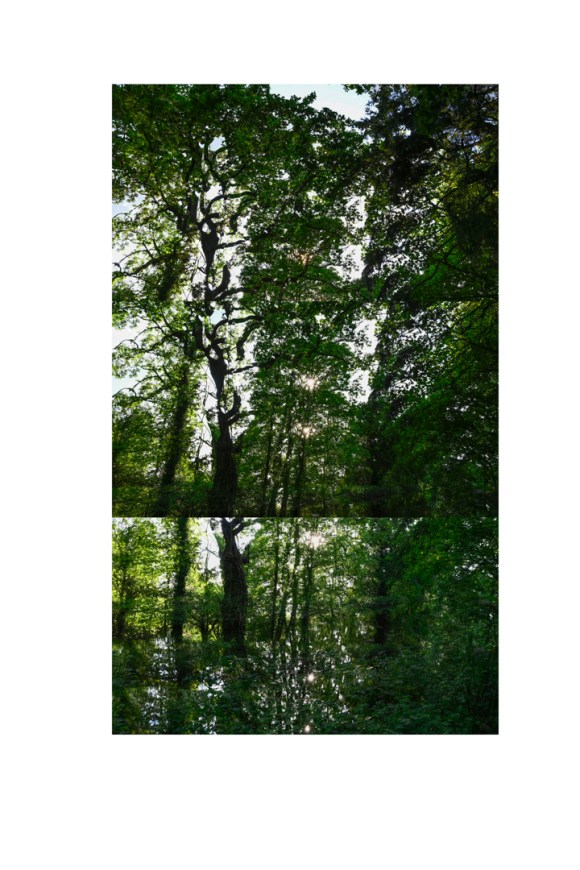
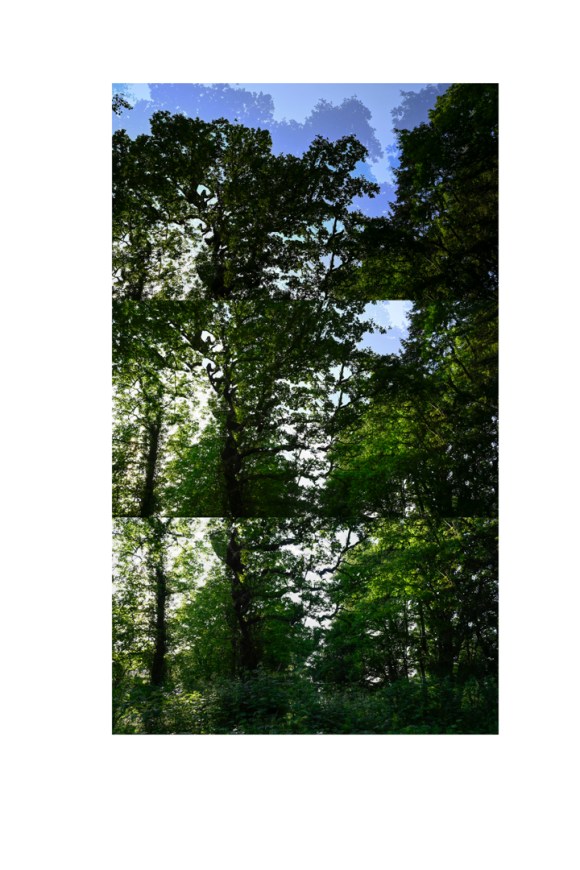
Creatively, I have tried the images both in colour and Black & White. What I’ve realised from my observations of the multiple tree images, some work best in colour, others in Black & White.
After the 12 May seminar, the general preference is towards Black & White.
The direct importance of this process and relevance of the decisions in relation to the project’s underlying aims and themes
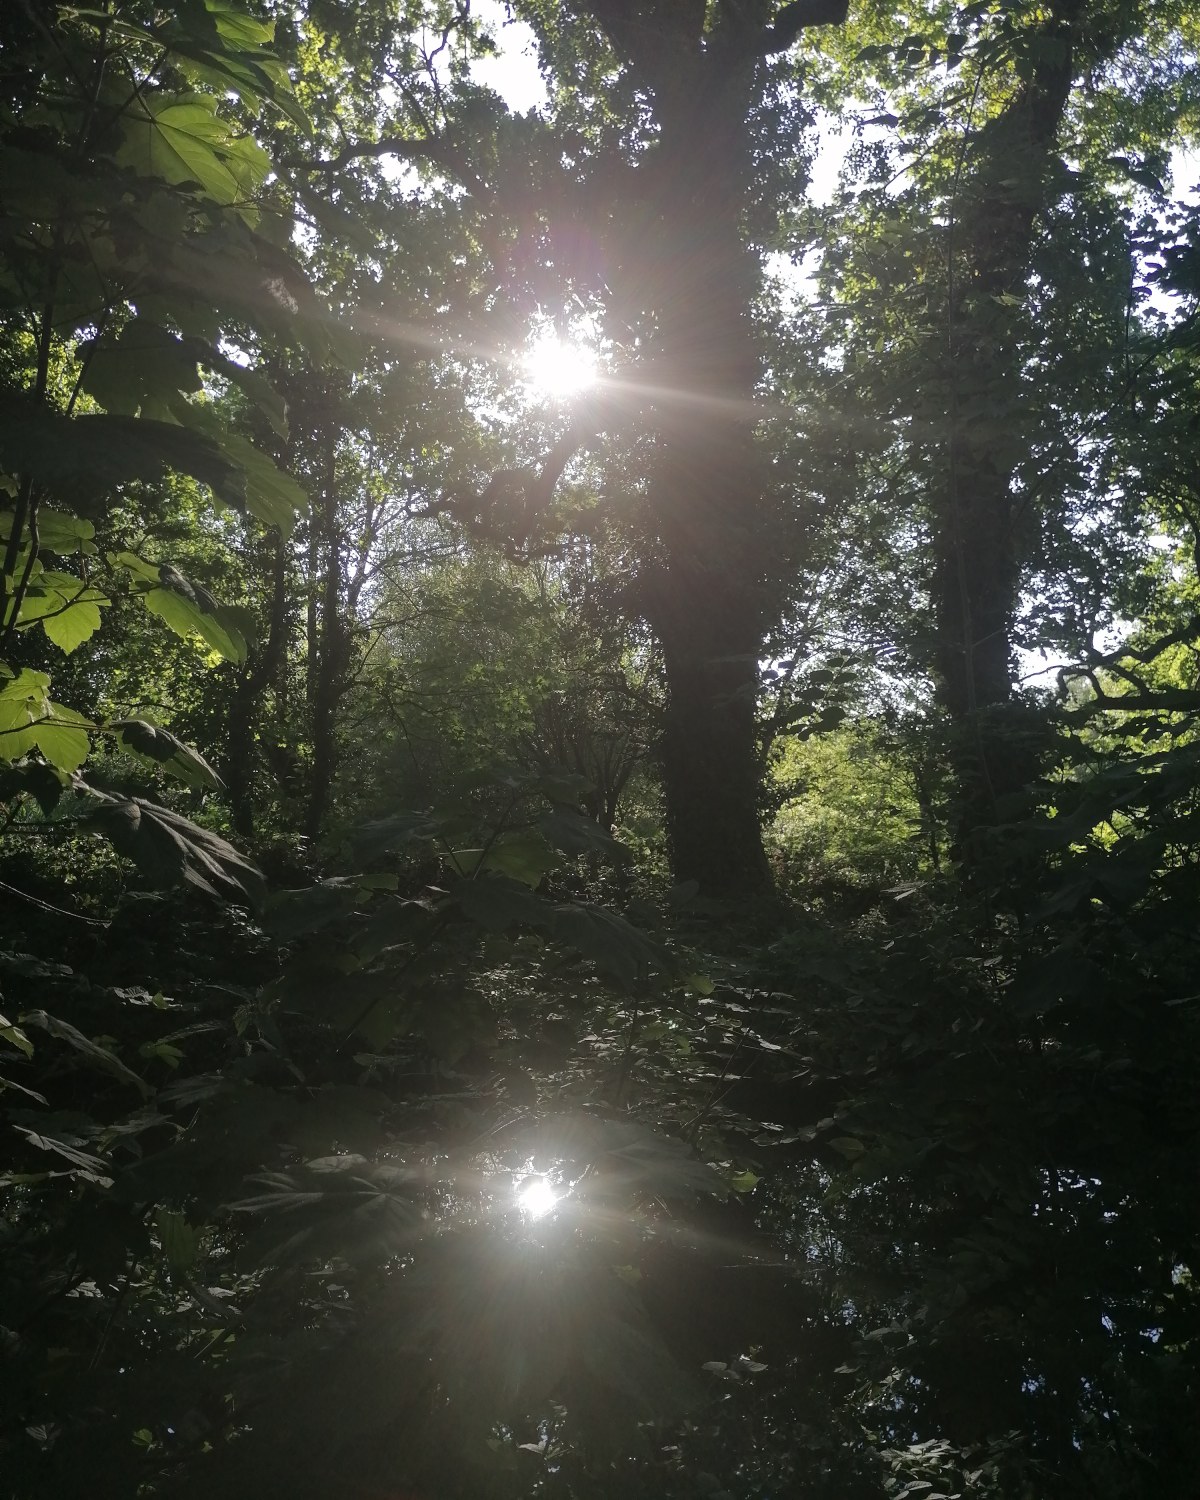
As a result, I decided to focus on the Black & White images with the selection of one in colour. I feel this is an essential element of recording and recognising the impact of the reduction in pollution is having on the natural environment. This image could be utilised as the ‘attention grabber’ as a poster or on social media.
My considerations regarding the ultimate final outcome/form of my work
I realise now I need to return to the park to refine my shooting methodology and approach.
My plan in relation to producing the work in a timely and fully formed manner
I plan to return to the park on 20, 21 & 22 May to take further shots with my camera on full RAW file capacity. I will then have over a week to process these images in the way I have formulated with the improvements that I have learned to make.
Identify how I plan to produce, mount, exhibit, install, and/or output my own project
If I was exhibiting these images within a gallery setting, I would have each image be printed at 30″ x 40″. This would be by a company I know well, The Print Foundry, who print and mount digital images at exhibition quality at an affordable price.
Each print would be a gloss c-print with a matt film cover. In my experience, whenever a print is glazed there is generally a reflection from the ambient or gallery light that blocks the image. A further consideration is an additional weight that a frame and glass add to each final wall piece.
The print would then be stuck to a 5mm polyboard with a subframe. This means that the images could be easily attached to the wall within a gallery environment. However, without a surrounding frame, this type of mounting presents the issue of being damaged in transit after an exhibition.
The initial size proposed is based on having a large white wall to fill. By printing digitally and to order, the final image size could be adapted to the space available. The other option with my images for this body of work is to have just one print. What I’ve realised with this body of work, as with others I have produced previously, is that they are adaptable to the exhibiting environment.
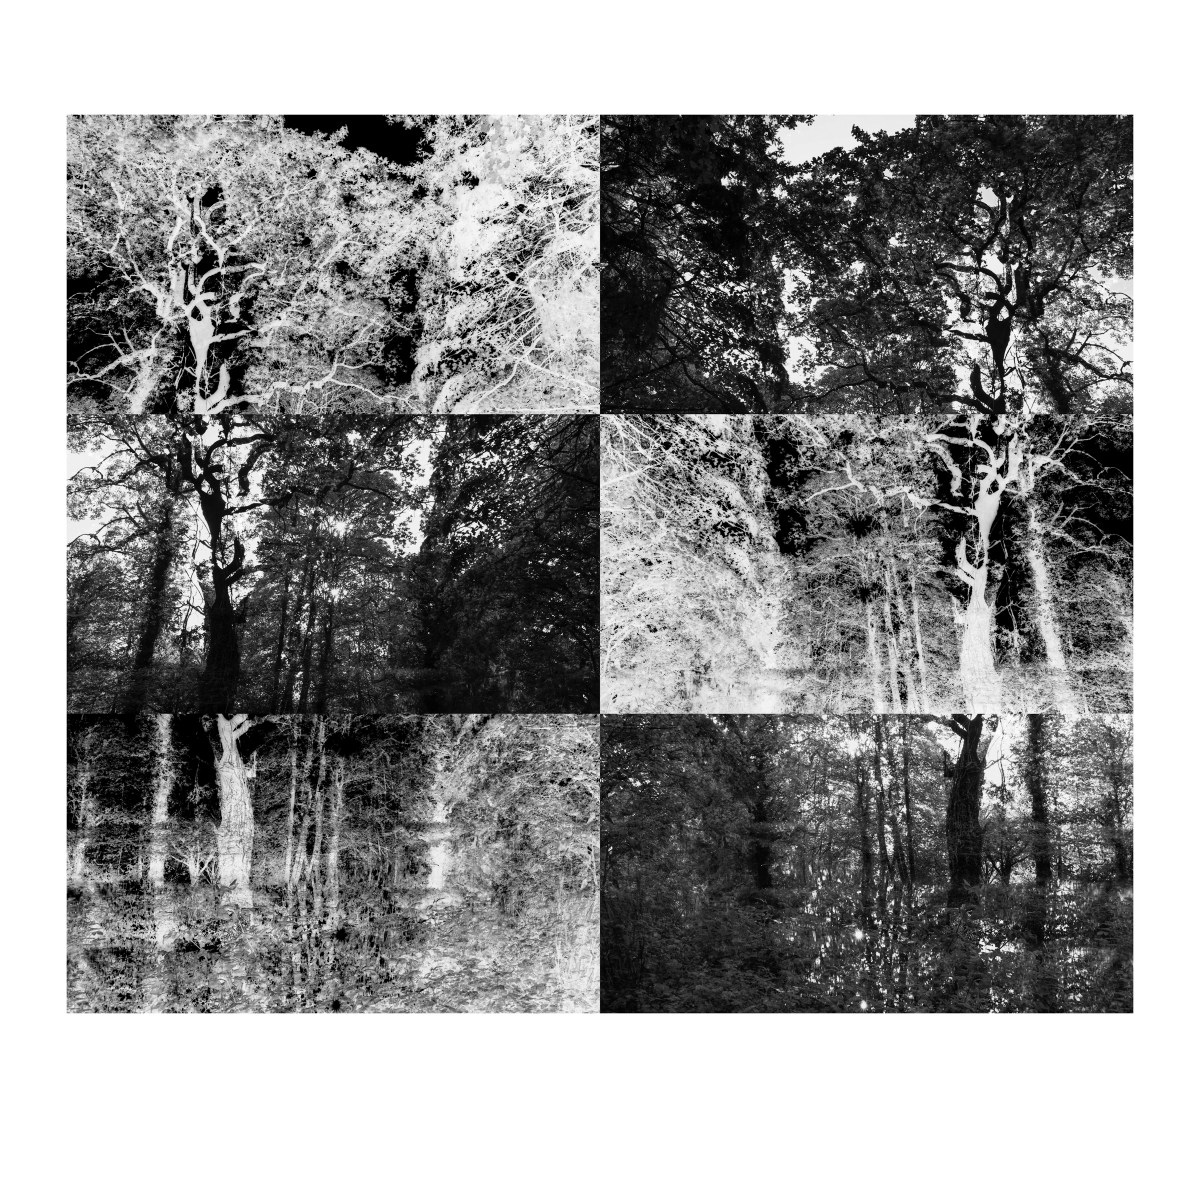
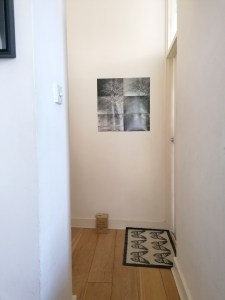
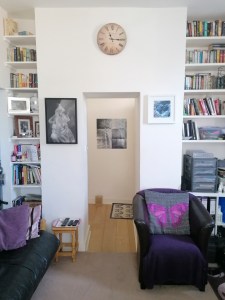
Produce a test/mock-up of at least one piece of work for presentation purposes
I have considered this by printing and testing a potential combination of images. I am yet to experiment further with this method.
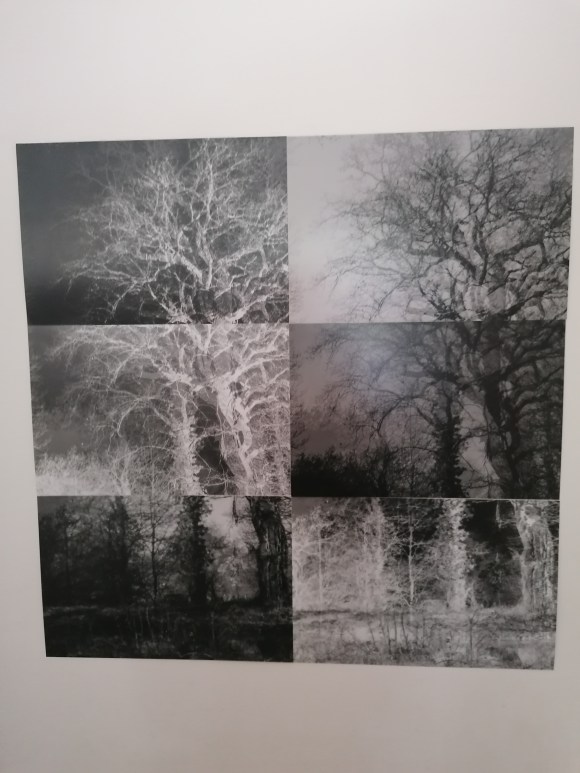
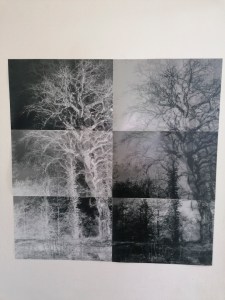
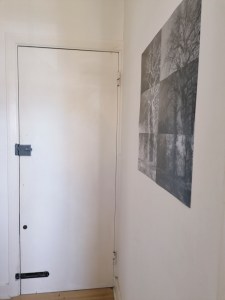
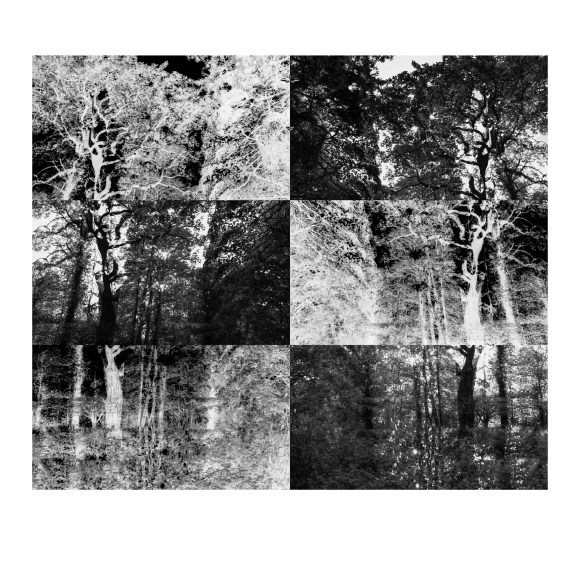
After I placed the following images on my wall, I swapped the bottom two images.
To take this further, what I would do is flip the three images to the right. This is an option I could utilise with some of the Black & White sets I have already taken. The following is an example of what may be possible:
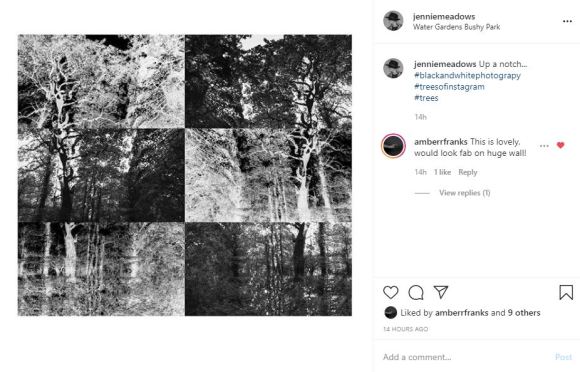
I think I’m on the right path after receiving this feedback from a fellow photographer on Instagram:
I also had to be prepared to explain, discuss, and critique my choices in terms of technical production and execution, e.g.:
- Decisions that I have begun to make in terms of physicalising my work
- Camera use
- Printing (medium, size, etc.)
- Potential mounting and framing possibilities
- Sequencing
- Hanging
- Installation
- Environmental considerations (sound, light, etc. if relevant)
Some of these elements have already been stated above. The difference from the original spec in the handbook is now the work has to be presented online. This is something I am still considering. Presenting work online in comparison to physically putting work within the gallery environment has a whole bunch of strengths, weaknesses, opportunities, and threats I haven’t quite to grips with.