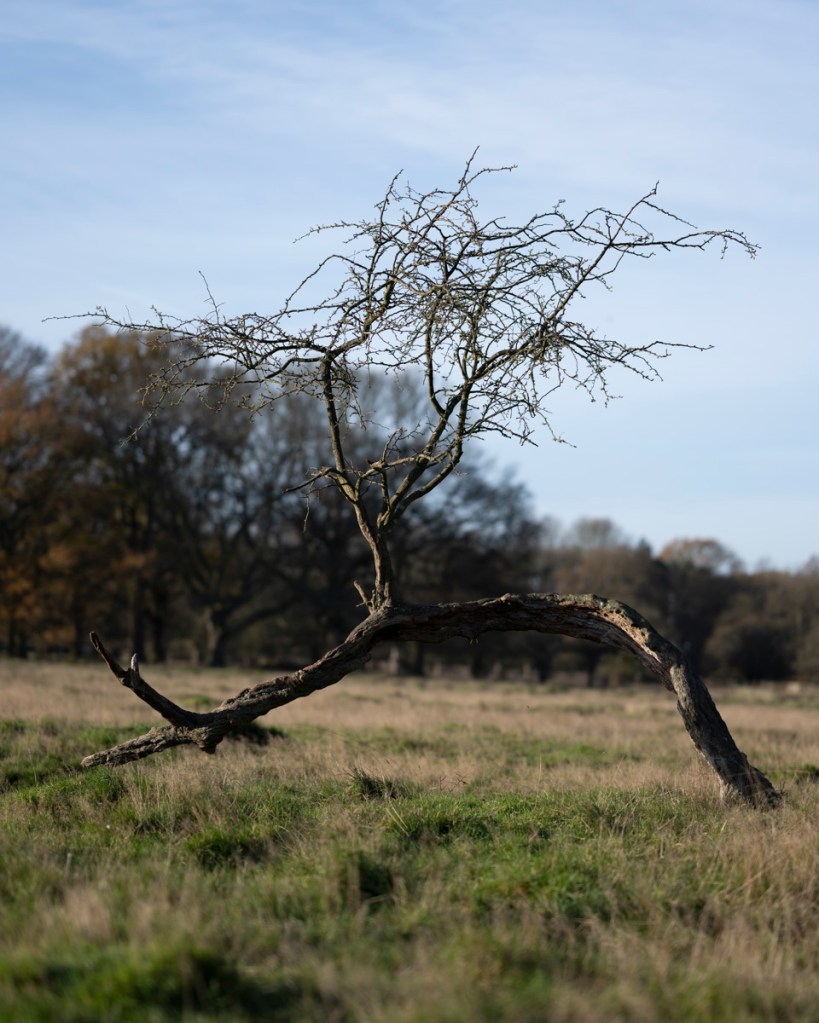
One aspect of tree photography that interests me is the use of multiple images to create a portrait. I explored this during the AGM60 Research & Experimentation module in which I created three multiple exposure shots of a tree then compiled them to create the final image.
https://jenniemeadowsma.photo.blog/category/agm60-research-experimentation-posts/
At this stage of the project, I had already looked at the work of Terry Evans, who specialises in compound photography.
AGM62 Terry Evans American Prairies 27 October 2020
Noel Myles
My interest was piqued further by the following image by Noel Myles that featured in Into The Woods.
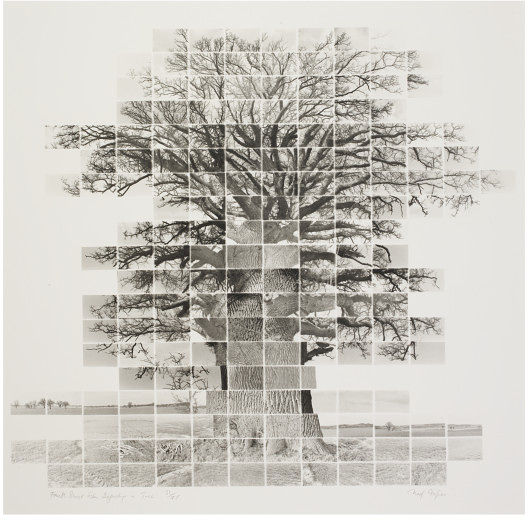
“This image was composed in the photographers studio using 187 separate 35mm negatives, taken over a four-week period. It explores the idea that many negatives may comprise one photograph. Myles’ study extends beyond one viewpoint and one moment in time, acting more like a film than traditional photography. More than any single exposure, it also perhaps more accurately reflects the constantly changing life of the tree.”
(Barnes, M. 2019, pp. 136).
When I explored Myles’ work further I came across some information that sparked a new line of enquiry.
“In addition, his landscapes extend beyond one viewpoint and one moment in time, acting perhaps more like film than traditional photography. For the artist, this technique serves to evoke memories and accumulated experiences. [2008].”
(Fourth Short Film Depicting a Tree, Winter | Myles, Noel | V&A Search the Collections, 2020)
In addition, I discovered that Myles has since made his compound images using both Black & White and colour.
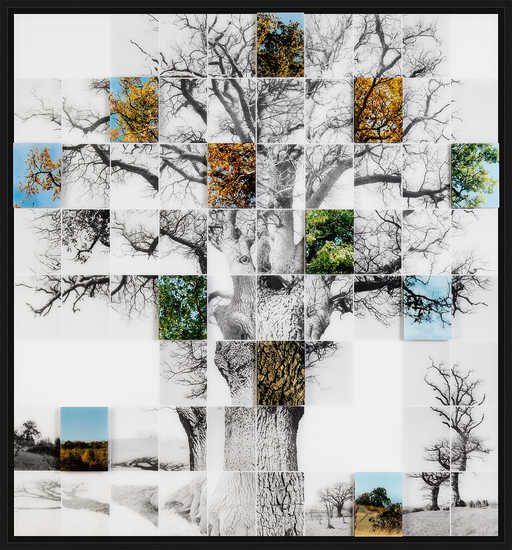
Figure 2 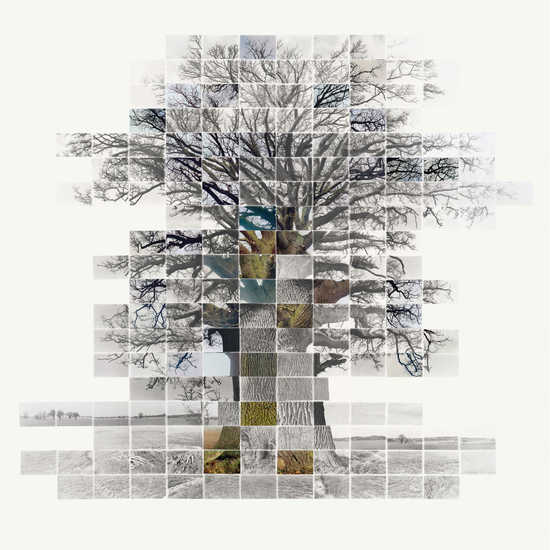
Figure 3 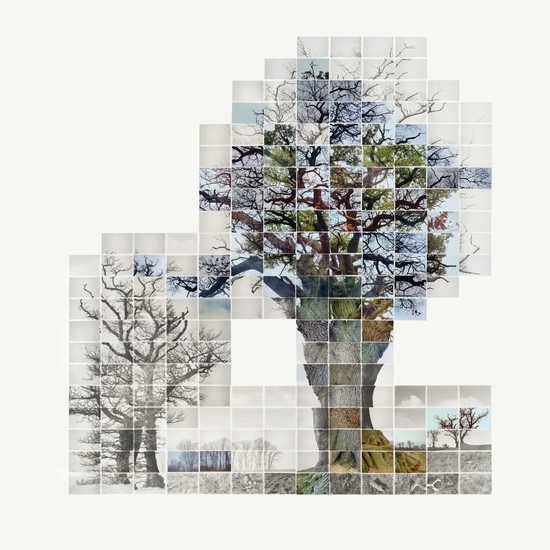
Figure 4
The following has been extracted from the website of Lumas, an organisation who sells artwork on behalf of the photographer. I’ve kept the full text intact as it provides a lot of useful information and references:
“The protruding sections lend the image a physical presence: It emerges into the room. By juxtaposing black & white and colour shots taken at different times of the year, the artist produces a symbolic circle of life. The dynamic energy of the mosaic is accentuated through its three-dimensional appearance. The multi-layered work becomes an artistic entanglement of different elements of time and space, “tangible” in every sense of the word.”
Multiple Art Trees
The mind is not a camera. And the still life trees created in large-format by British artist Noel Myles do not capture moments or, at least, should not be seen to. While they consist of a large number of smaller photographs, these photographs are brought together to create one overall image Myles, who actually trained as an illustrator and painter, creates his collages using classic analogue photography, but contrasts the traditional single perspective of a photograph with the multiple perspectives created by the collage. What we see is a tree, a tree comprised of multiple close-ups, taken over a number of seasons. Individual details are photographed from below, from the side, from up close, and from a distance. This technique allows Myles to revolutionise the fleeting moment of perception captured by classical photography into a more comprehensive impression of time and space. The result is that we, the observer, are forced ask ourselves certain questions. What is nature? What does a tree really mean to us? It is not just a structure that has grown organically, in which every detail stands in relation to the whole, but also an experience of the senses. Just like Myles’s images themselves. The difference is that he uses only photography – a medium of instant impressions – to create this immersion of the senses.
(Reisner, S. 2020)
In addition to the above, I will be researching Myles’ work further in relation to this link and the information available.
https://www.reframingphotography.com/resources/noel-myles
James Balog
Another photographer who uses the compound method is James Balog, an environmental photographer whose focus is on humanity’s modification of nature. I discovered Balog’s work recently when researching how to improve my photography of trees.
The work of Balog’s that caught my eye was his majestic compound images of trees. Similar to the work of Terry Evans and Noel Myles, Balog uses multiple images to depict a single tree as a portrait.
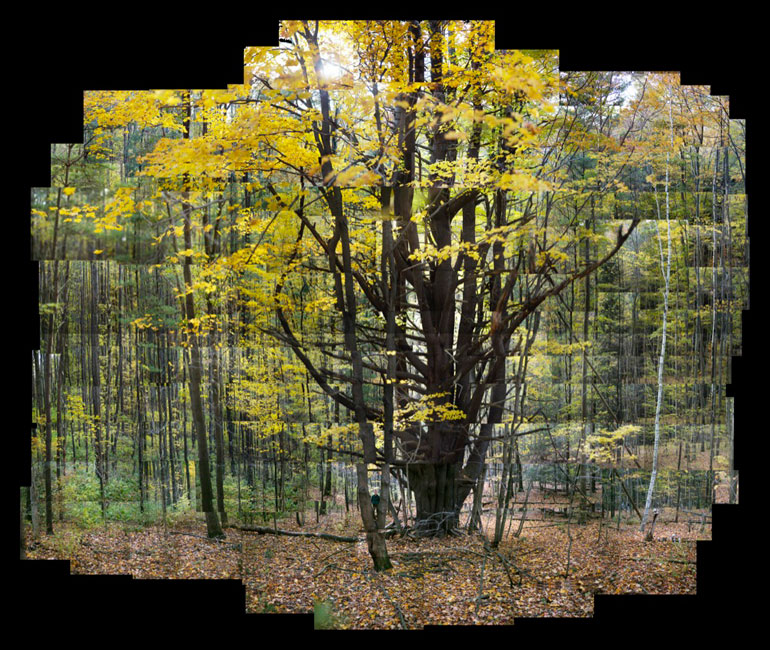
Figure 5 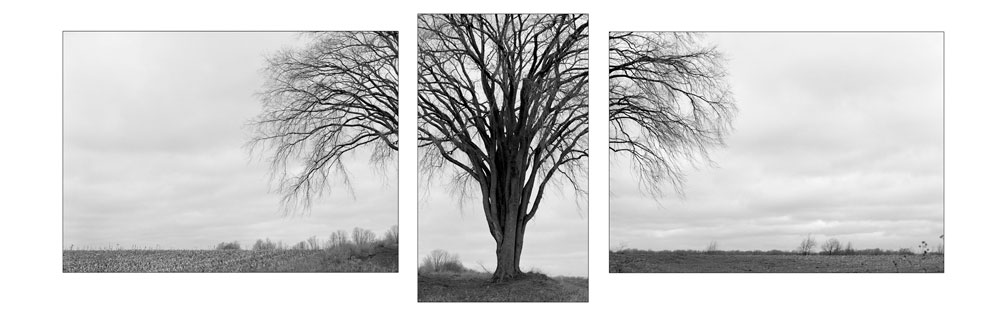
Figure 6 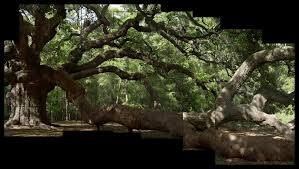
Figure 7
Balog spent six years photographing North America’s largest, oldest and strongest trees that resulted in the book Tree: A New Vision of the American Forest (2004). At the time of writing, I have ordered this book and was eagerly awaiting its arrival.
Balog originally built enormous portrait studios beneath the canopies of the forest. This aspect reminds me of the work of Myoung Ho Lee. In 2000, Balog invented his own method of compound photography. This involved photographing these massive trees in segments from top to bottom then compose these segments resulting in a portrait. By doing so, Balog has captured each tree in its entirety instead of just showing parts.
To give an idea of Balog’s method, the following is in his own words:
“Eventually, I started what became a four-year-long process—gruelling, dangerous, uncomfortable, and expensive—of figuring out how to climb the trees, rappel down and shoot them as enormous mosaics. The finished composites took hundreds, then thousands, of frames. Hard work, like I said. Yet the approach was satisfying beyond my wildest dreams when it created fresh new ways of engaging with these greatest of arboreal citizens on our continent.”
(Balog, J. 2020)
According to Balog’s website these images:
“Stand as an artistic and symbolic reassembling of the continent’s long-lost primeval forests. Across the globe, the planet’s original tree cover has been altered so dramatically that we no longer remember what made nature natural.”
Was this the inspiration I was looking for?
Images
Figure 1: Noel Myles, Fourth Short Film Depicting a Tree from the series Still Films, Winter 2000
Figure 2: Noel Myles Oak No 1 2016
Figure 3: Noel Myles Still Film of an Oak at Wormingford No 7 2011
Figure 4: Noel Myles Third Film of the three trees No 1 2010 2011
Figure 5: Eastern White Pine, Lenox, Massachusetts, October 2002, from TREE: A New Vision of the American Forest. James Balog.
Figure 6: American elm, Buckley, Michigan, November 2000, from TREE: A New Vision of the American Forest. James Balog.
Figure 7: Live Oak tree named “Angel Oak,” Johns Island, South Carolina, April 2001, from TREE: A New Vision of the American Forest. James Balog.
References
Balog, J., 2020. Changing Forests: 1998–2004 | James Balog Photography. [online] Jamesbalog.com. Available at: <http://jamesbalog.com/portfolio/changing-forests/> [Accessed 4 December 2020].
Balog, J., 2020. Tips For Environmental Photographers | Nikon. [online] Nikonusa.com. Available at: <https://www.nikonusa.com/en/learn-and-explore/a/tips-and-techniques/tips-for-environmental-photographers.html> [Accessed 2 December 2020].
Balog, J., 2004. Tree: A New Vision of the American Forest. New York, NY: Sterling Publishing Co., Inc.
Barnes, M. 2019. Into The Woods. London: Thames & Hudson.
Collections.vam.ac.uk. 2020. Fourth Short Film Depicting A Tree, Winter | Myles, Noel | V&A Search The Collections. [online] Available at: <http://collections.vam.ac.uk/item/O178873/fourth-short-film-depicting-a-photograph-myles-noel/> [Accessed 7 December 2020].
LUMAS. 2020. Noel Myles Fine Art Prints And Photography | LUMAS. [online] Available at: <https://www.lumas.com/artist/noel_myles/> [Accessed 7 December 2020].
Noel Myles | Reframing Photography. [online] Reframingphotography.com. Available at: <https://www.reframingphotography.com/resources/noel-myles> [Accessed 7 December 2020].