With a large number of images captured and a strong concept in place, it was time to get some of these printed. Having checked online, I was relieved to see that my ‘go-to’ print bureau, DS Colour Labs, was taking orders. This bureau is my first choice when I need a batch of test prints. The prices are very reasonable, the prints are of a professional standard and they have a swift turnaround.
On DS Colour Labs’ website, they stated that they had closed their retail store and production unit on 24 March due to the current government restrictions. They had to have some time to discuss how/if they could continue to operate safely within the government guidelines, while still providing a service to their customers. Fortunately, they made the decision to reopen their production facility on Thursday 26 March with limited operating hours. It was reassuring to know that the safety of their staff and the photographic community is paramount.
DS Colour Labs were following official advice and they were taking every necessary precaution. These measures included operating as a one/two-person team (Managing Director and Production Manager) to ensure social distancing, not using public transport to travel to and from the workplace and keeping strict hygiene practices at all times. As a result, they were able to keep a basic level of production running in the print lab (Standard Photographic Prints up to 18″x12″). Any customer service inquiries were to carried out via email only, which cannot be done remotely.
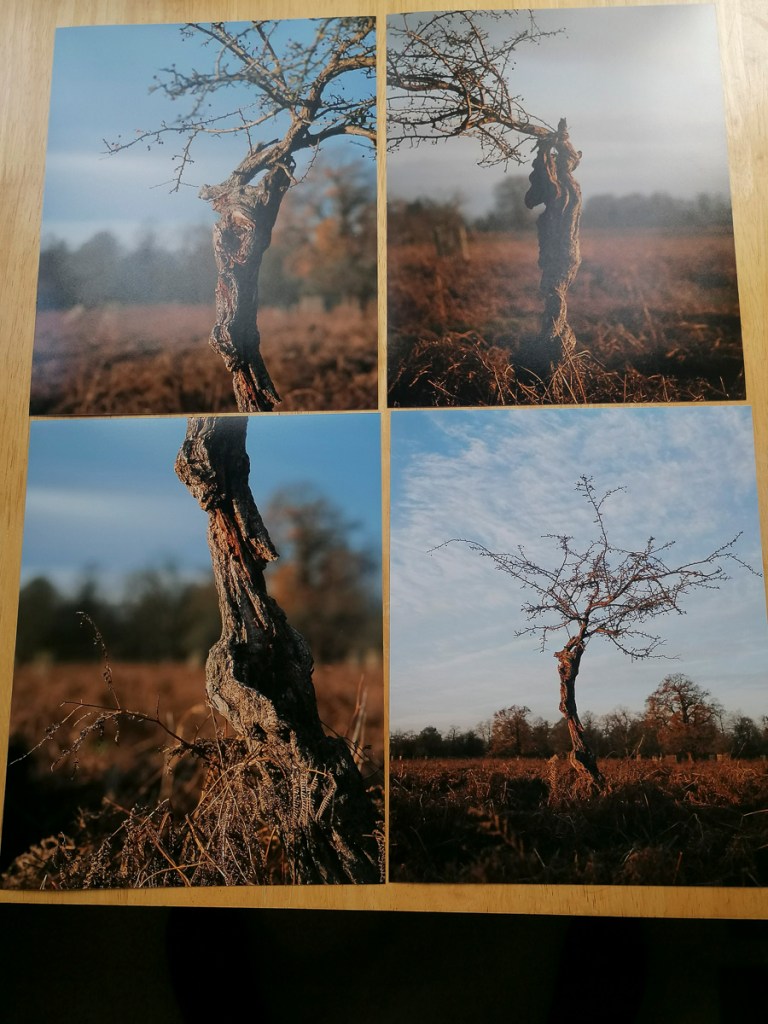
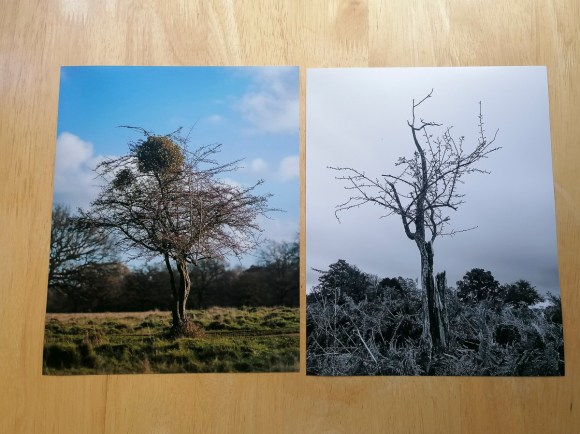
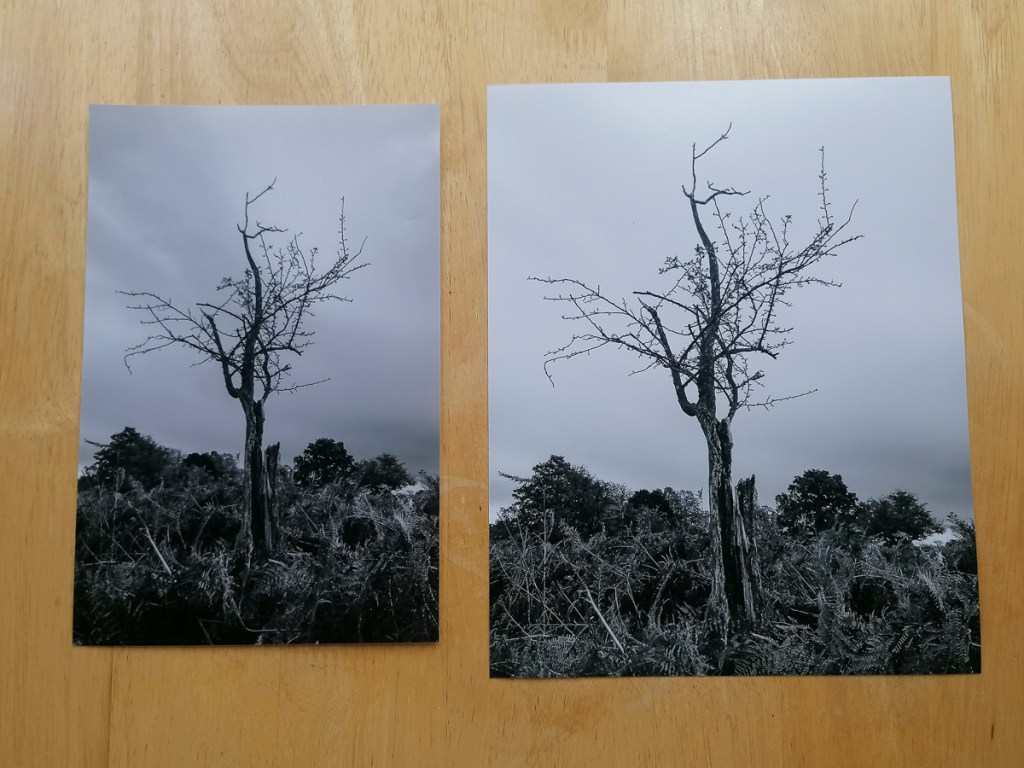
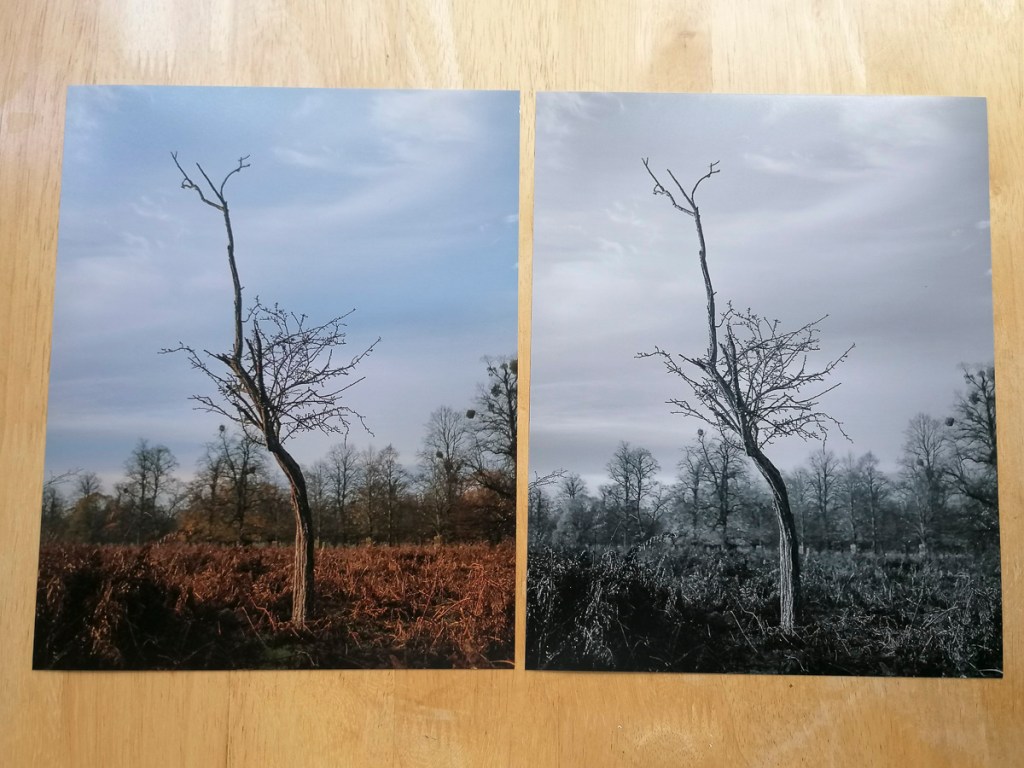
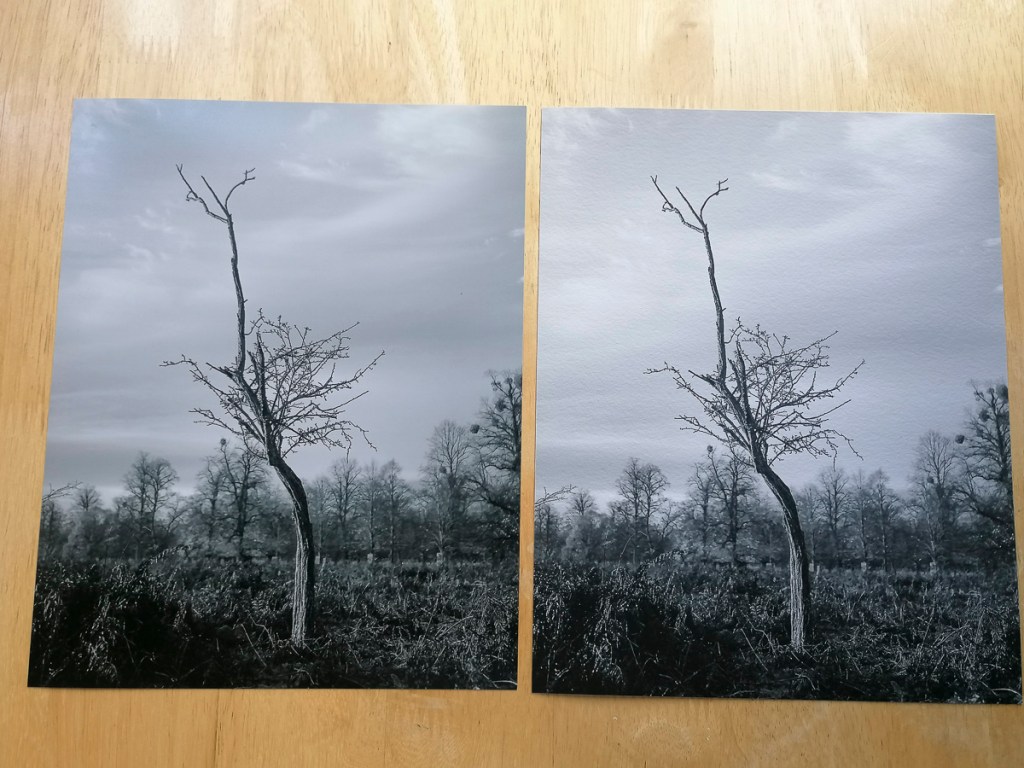
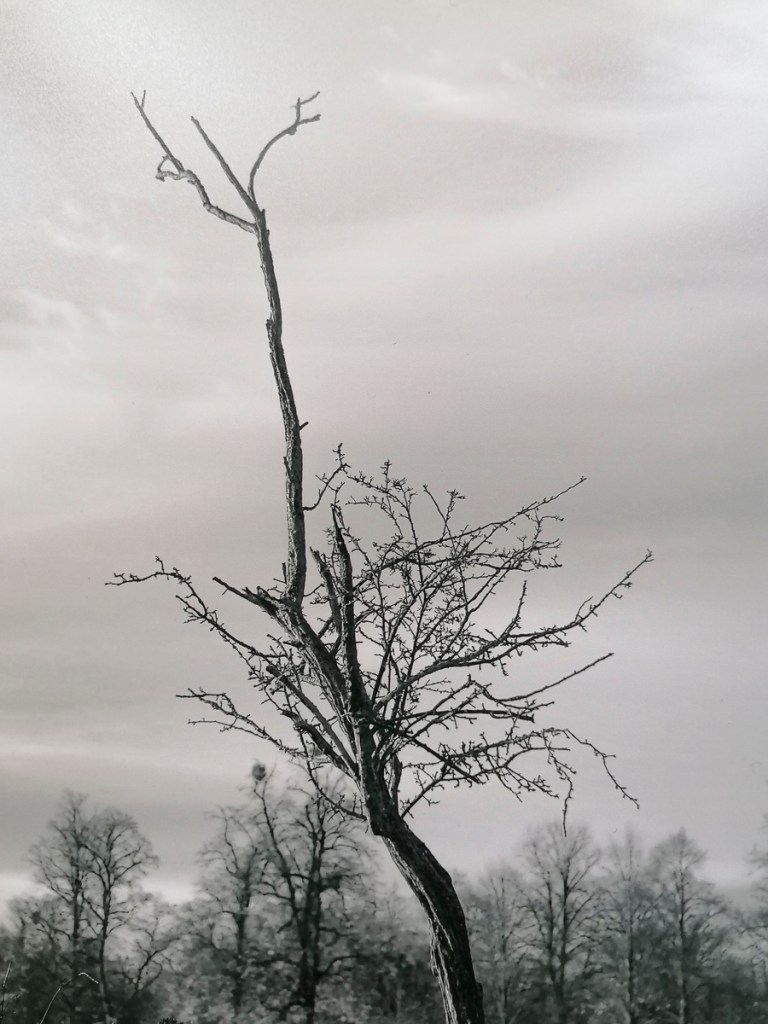
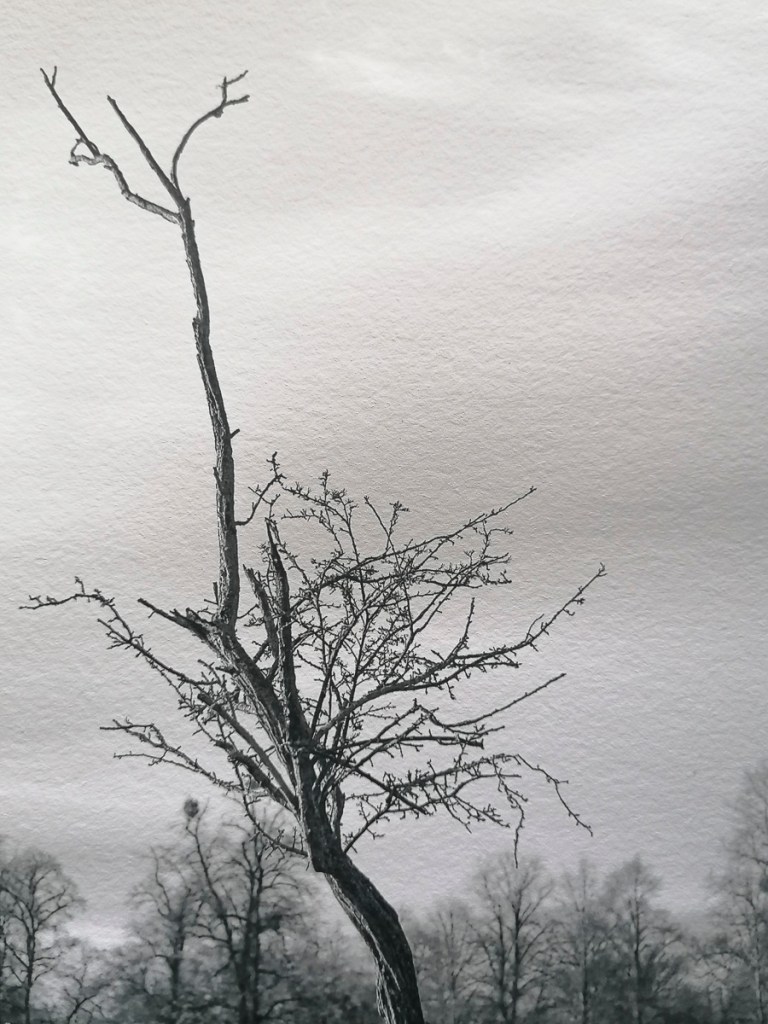
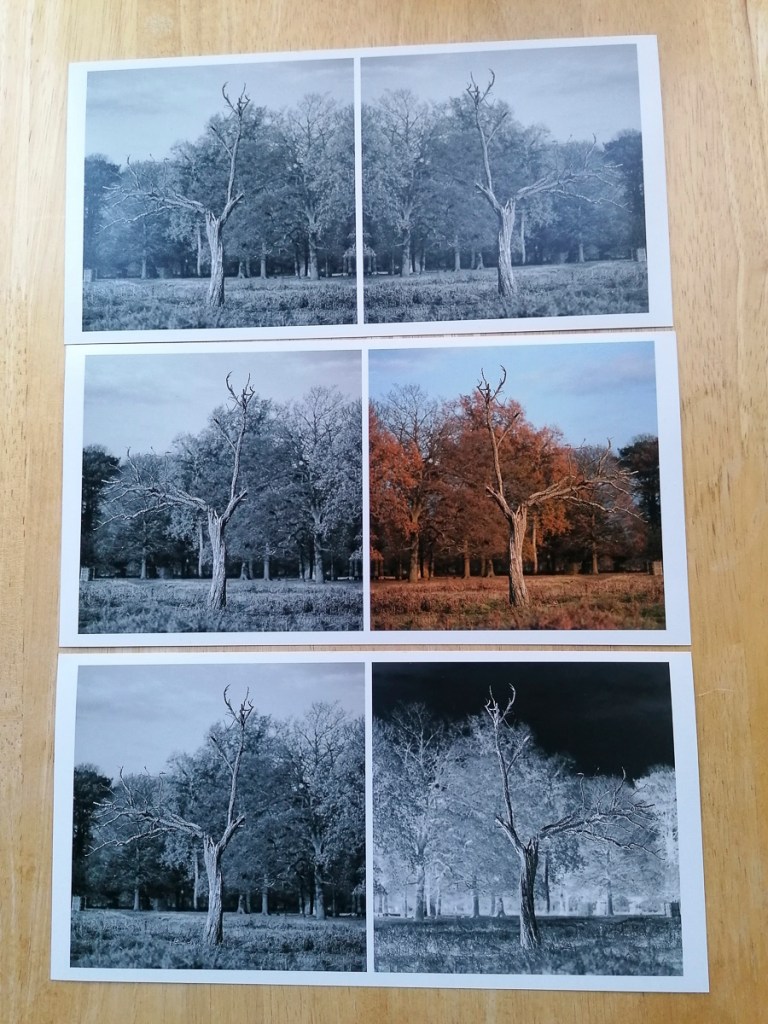
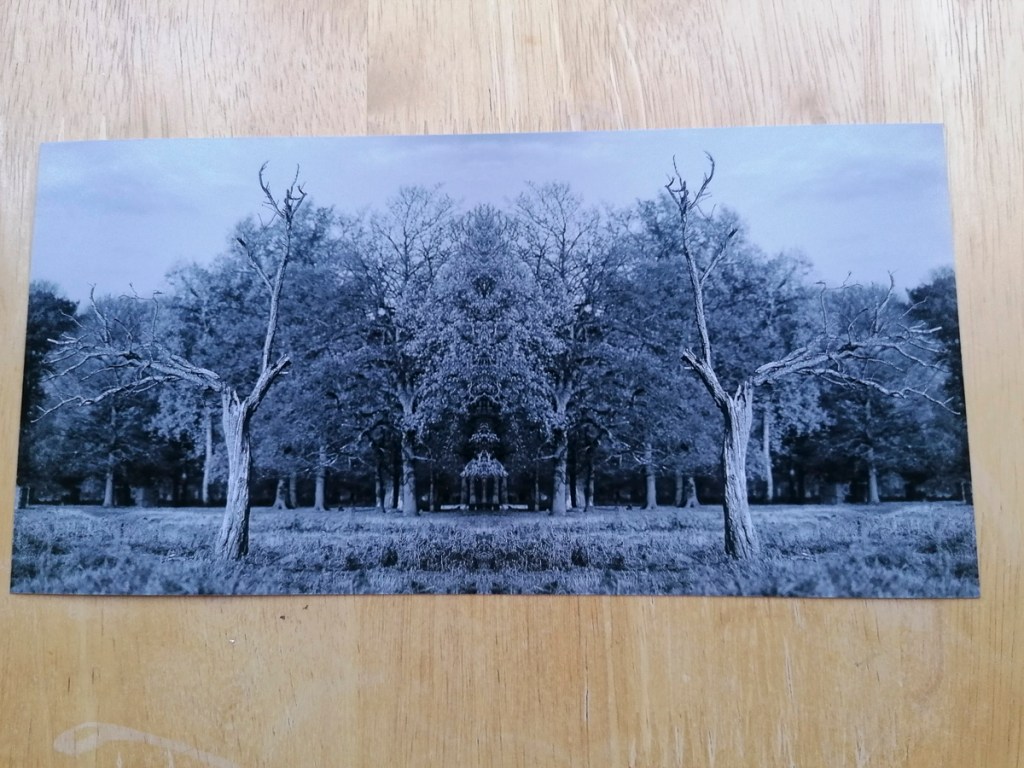
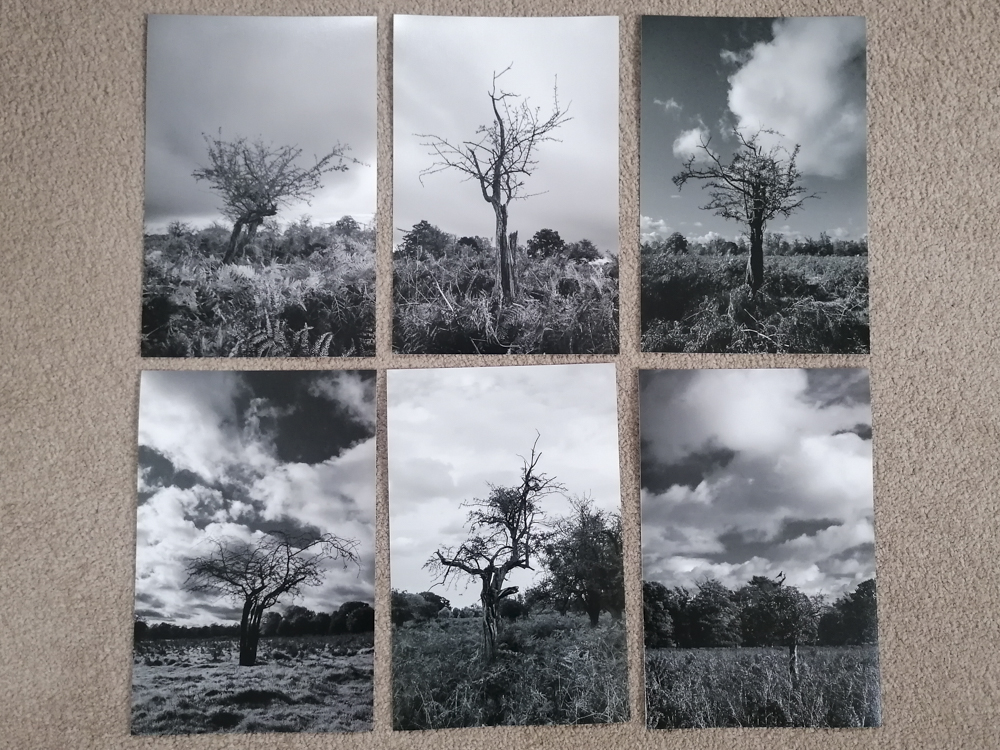
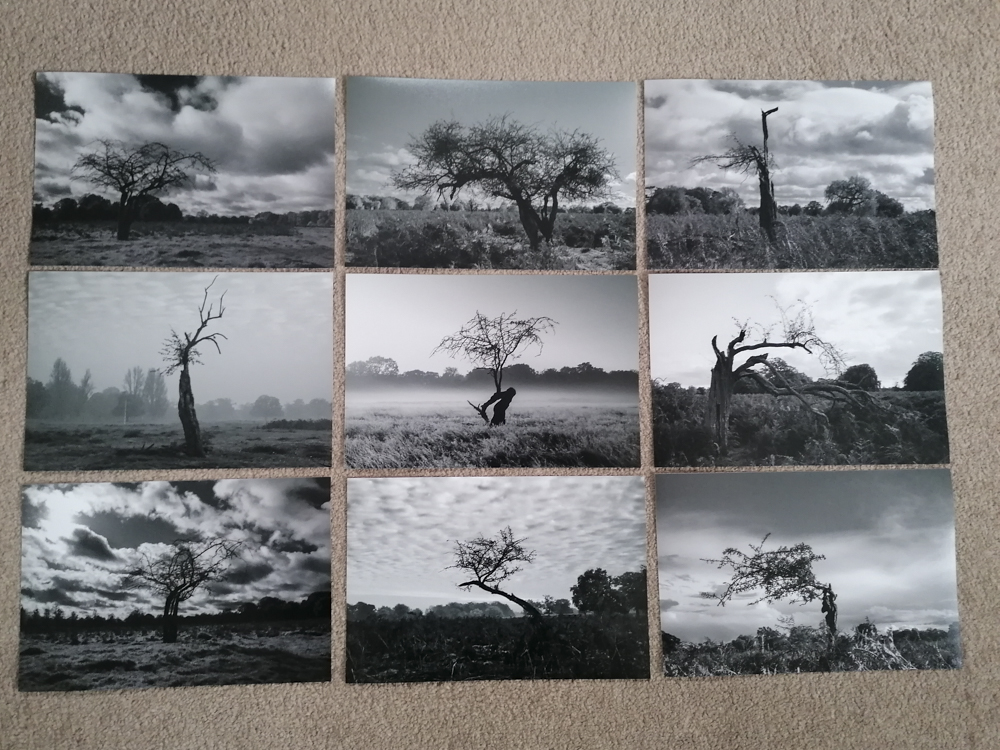
Reassured that they were keeping safe in this difficult time, I spent 22 April going through images, referring to my blog posts then editing and preparing images to print. I decided to go for 12″ x 8″ lustre C-Type prints – this size is big enough to see details and how images work together. This also helps control costs as they are 65p (inc. VAT) each. I chose lustre as I prefer this finish to the shiny gloss surface.
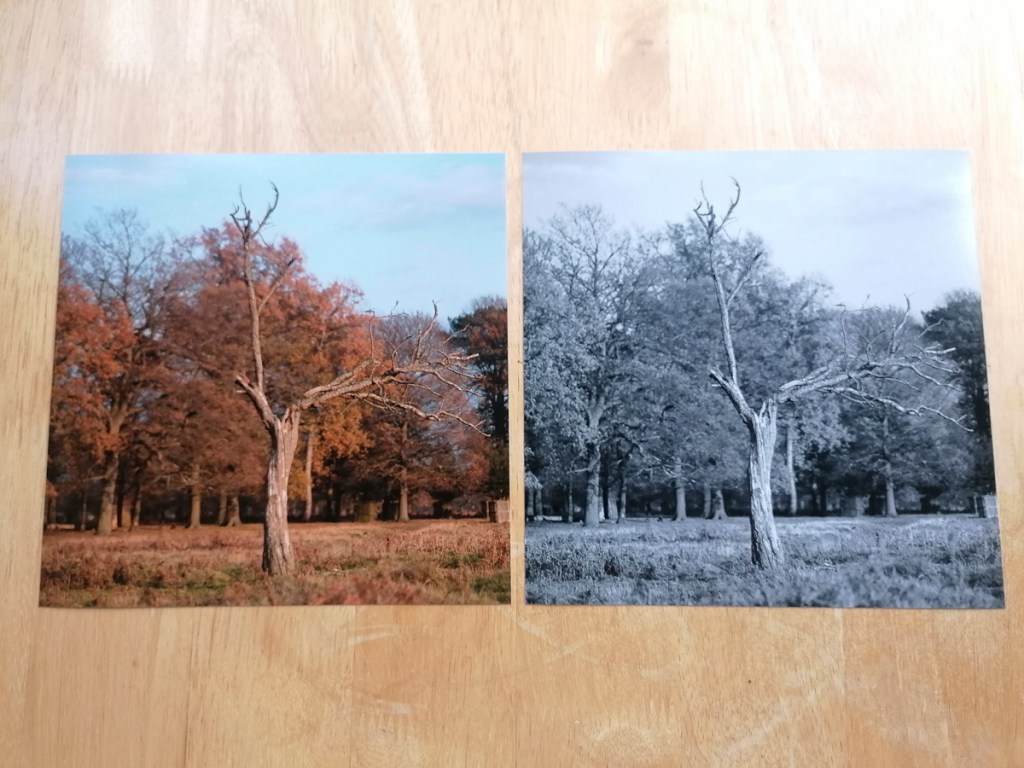
Having gone through the images, I grouped them in the following formations and either edited the original colour version or converted them to Black & White.
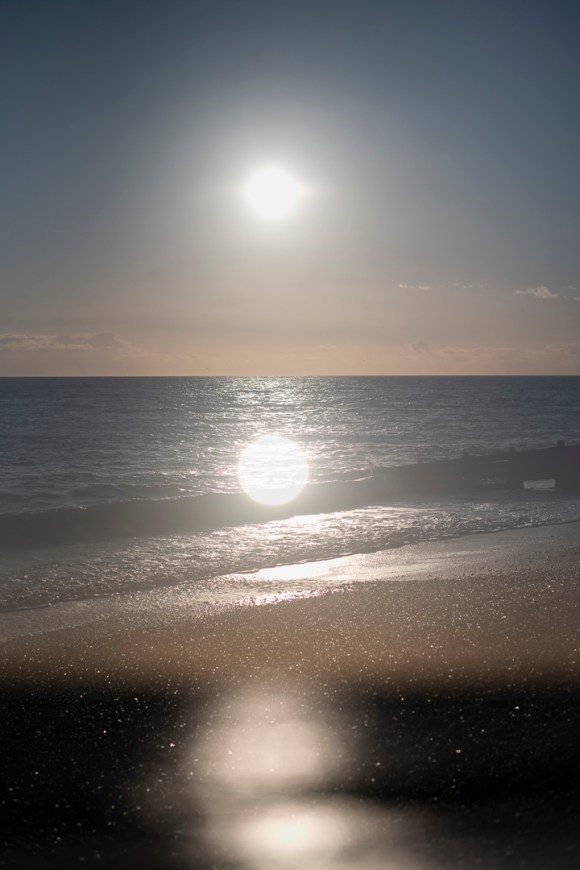
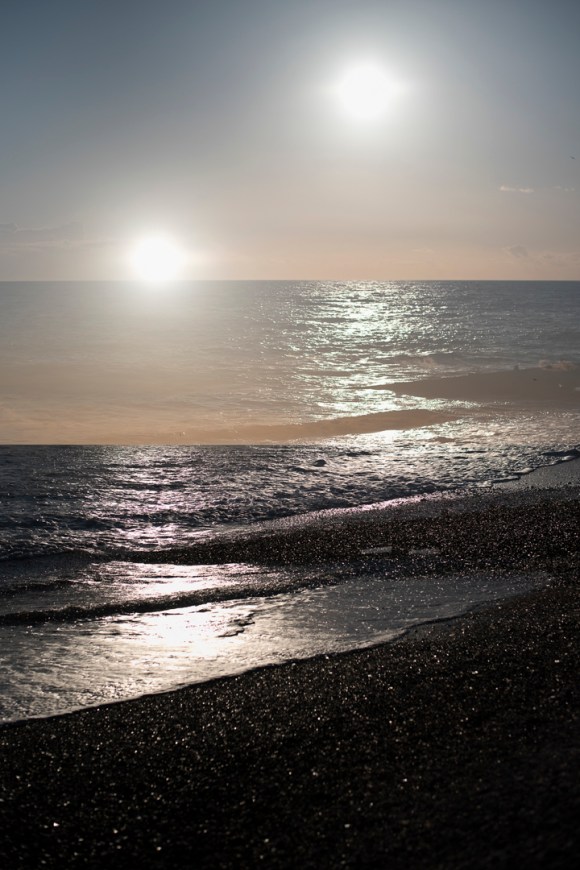
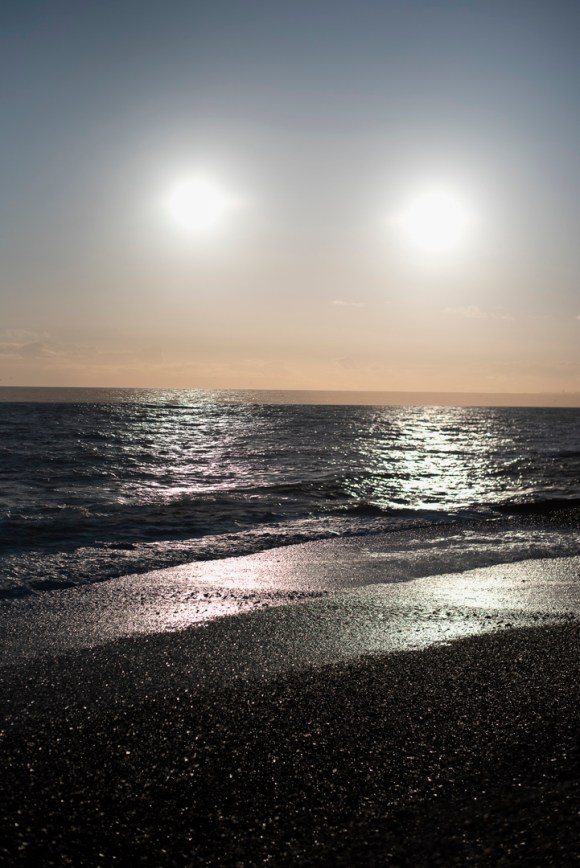
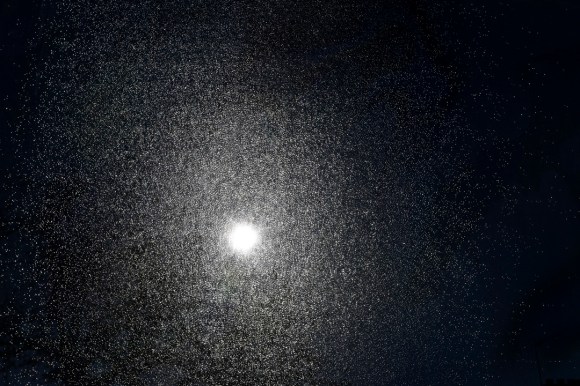
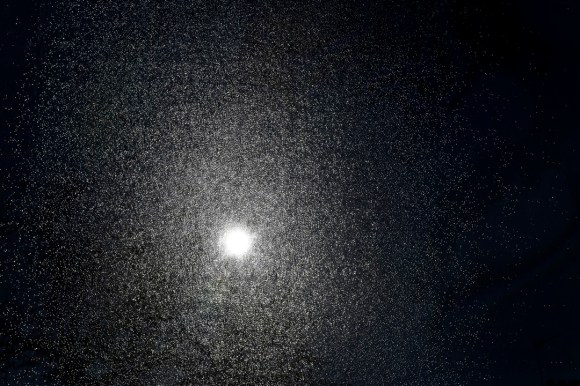
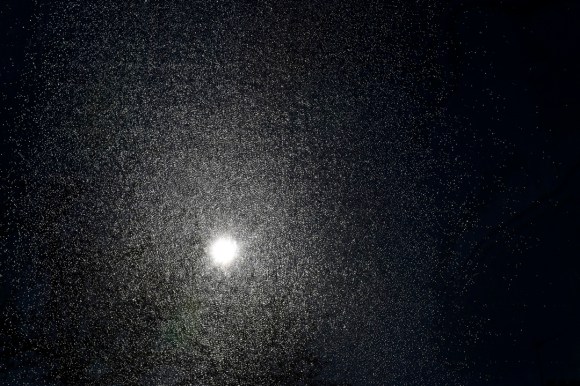
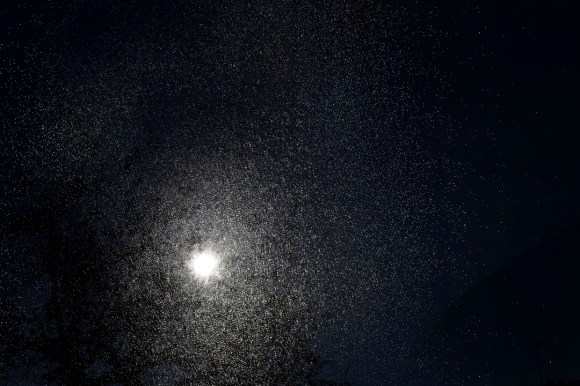
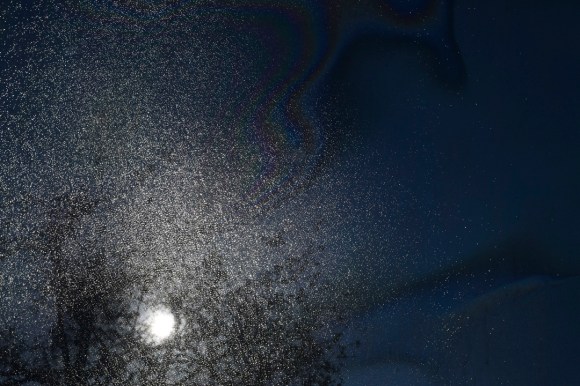
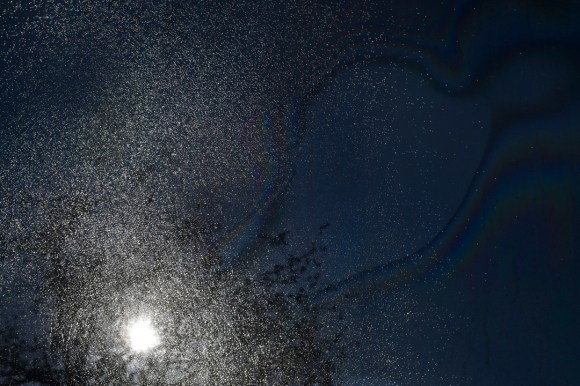
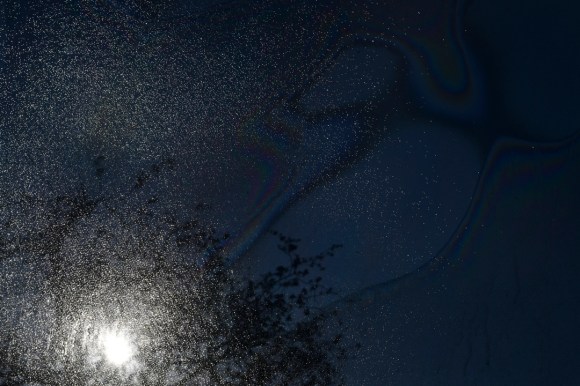
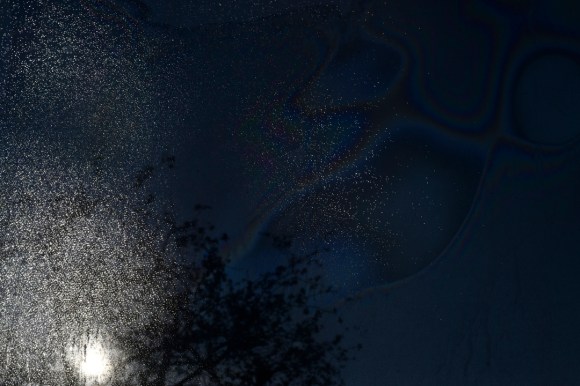
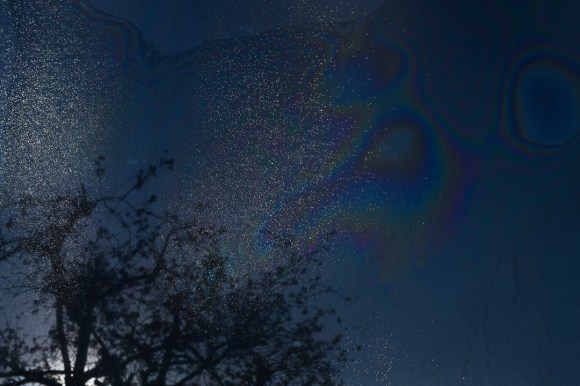
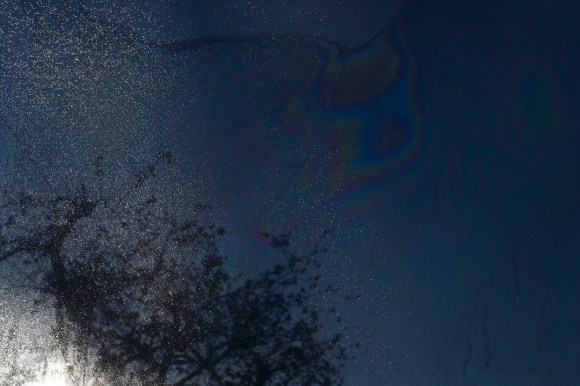
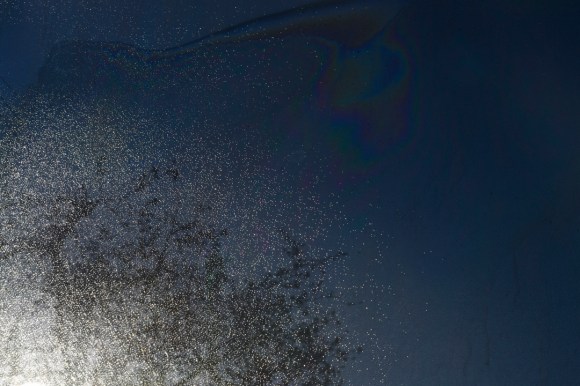
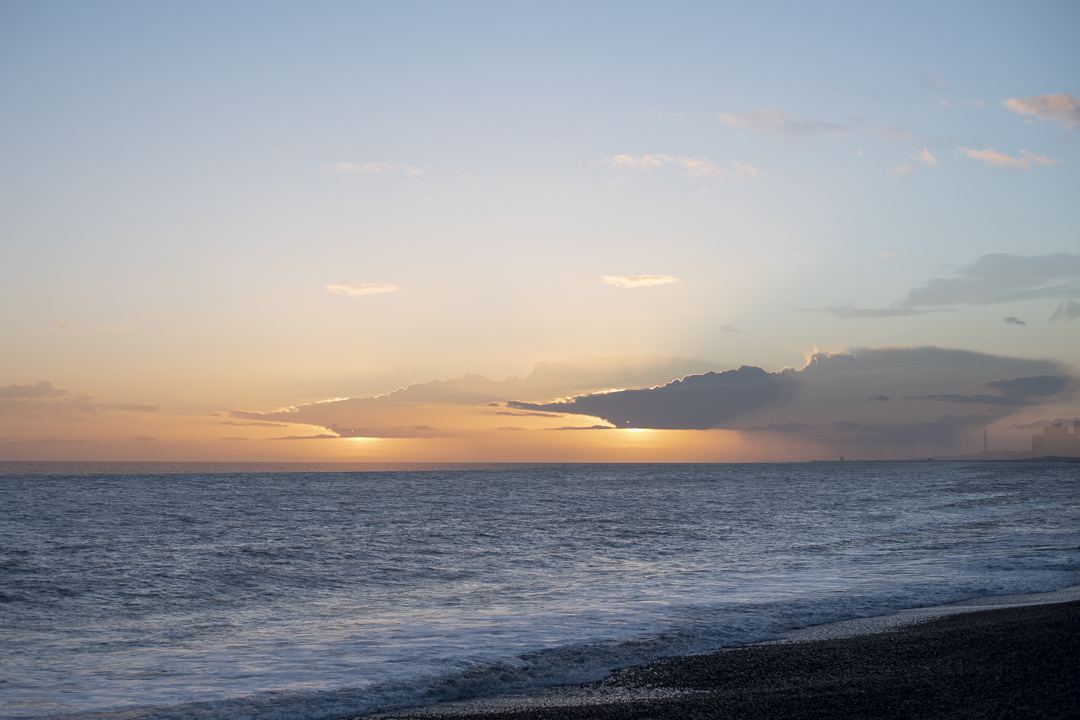
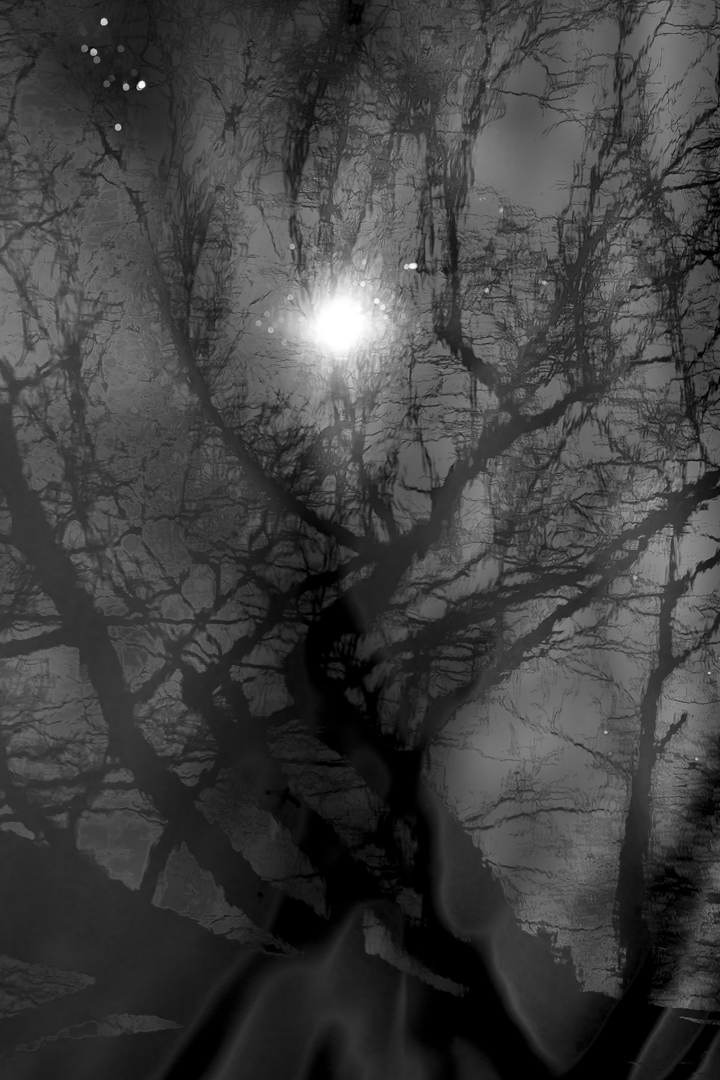
I also made the decision to call the following double-exposure sun images ‘Lost Horizons’. This was due to these being the last images I took of this view in Brighton before lockdown and the massive shift in the world as we knew it. It also resonates as being the unsure future we were experiencing at that time.
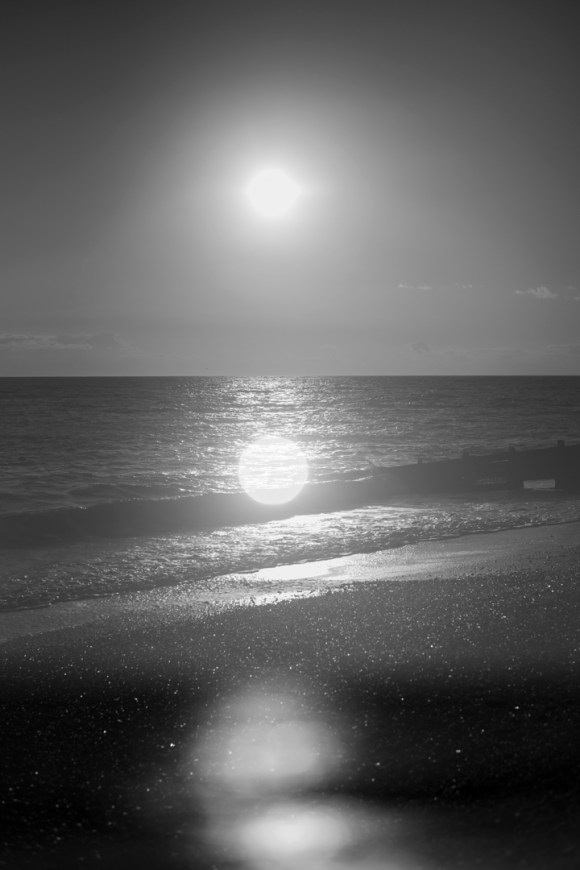
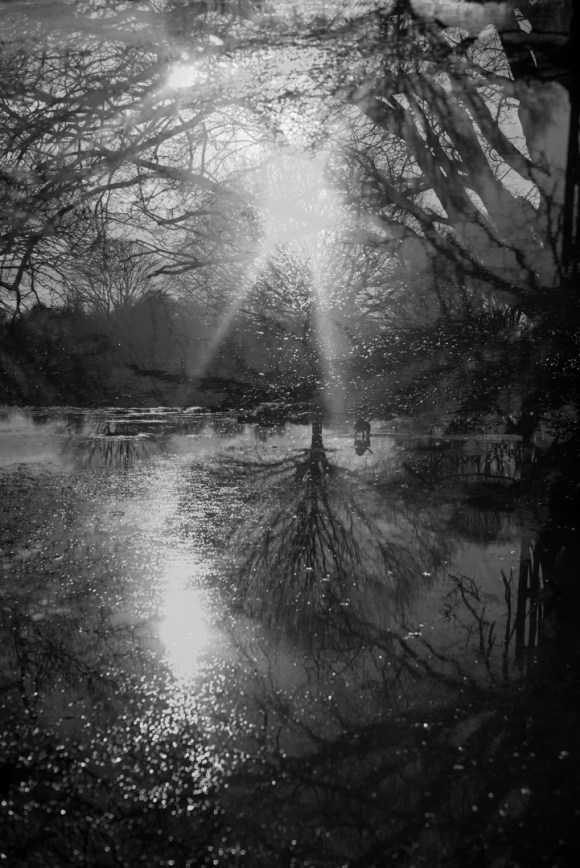
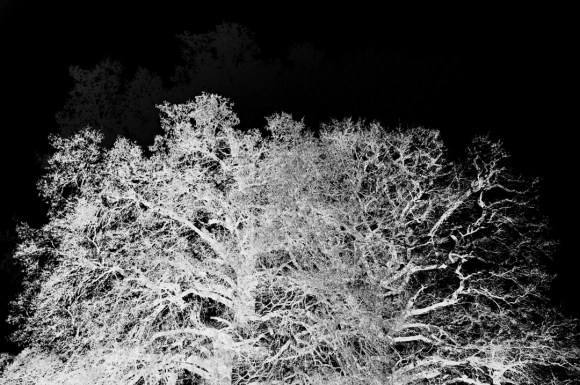
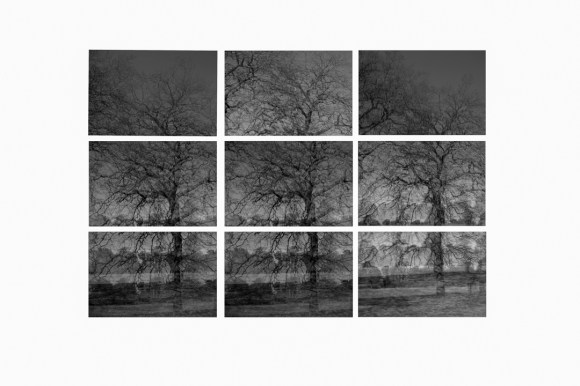
I also tried these two images in Black & White.
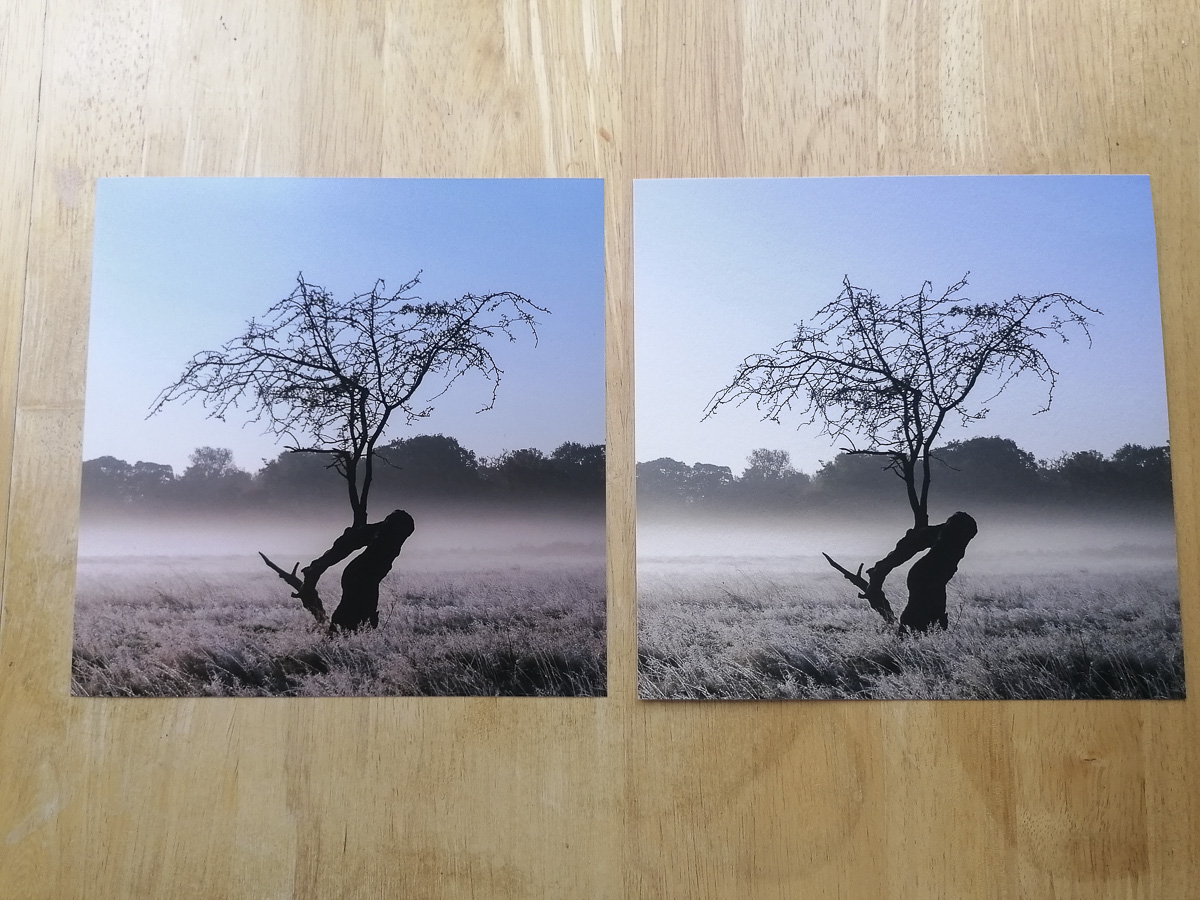
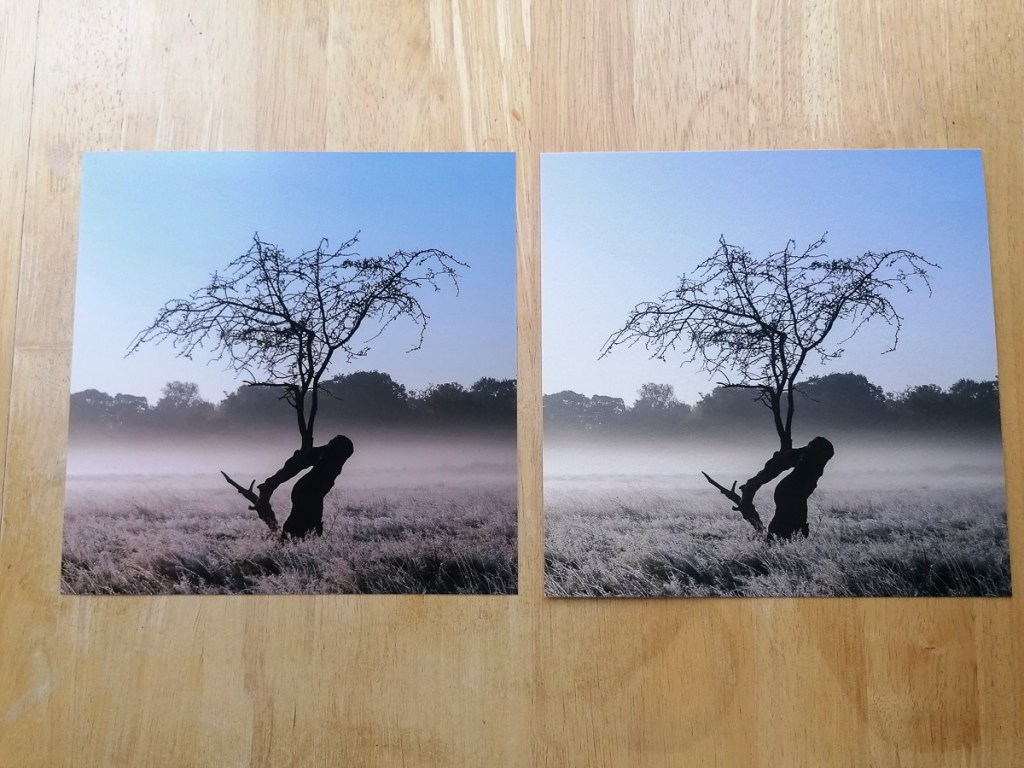
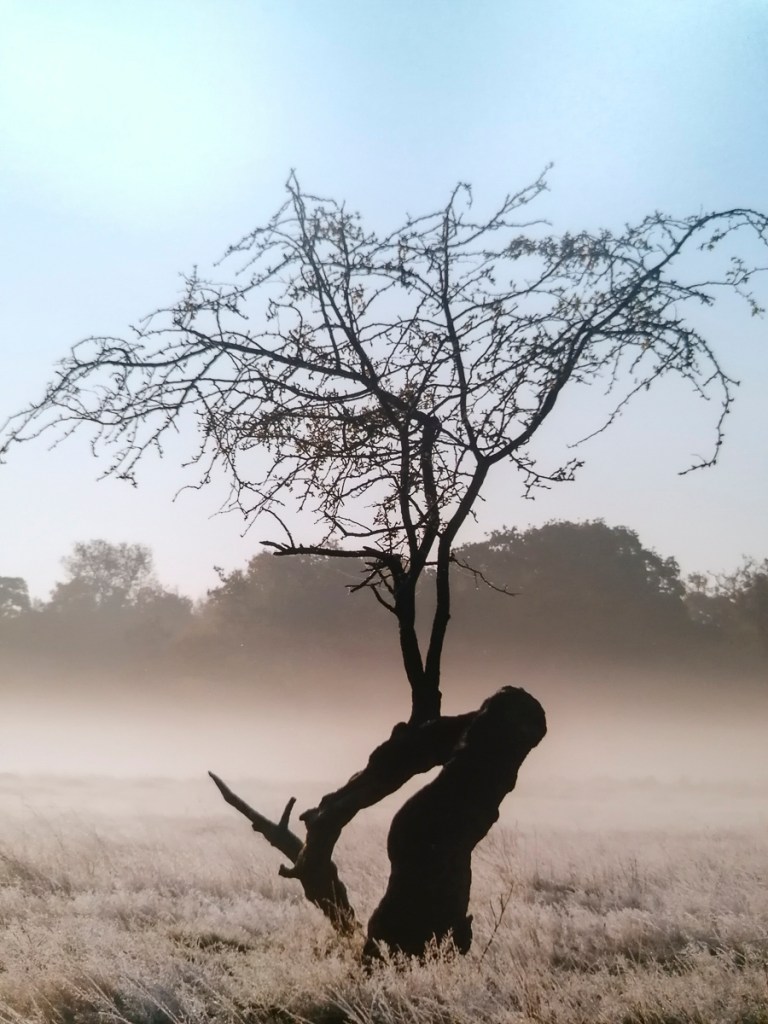
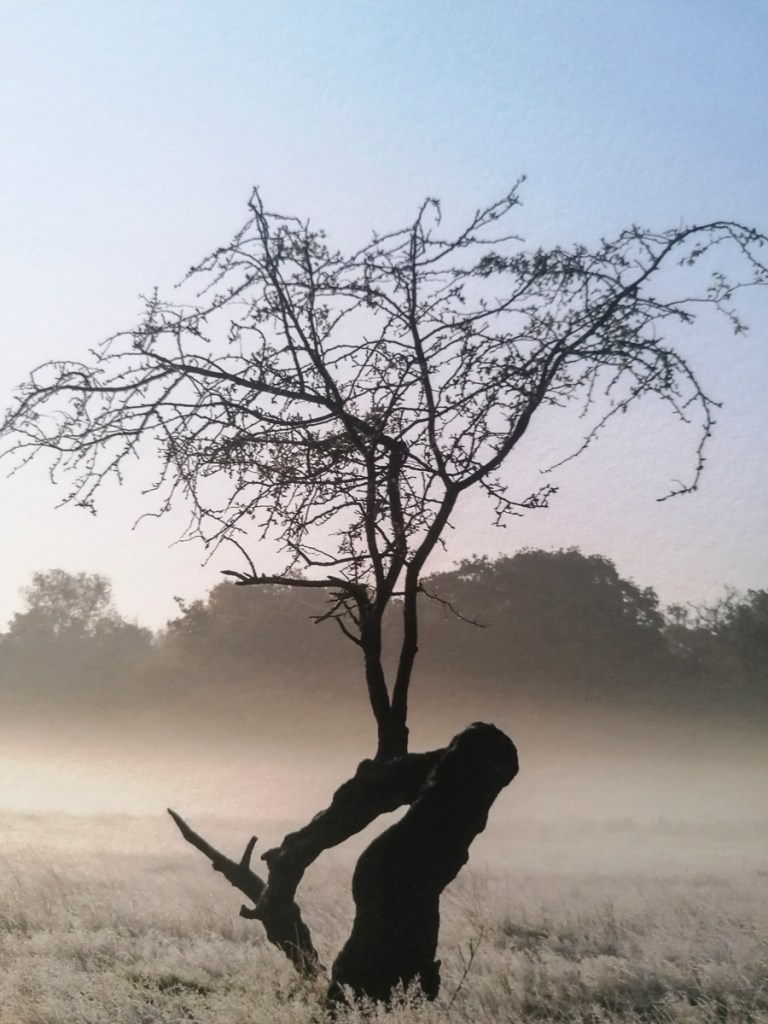
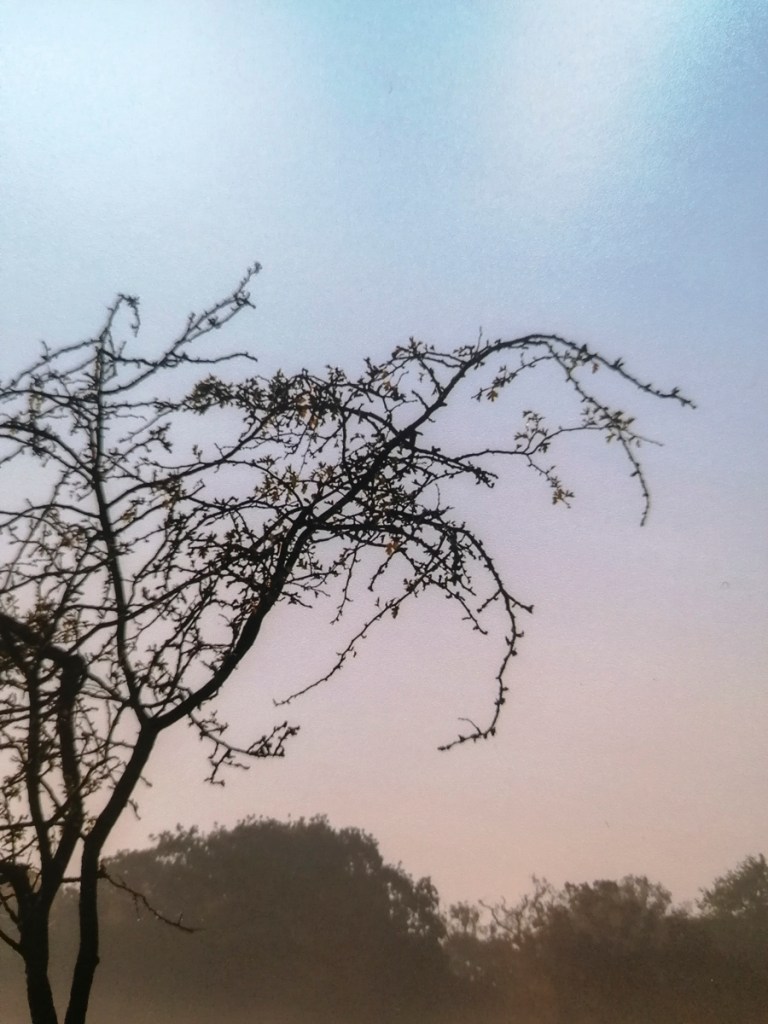
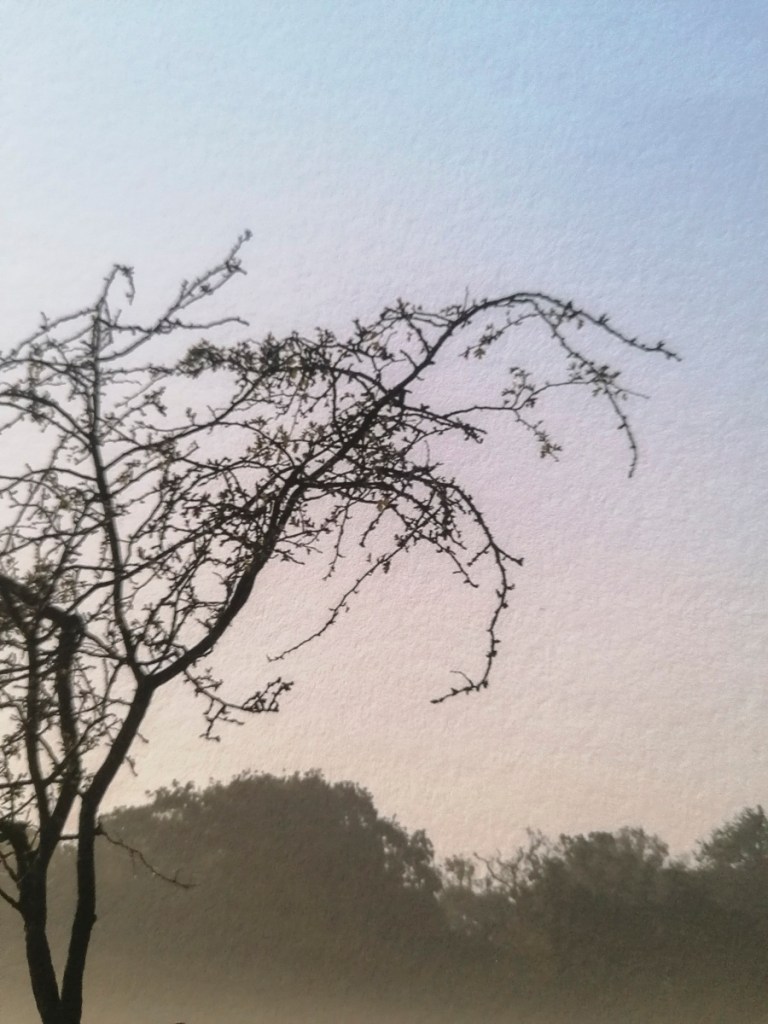
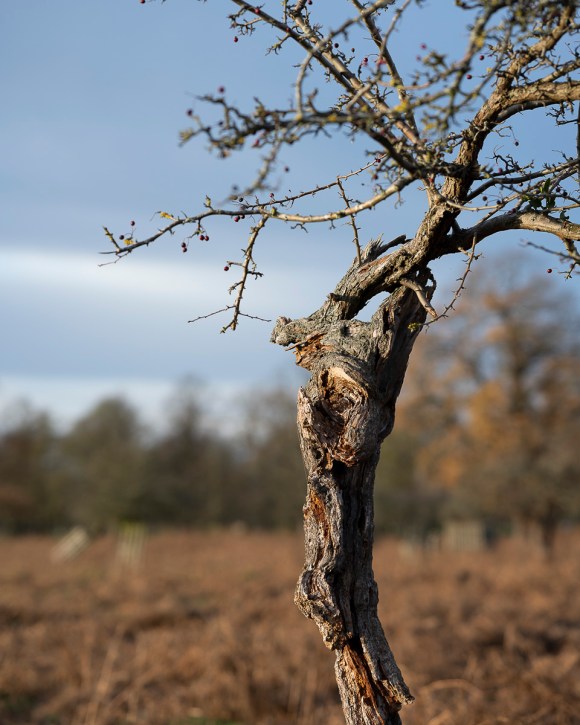
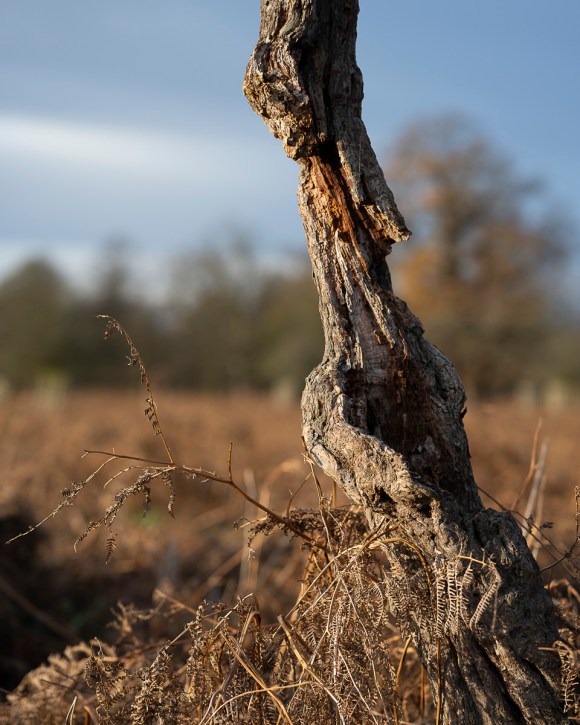
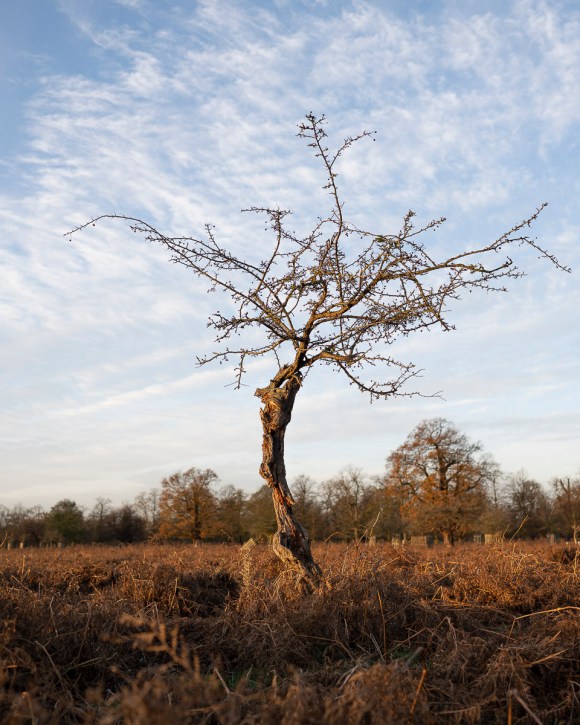
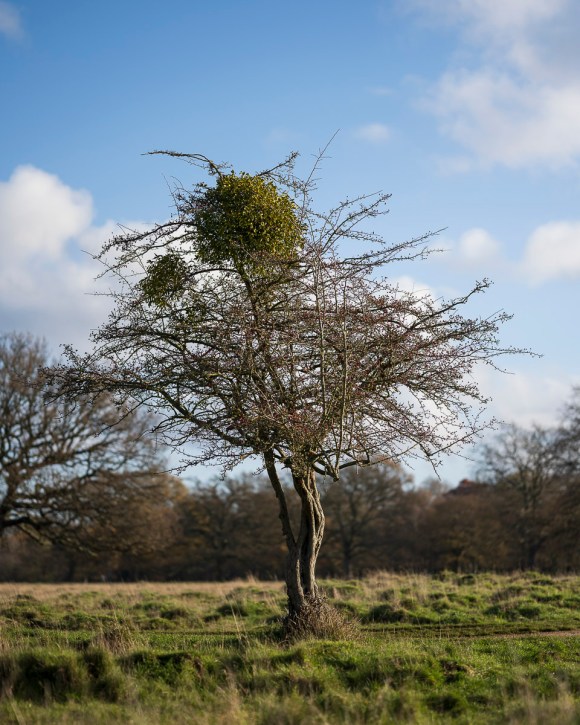
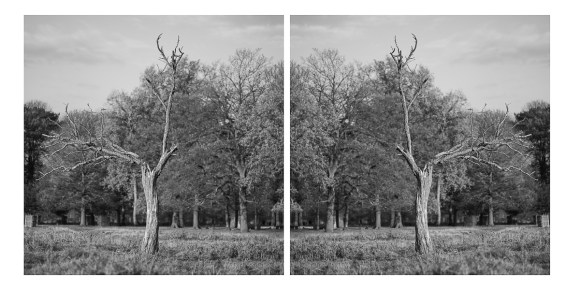
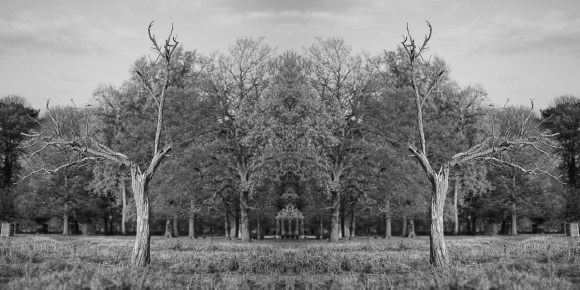
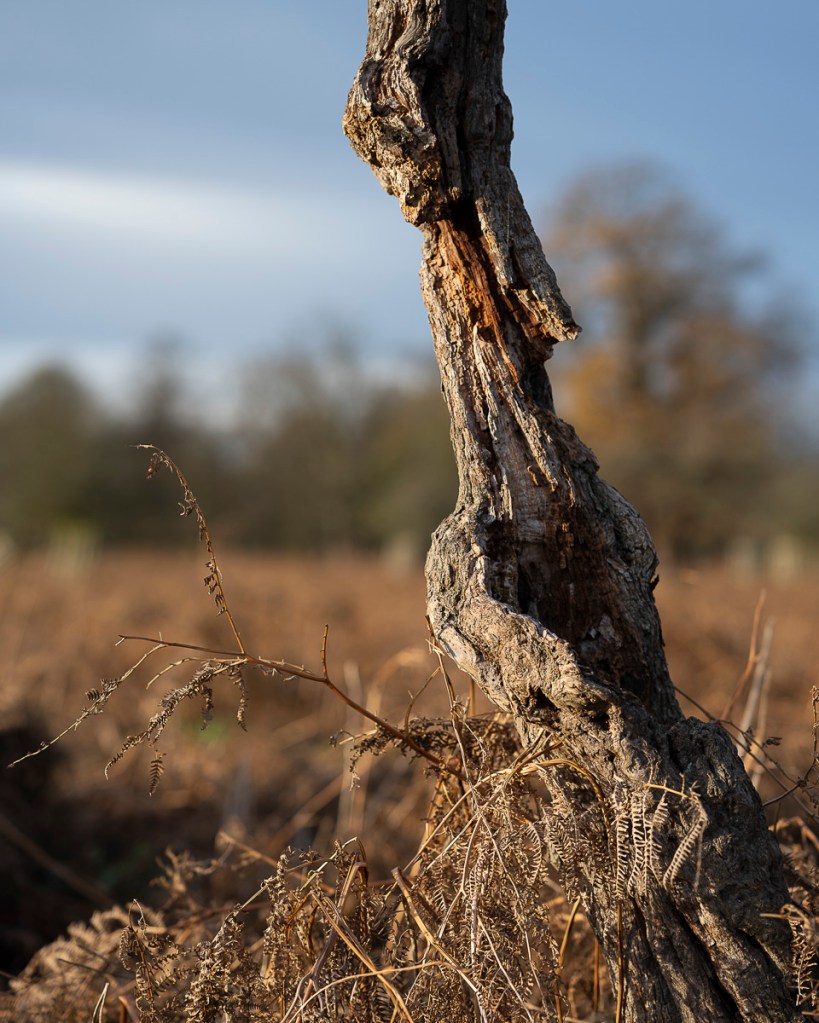
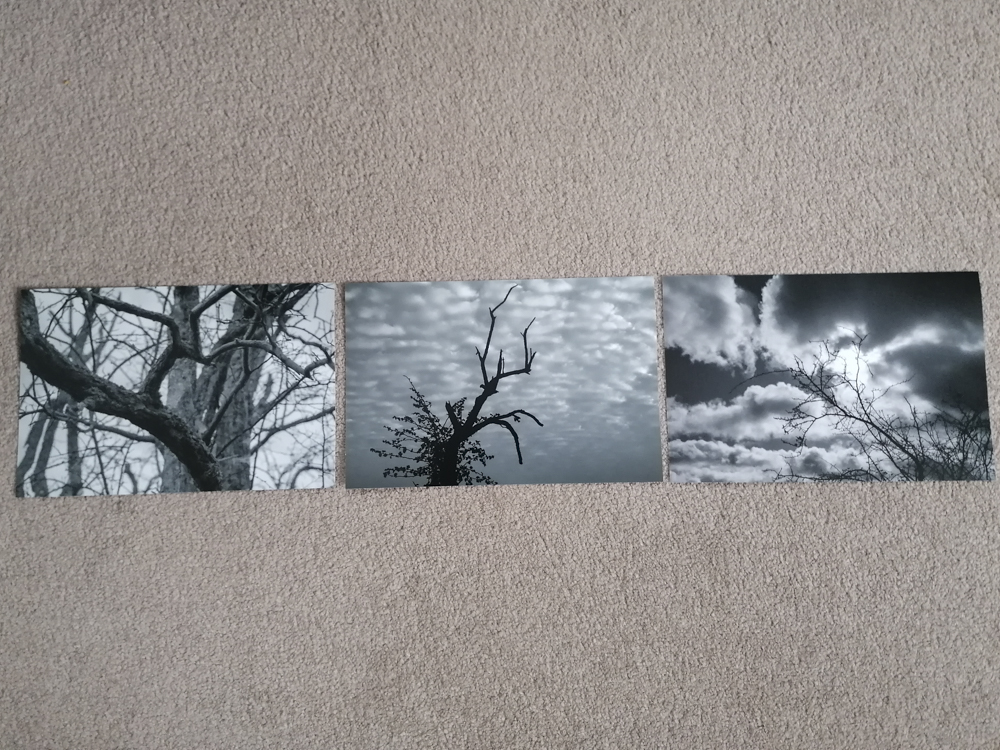
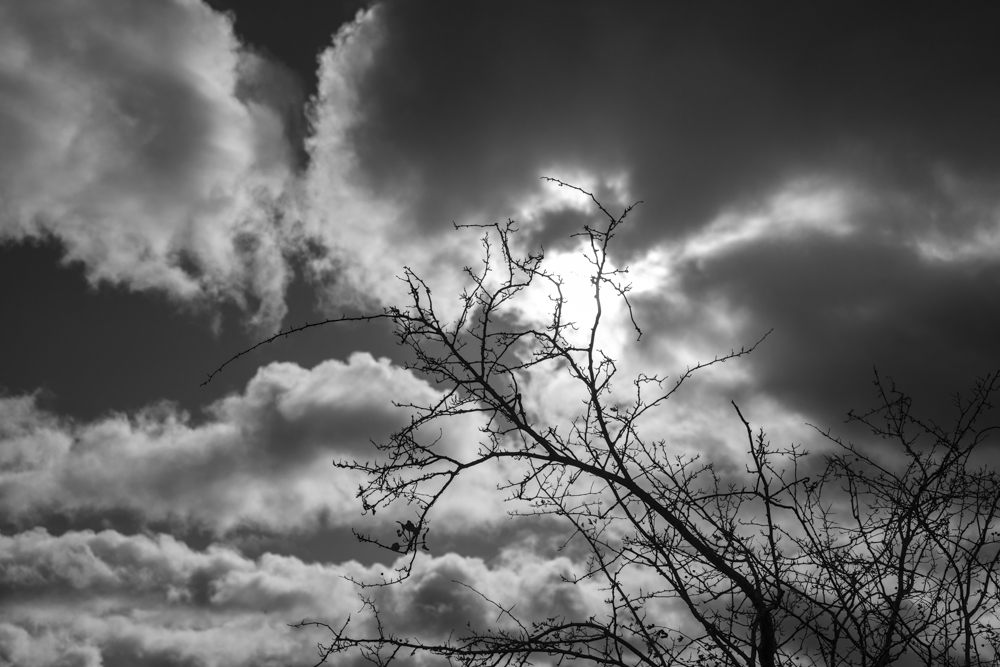
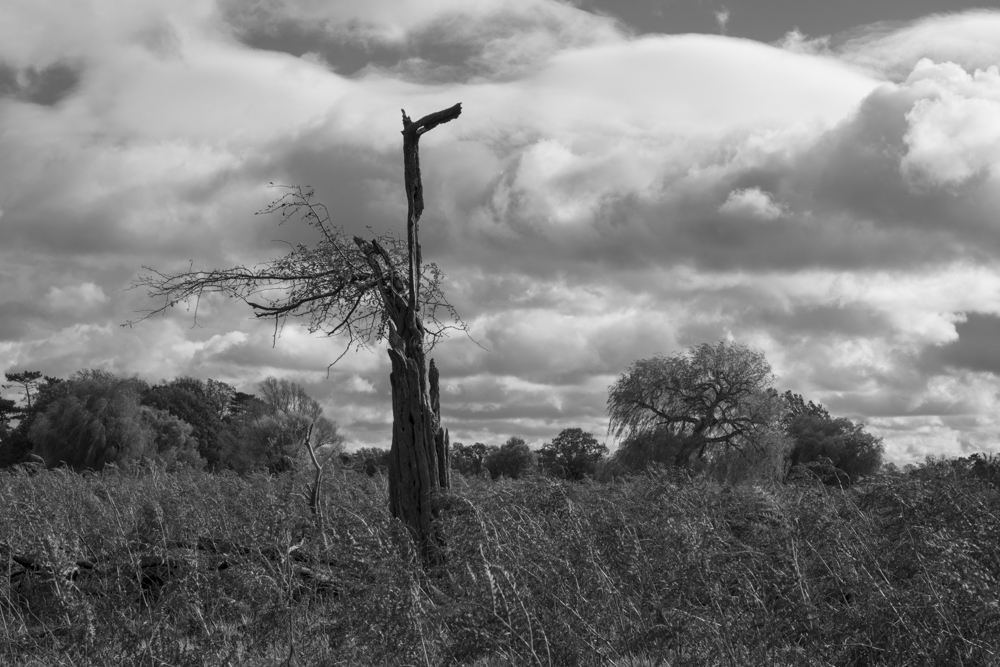
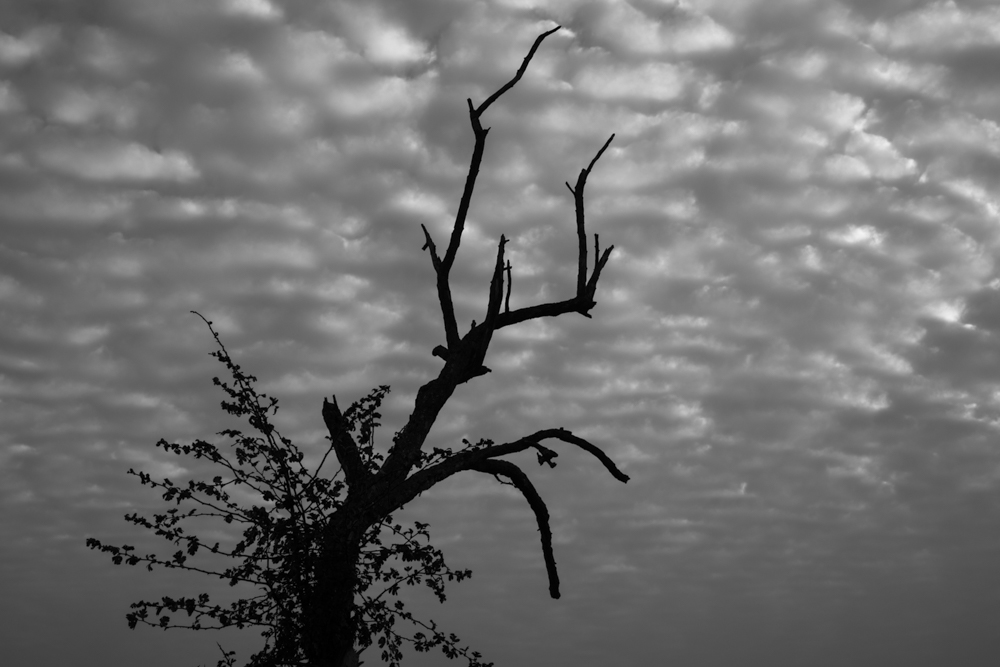
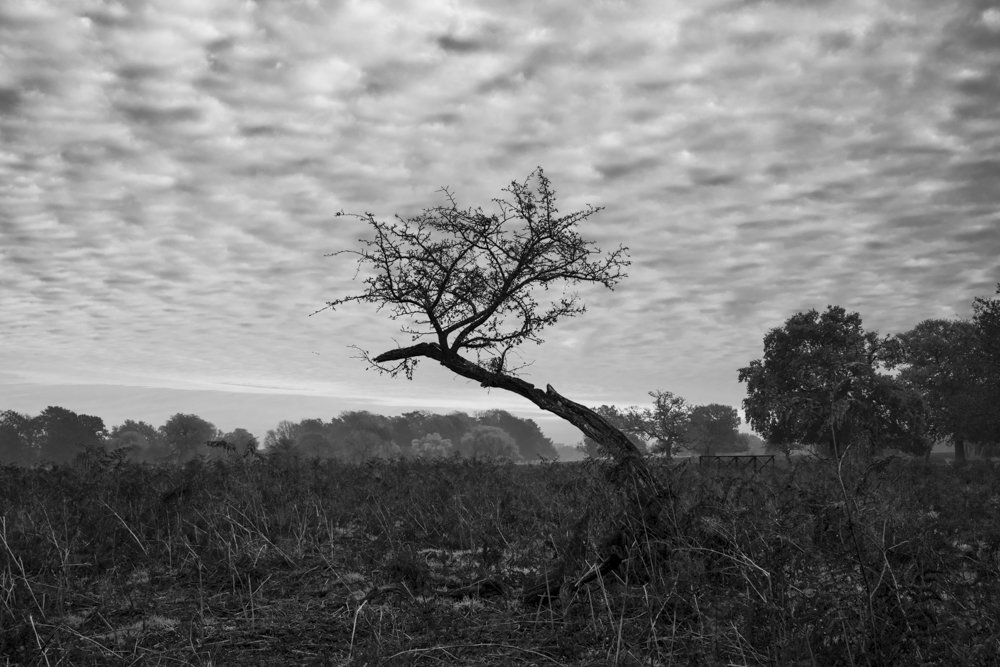
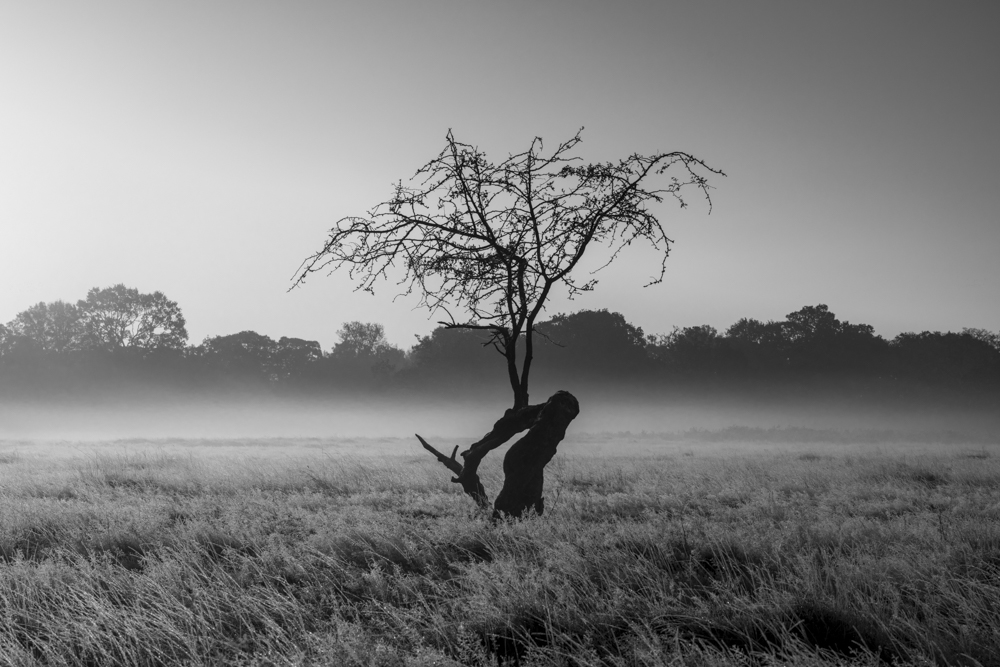
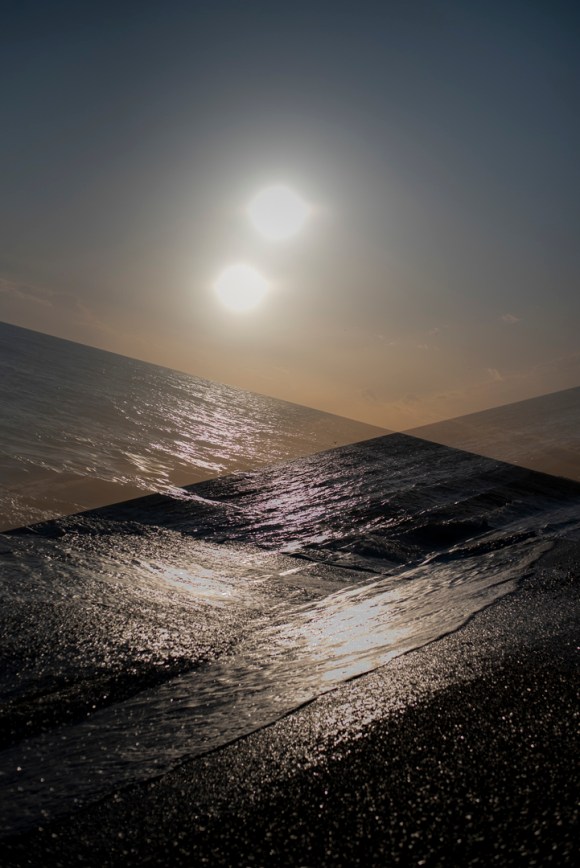
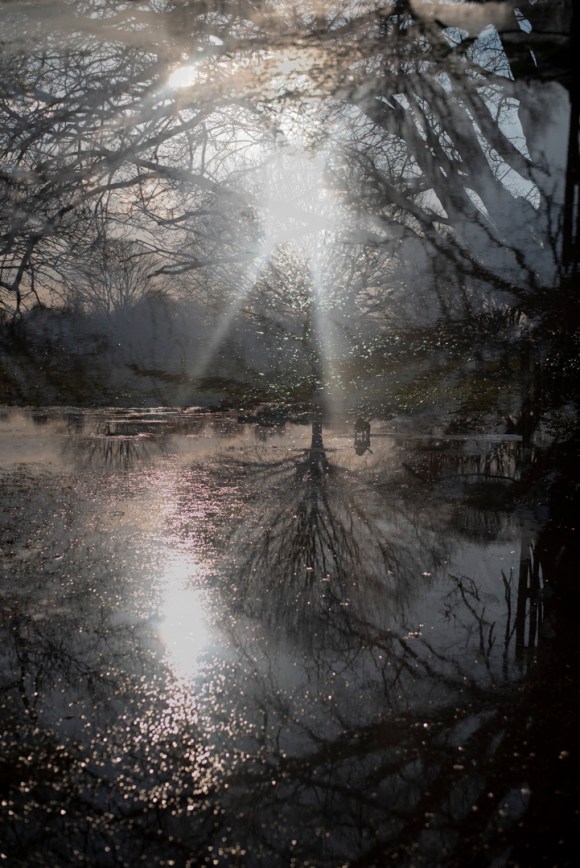
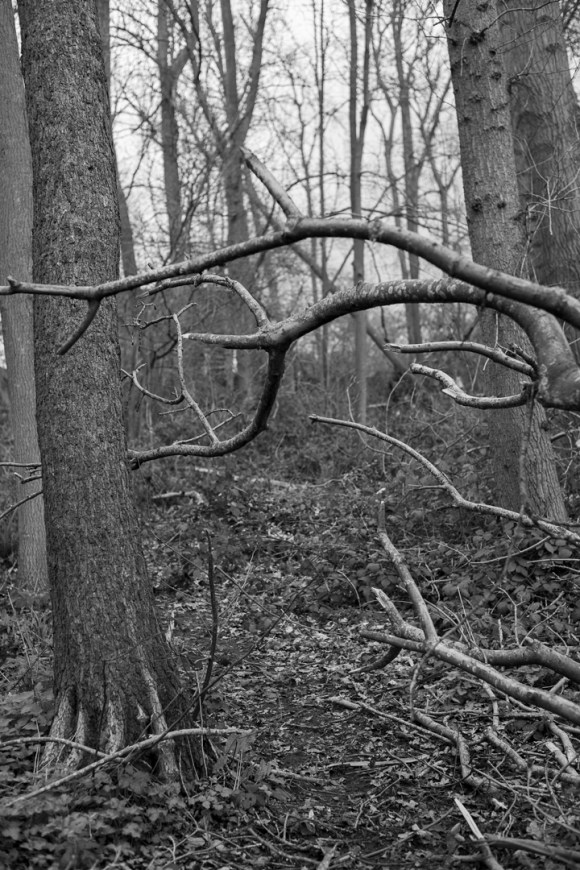
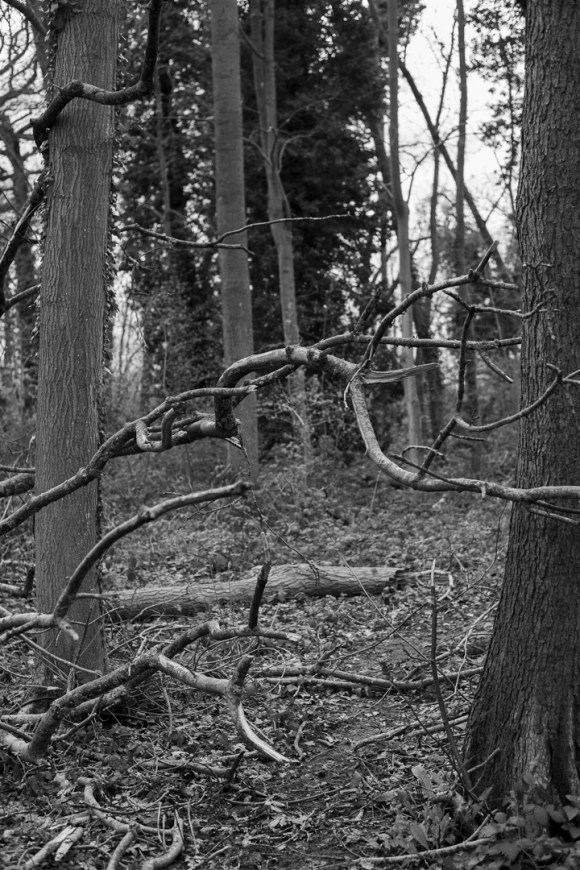
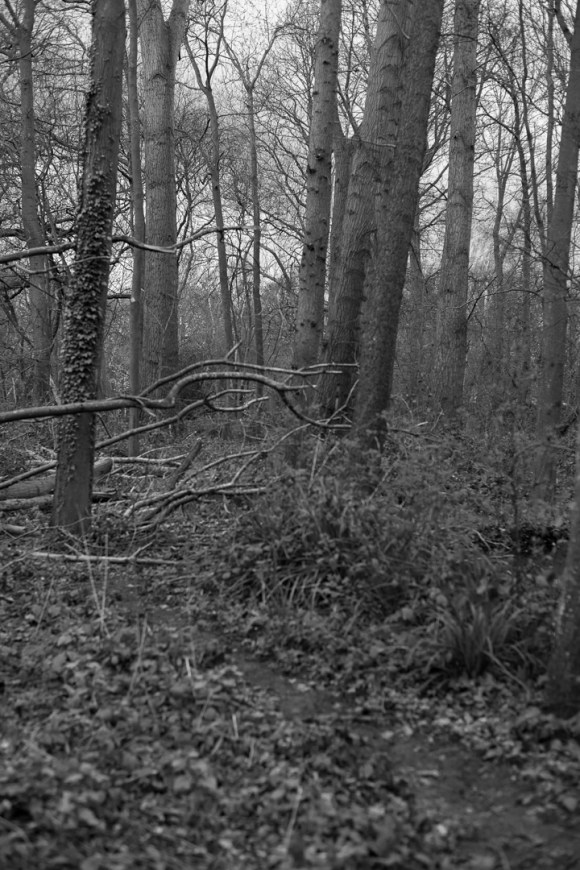
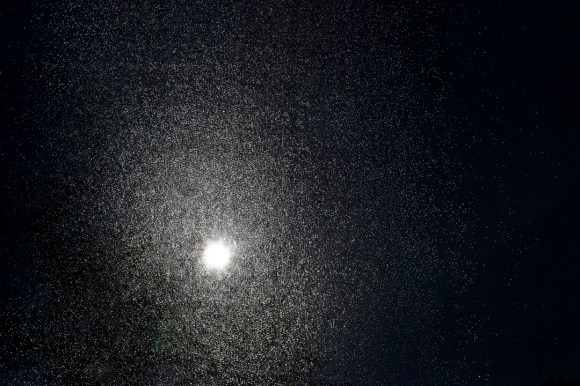
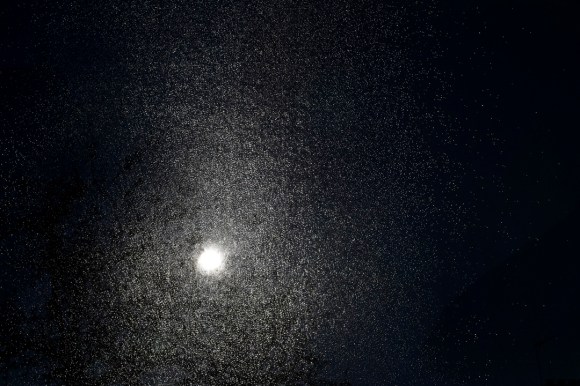
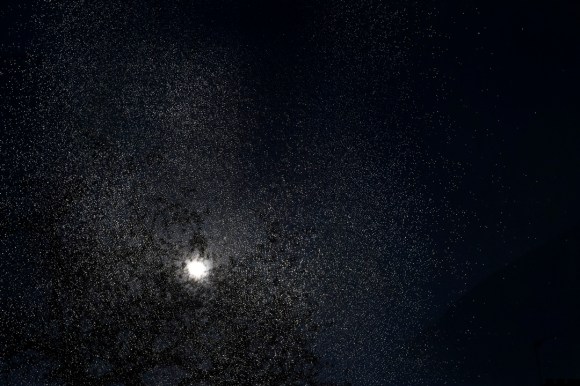
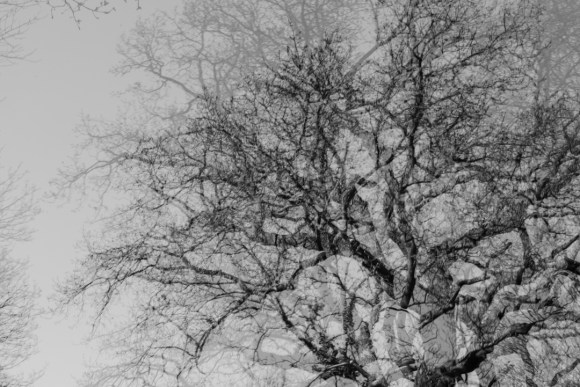
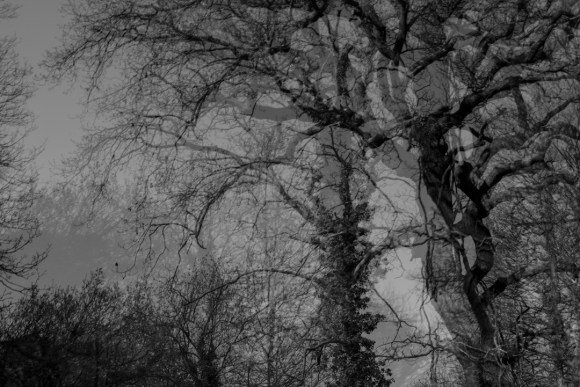
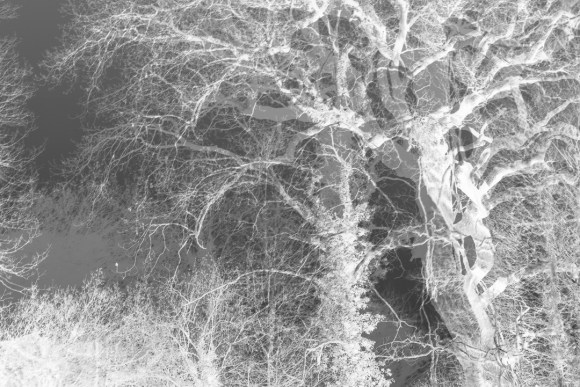
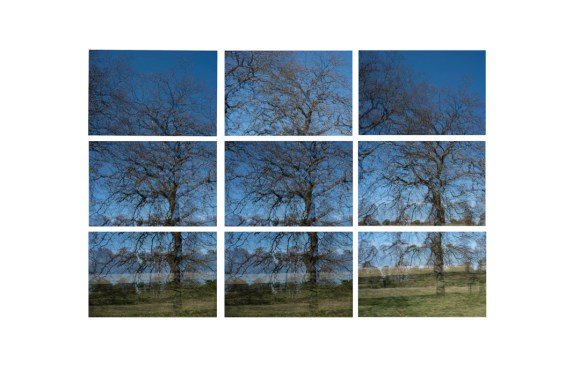
I then chose the following images from Bushy Park taken on 6 March before the lockdown was confirmed. Again, double-exposures with a similar tone to the images above. These would also come under the Lost Horizons category. It was like looking at a world about to change with no certainty to what was actually occurring.
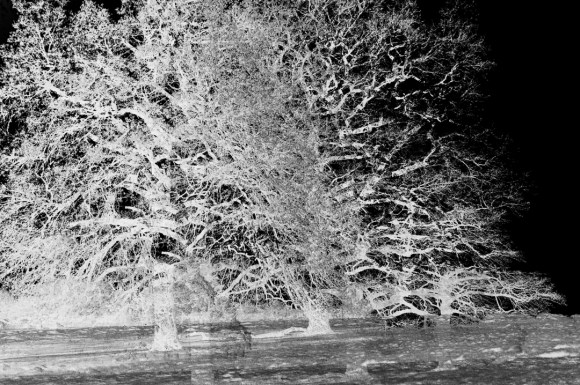
While writing this post, I also noted the following combination.
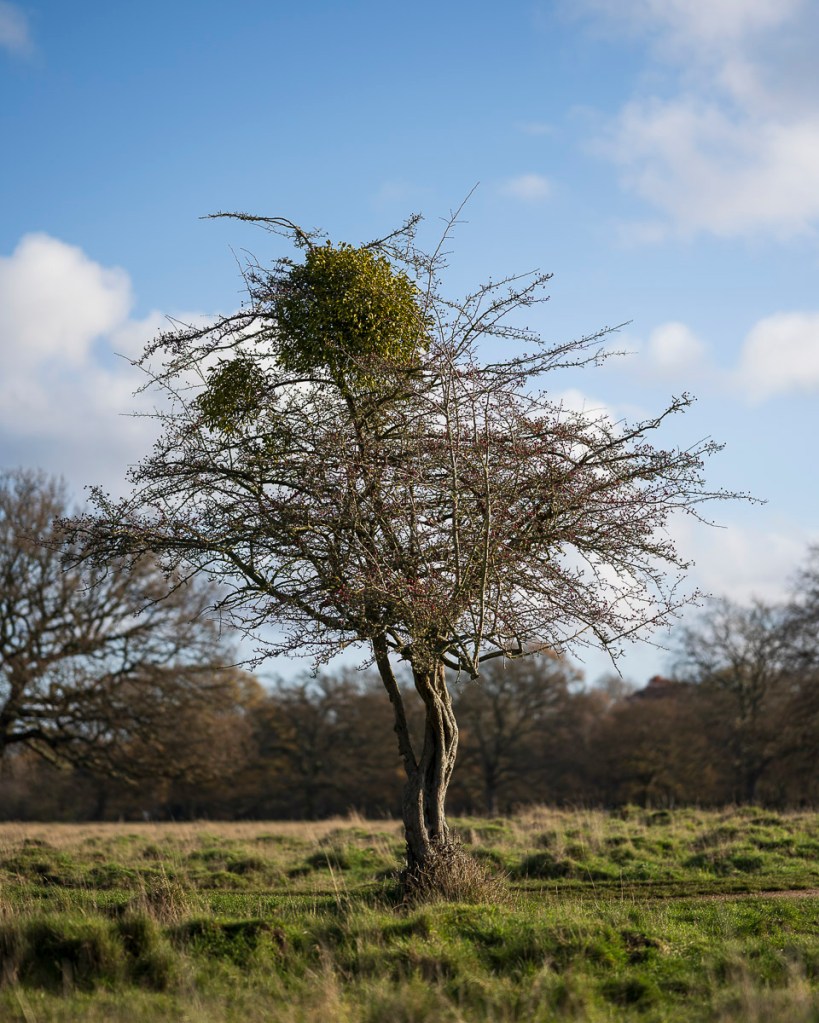
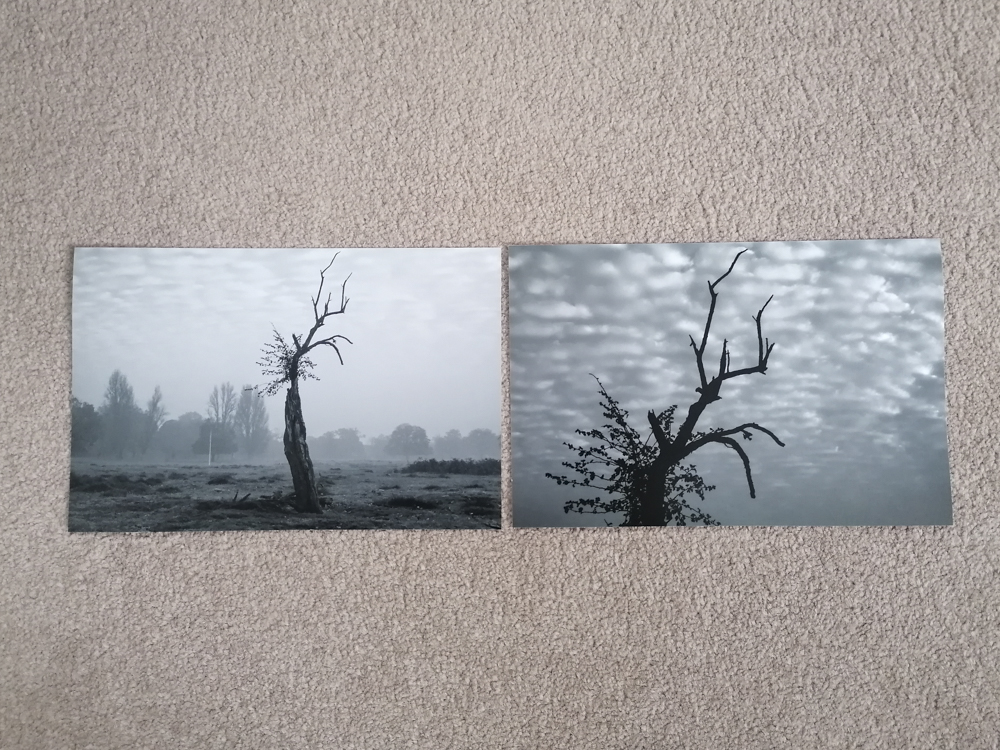
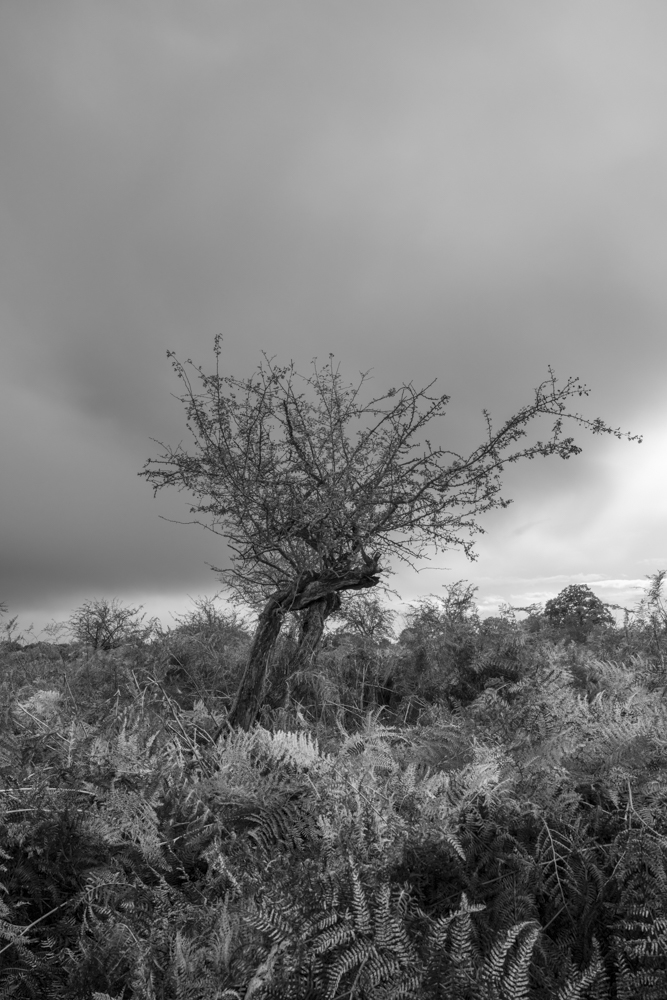
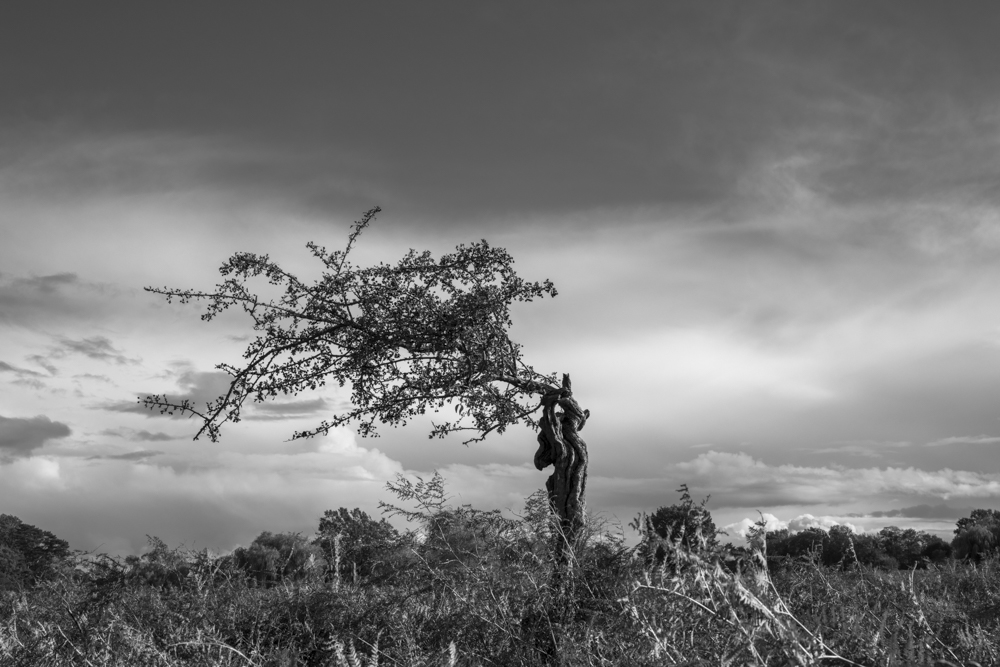
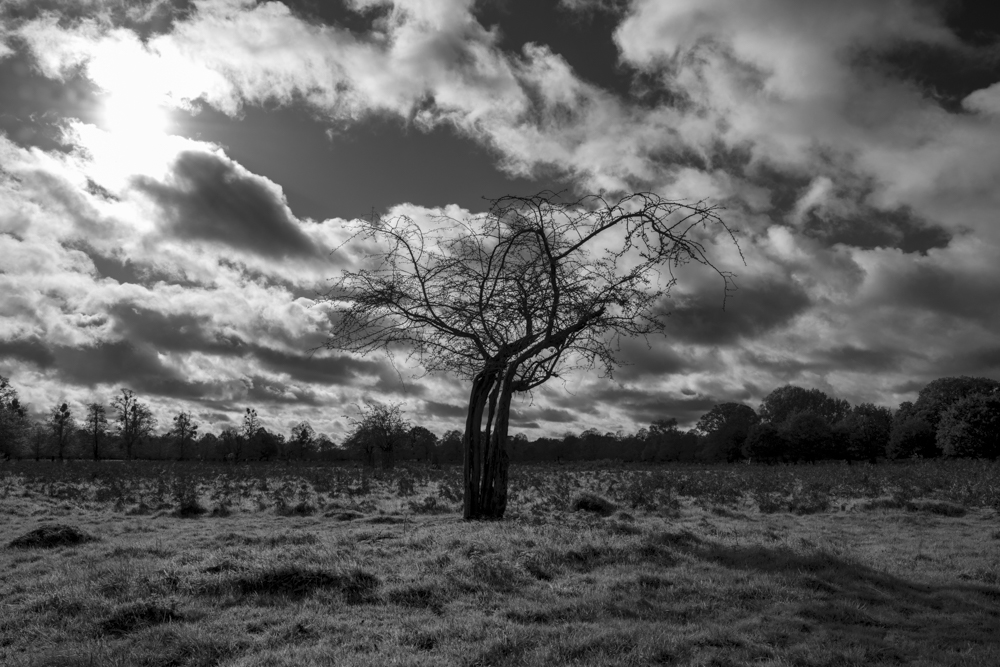
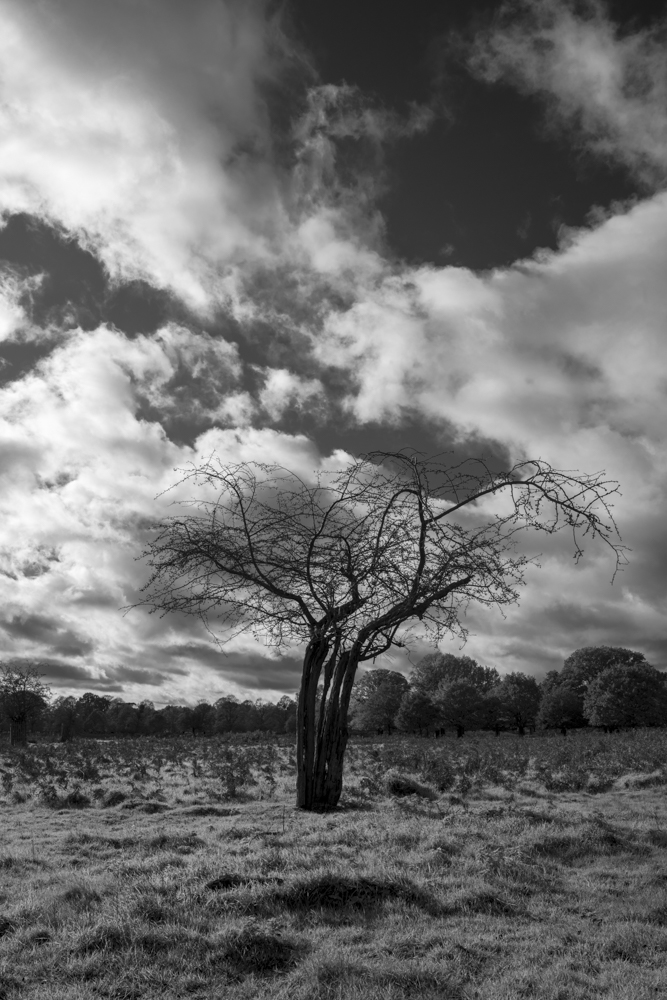
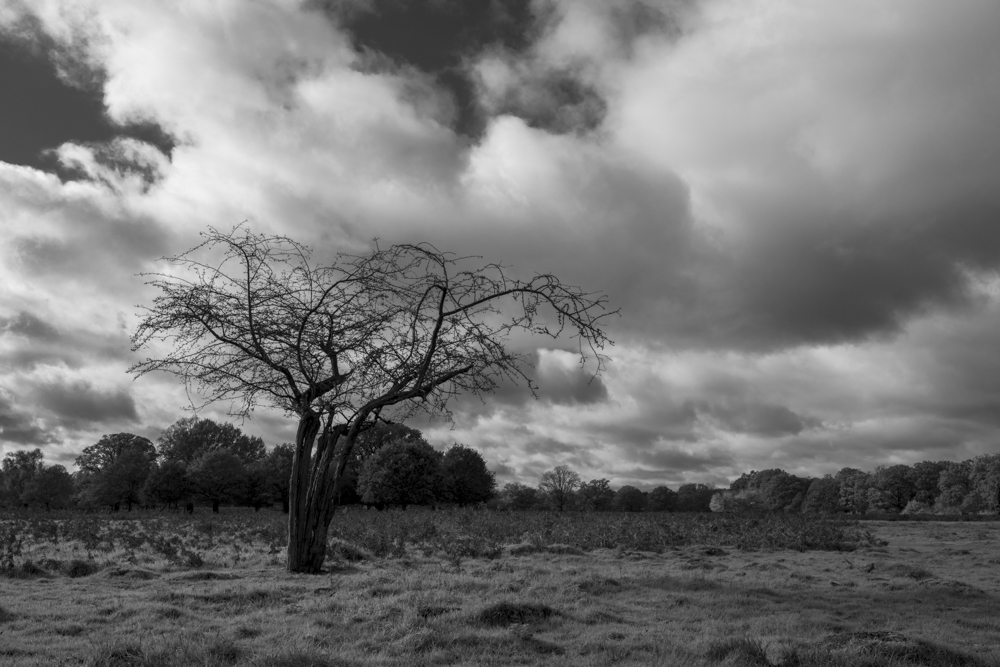
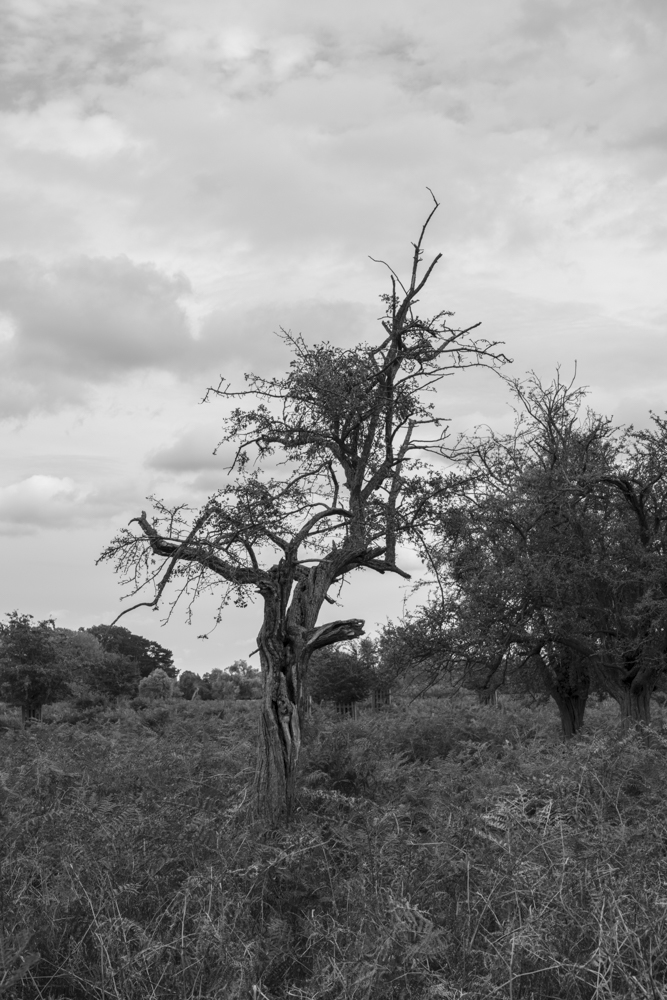
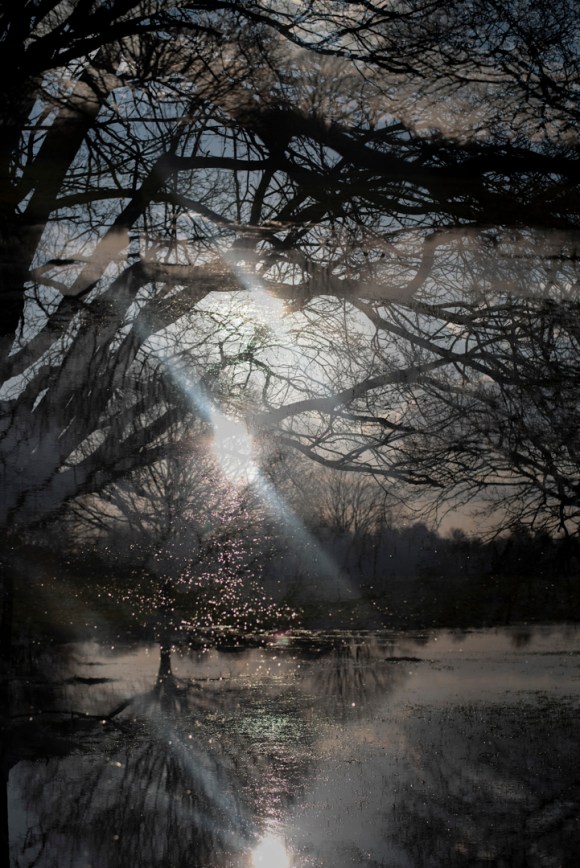
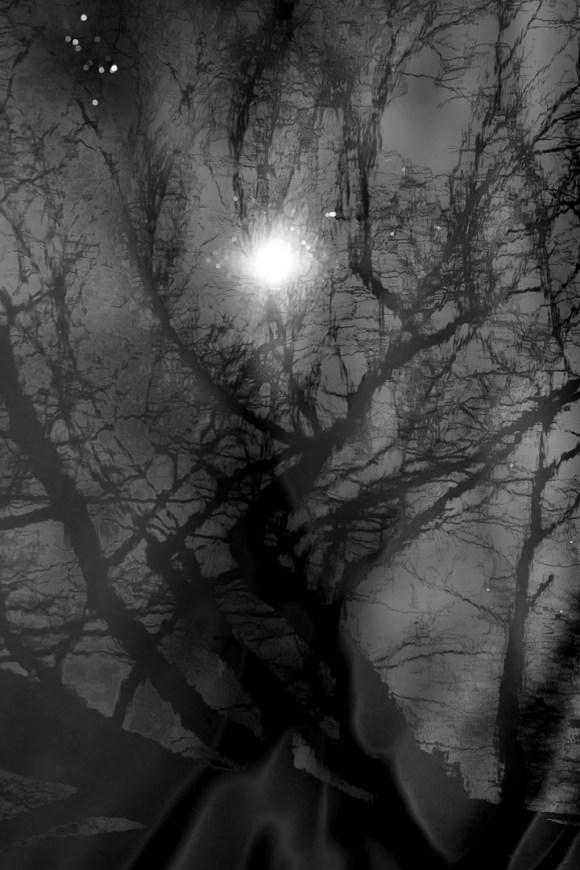
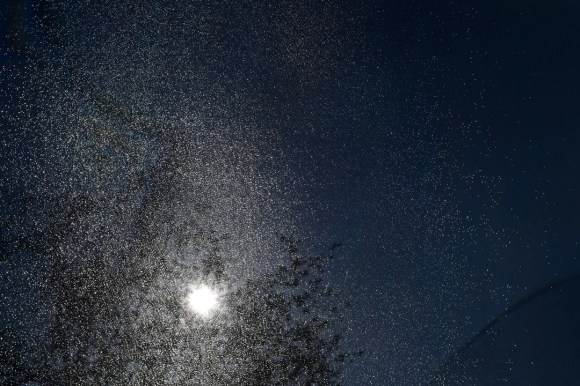
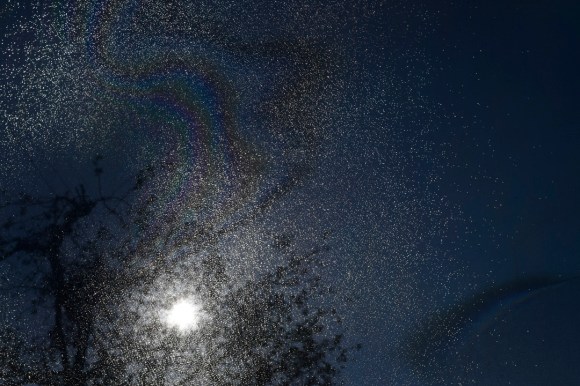
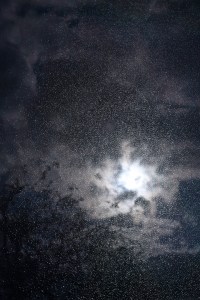
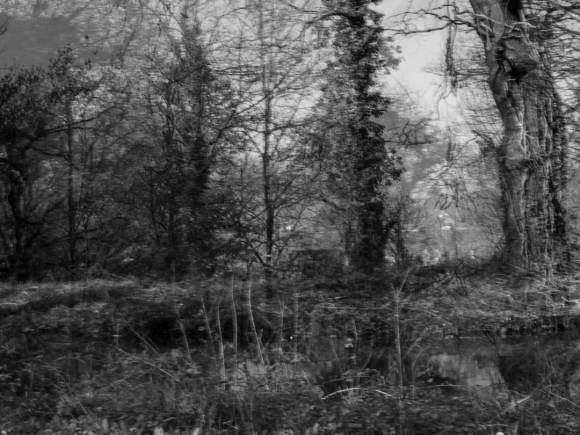
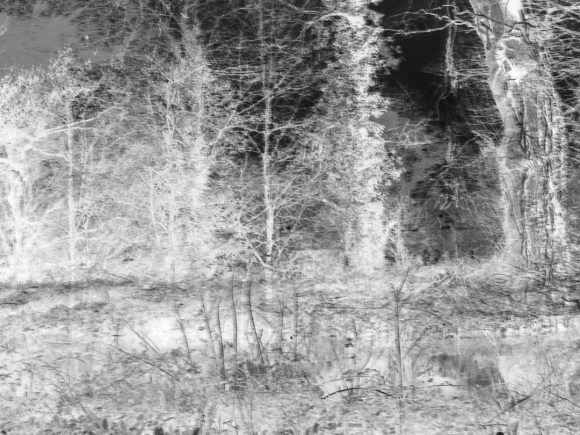
The next images for print were taken on 16 and 20 March. Still before lockdown, but there was a feeling of the inevitable blocks on the horizon.
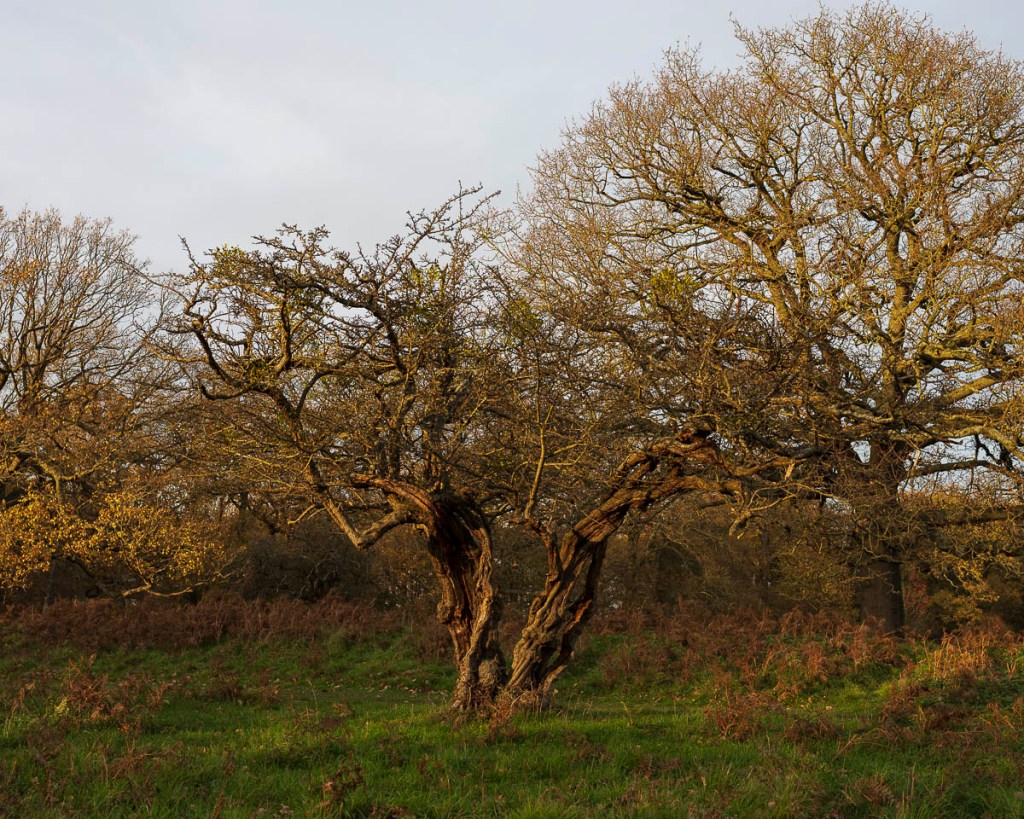
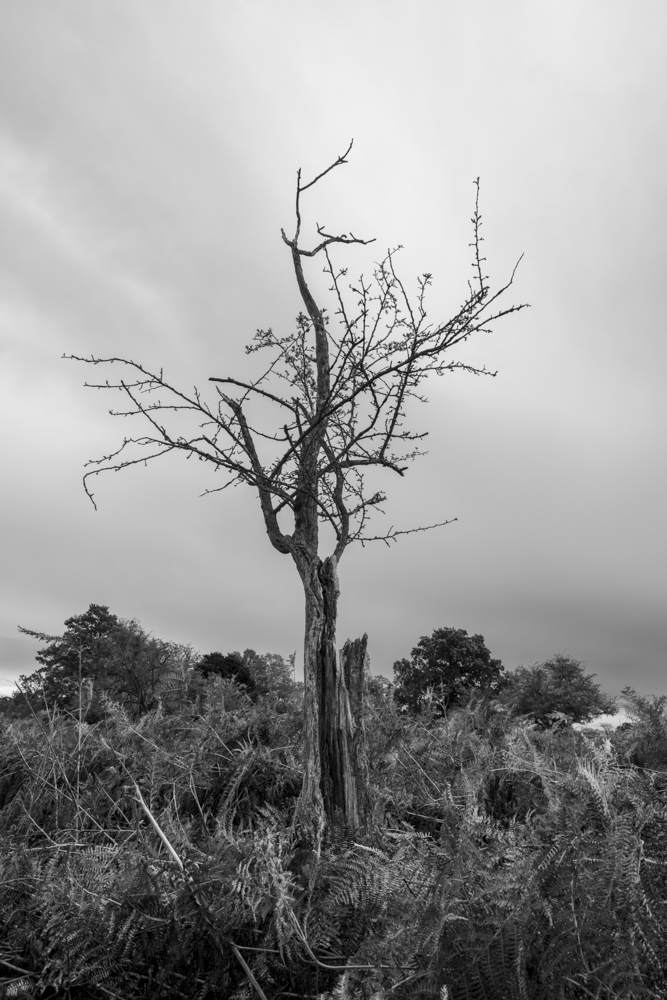
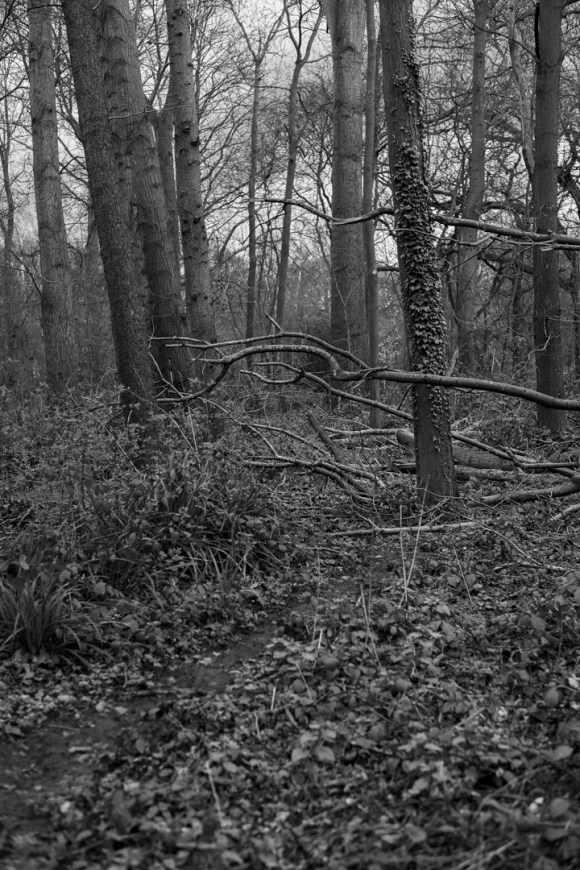
These two images would be grouped with this set taken on 20 March. An allegory of a blocked path with no clear direction.
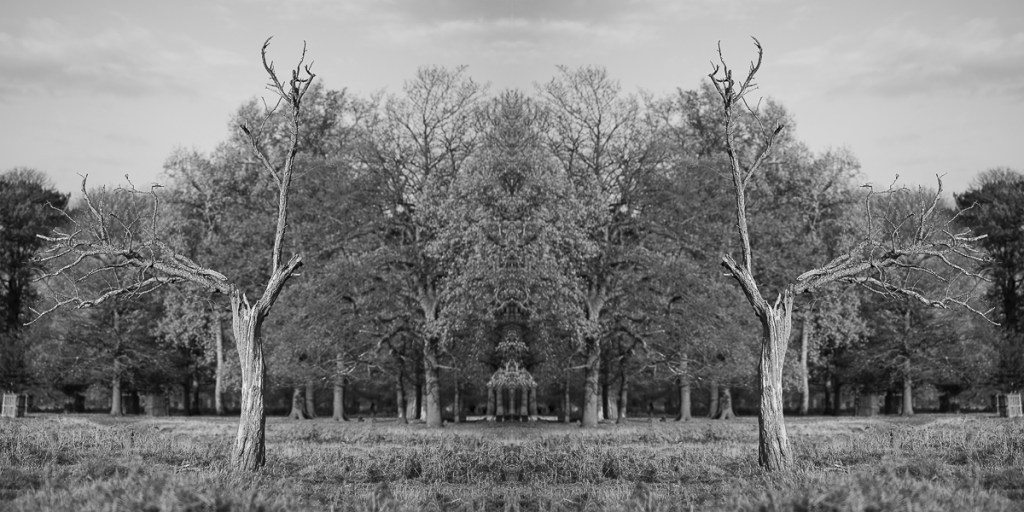
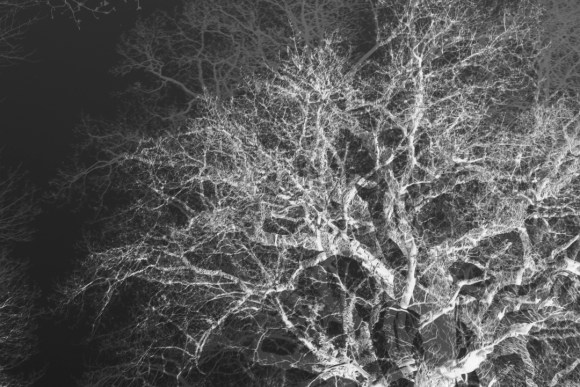
The following images would come under the main title of ‘Moments of Eternity.’ These were taken after the lockdown started on 23 March and represent that experience of feeling that this situation will last forever.
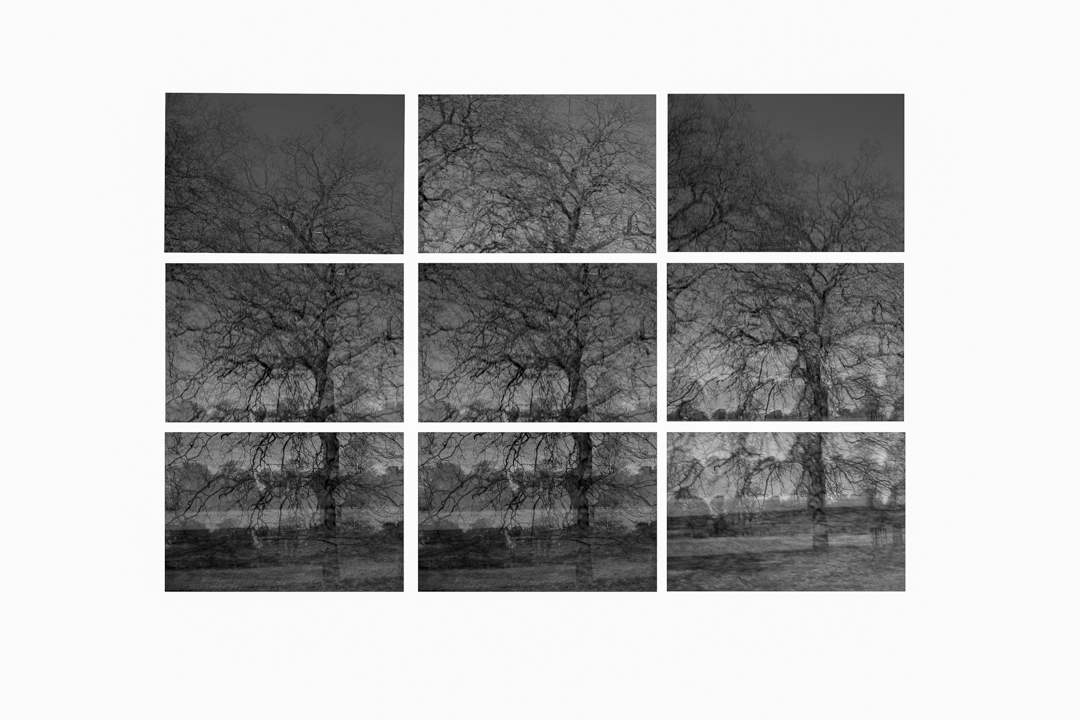
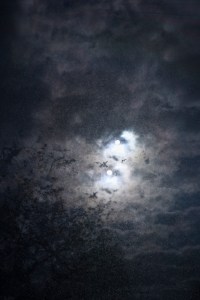
The first set of images under this title were from the interval-timer shoots taken in my garden during my period of self-isolation. My initial intention for these images was to use them as a time-lapse piece. However, since I started experimenting with the grids, I wanted to try using the format with the images from these sessions. I took nine images from each of the sequences. The first one I’ve called ‘Moon’ was a total of 281 shots, so I selected one every 30 images to create this grid.
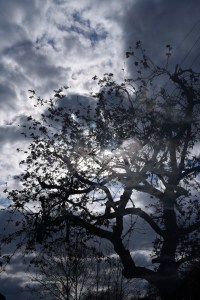
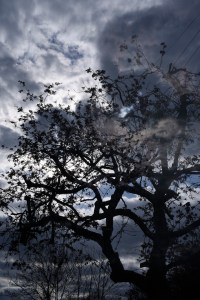
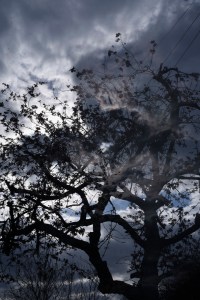
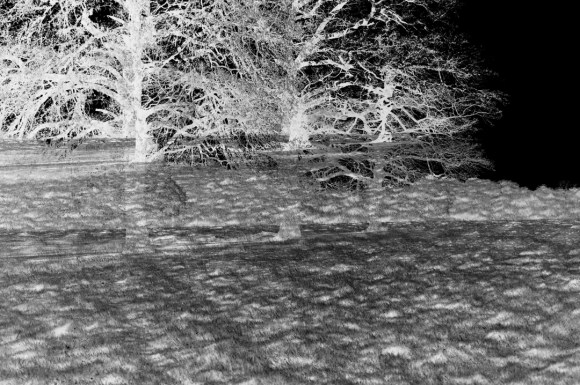
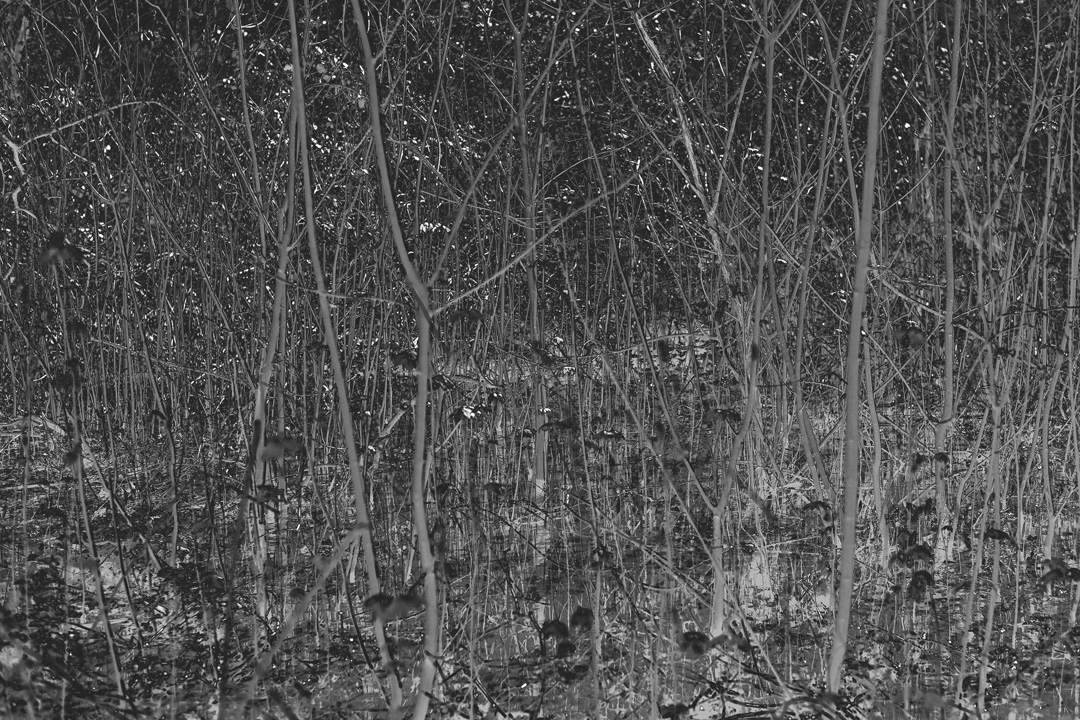
The second grid is called ‘Tree’, which was a total of 715 shots. As such, the nine images of the grid would be from one every 80 shots.
Having looked at the images set out on this blog post, I wasn’t sure if it would work with the selection I had chosen. I made a note to keep this in mind once I received the prints. One consideration is combining the two sequences together and selecting a sequential grid from the total images.
Next, I edited a selection of the portrait shots taken on 31 March of the window reflection. These were a result of the feedback received on the same day during the online tutorial.
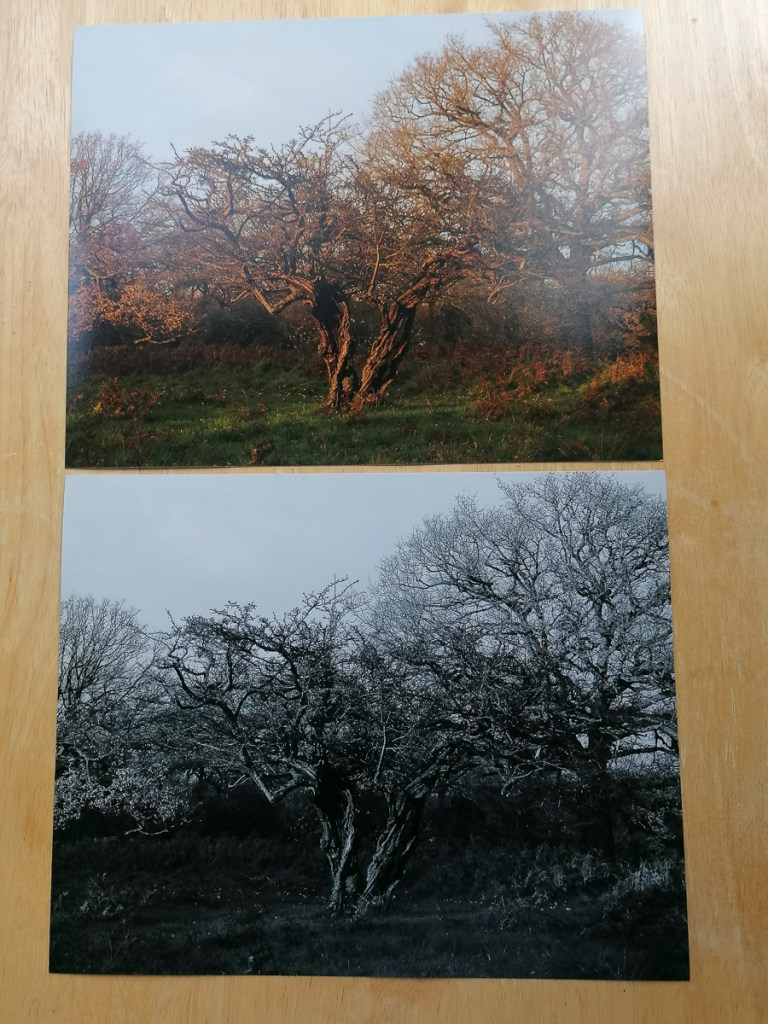
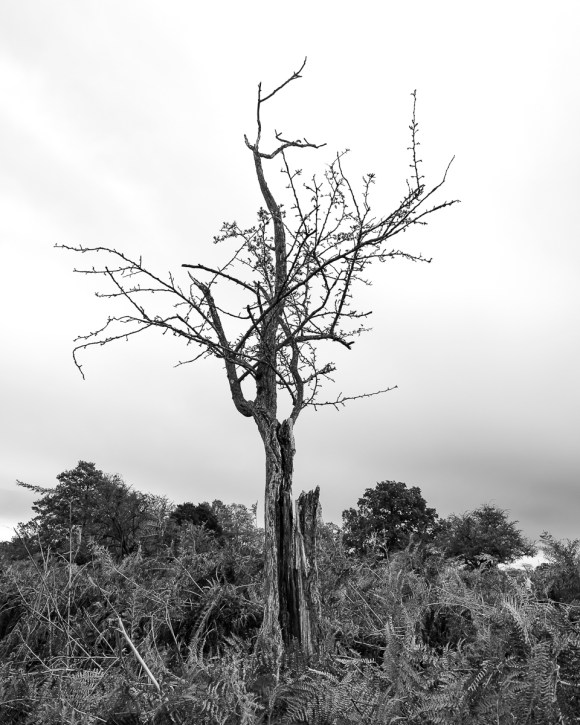
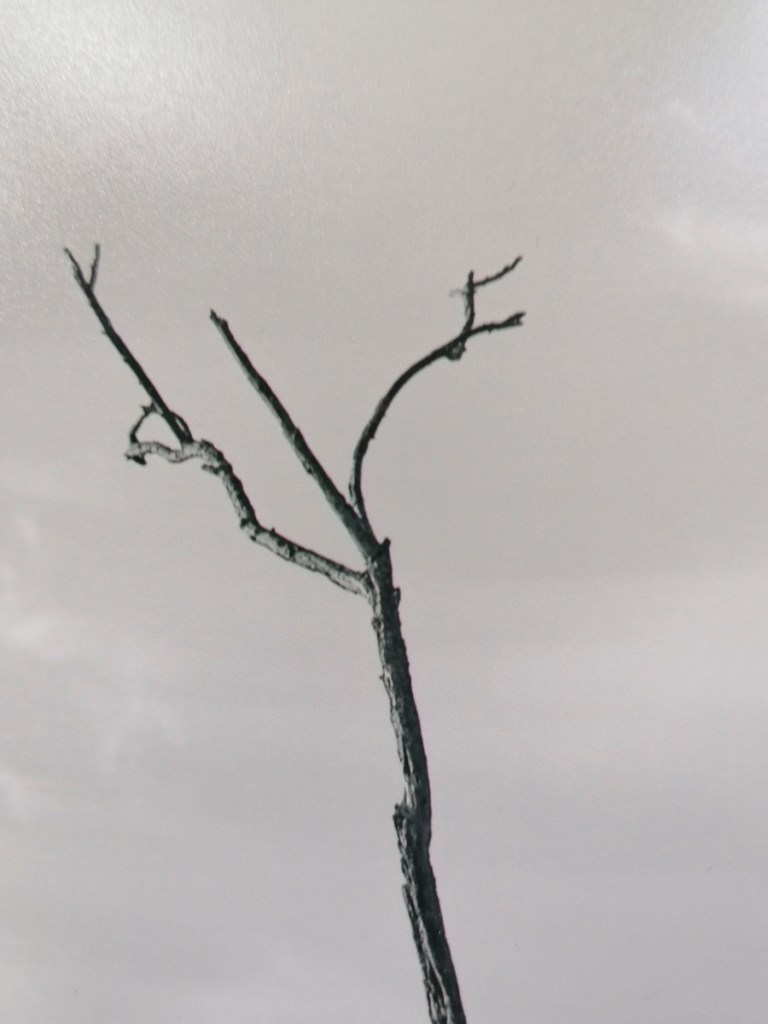
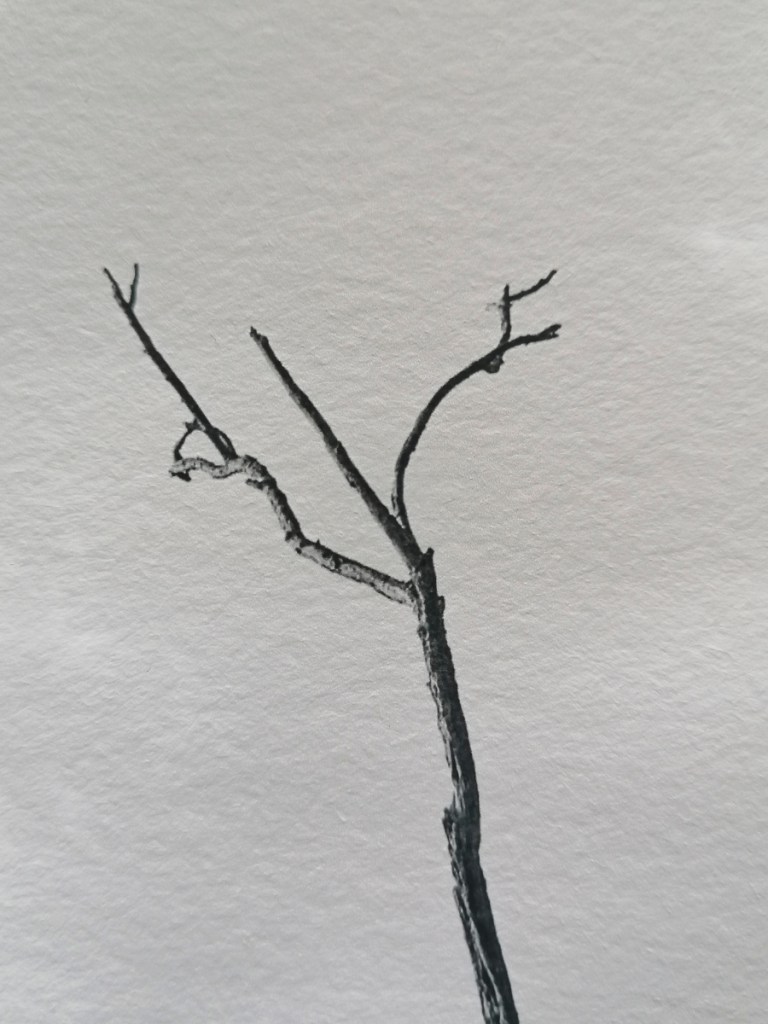
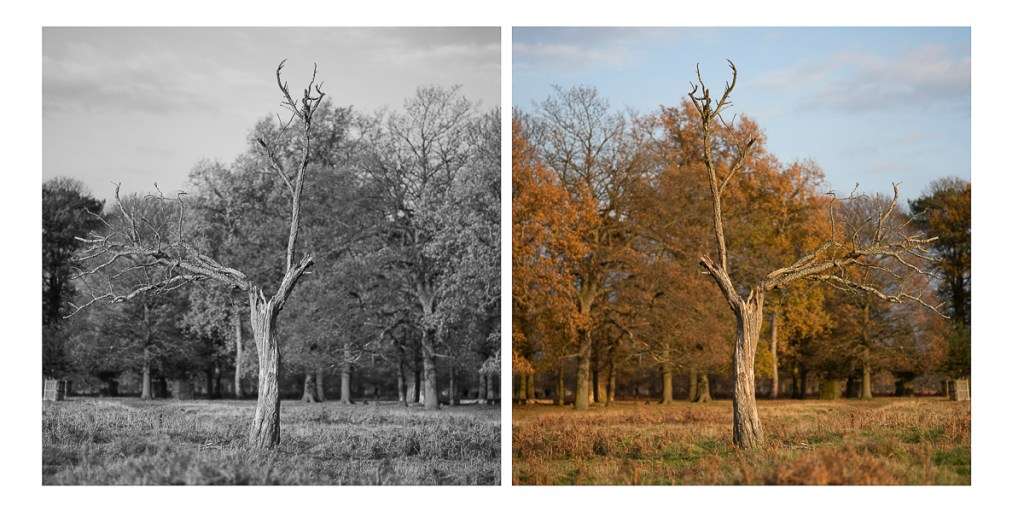
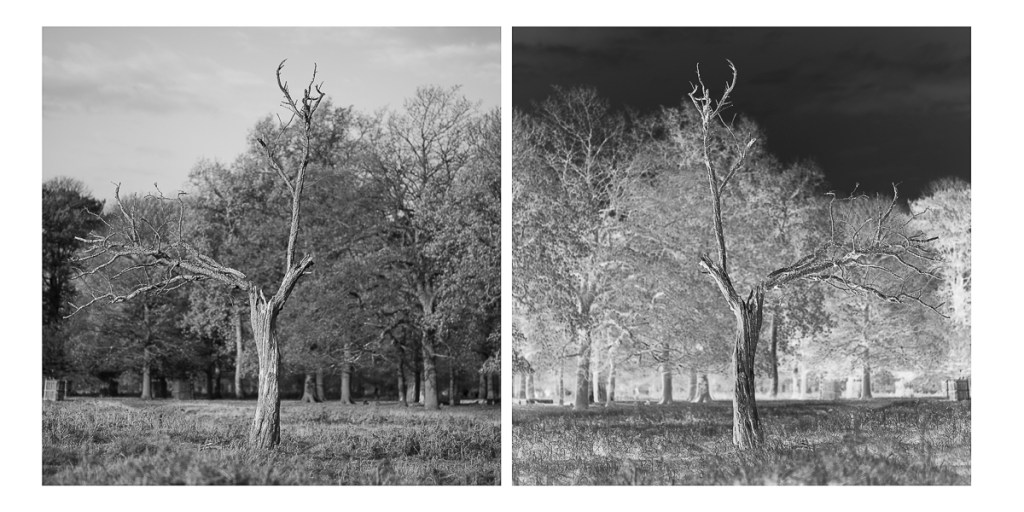
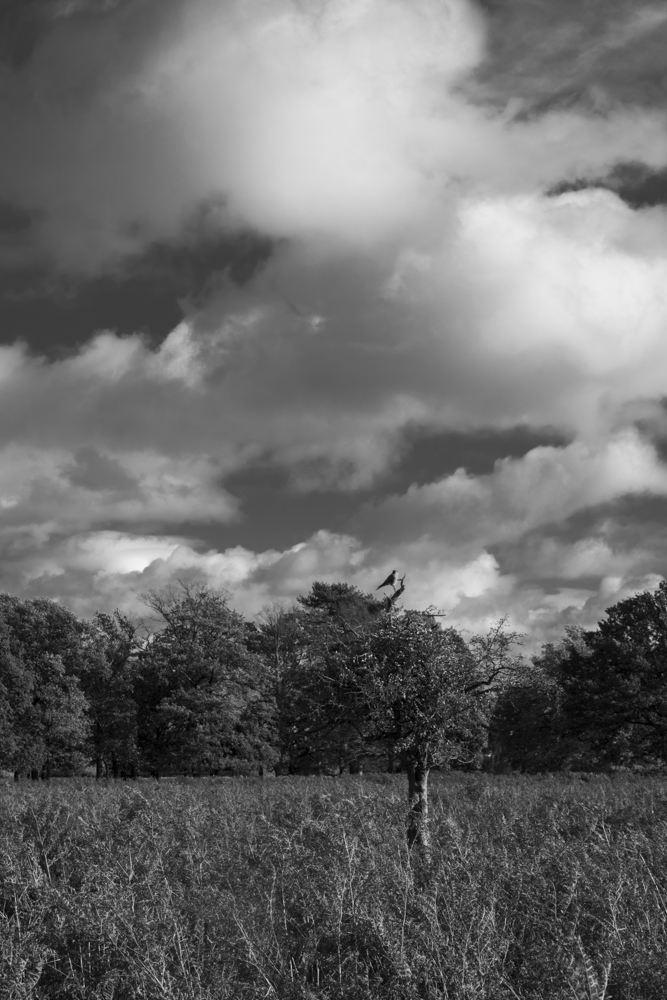
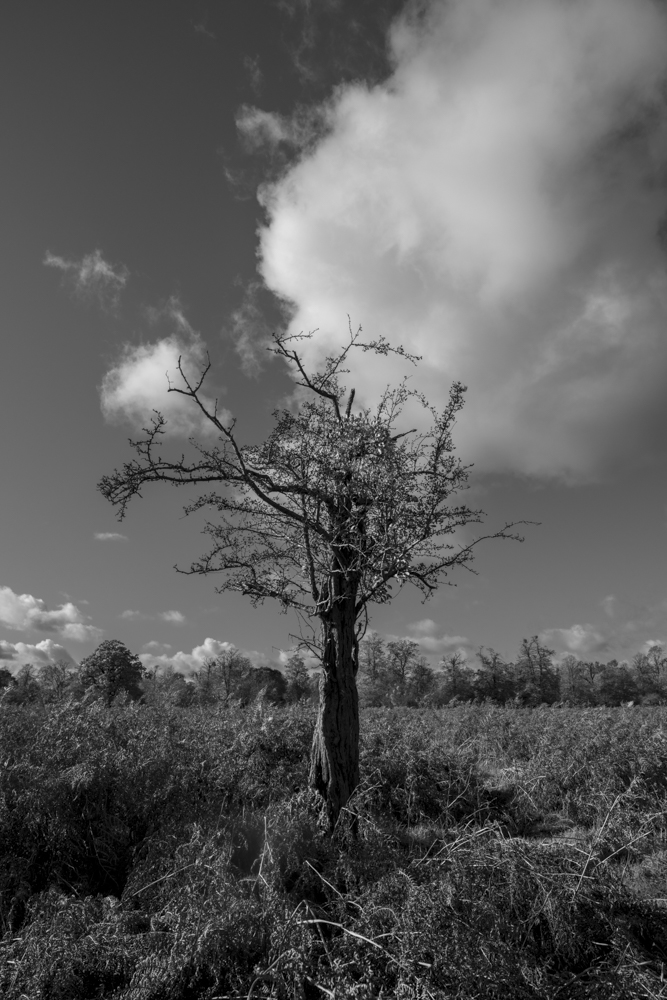
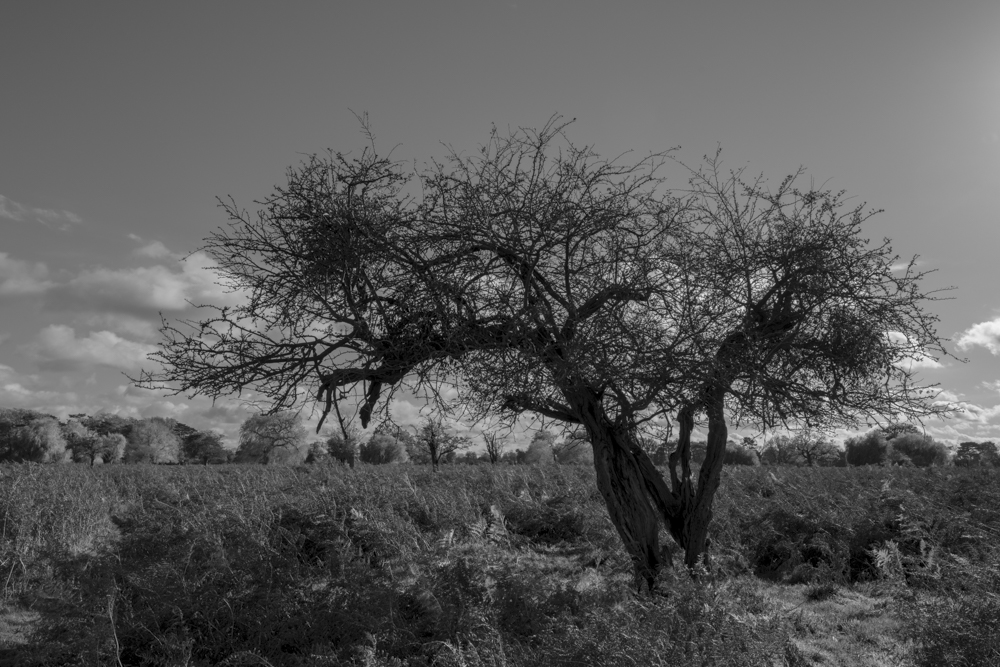
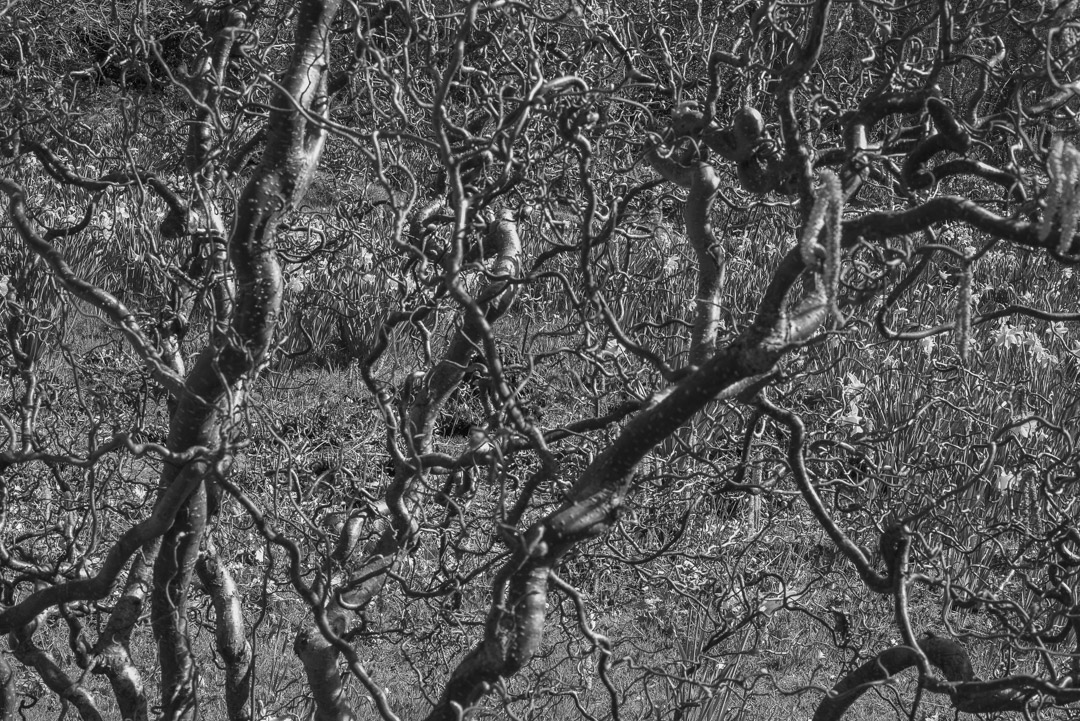
My final selection for editing and printing was the images taken in Bushy Park after my period of self-isolation ended. Again, these would come under the title ‘Moments of Eternity’. These were inspired by an altered view and perception of the world post-23 March 2020 and the Zoom grid.
After writing this post, it dawned on me as to how productive I had been during this bizarre time. Having the time and energy to focus on my work combined with being able to rest and process what I was doing definitely had its benefits.
The next step in the process was to wait for the prints to arrive then discuss these and my concept with my class. I also had to revisit my initial inspirations and references then prepare for the next online tutorial on 28 April,