“The definition of insanity is doing the same thing over and over again, but expecting different results.”
Albert Einstein
When stuck in a photographic rut these wise words always come to mind. After the Interim Review, I took the received advice on board and decided to tackle on some key aspects that were mentioned during the session.
The strongest element which I took on board is that is time to focus on producing strong and coherent images. Up until this point I had carried out a high amount of in-depth background research and had produced a range of initial photographs. I now had to take a different tack by refining and improving my technical techniques and narrowing down my subject matter.
With regards to my use of equipment, I had been using my digital mirror-less camera with a 24mm-70mm lens. This was in order to try out different focal lengths to see which distance gave the best results. However, it only goes down to F4, so if I wanted to focus on the tree itself and create a less-obstrusive background by creating a shallower depth of field, I would need to use either my 35mm or 85mm, which goes to F1.8.
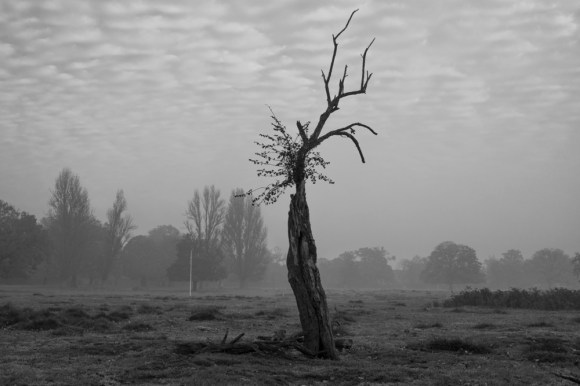
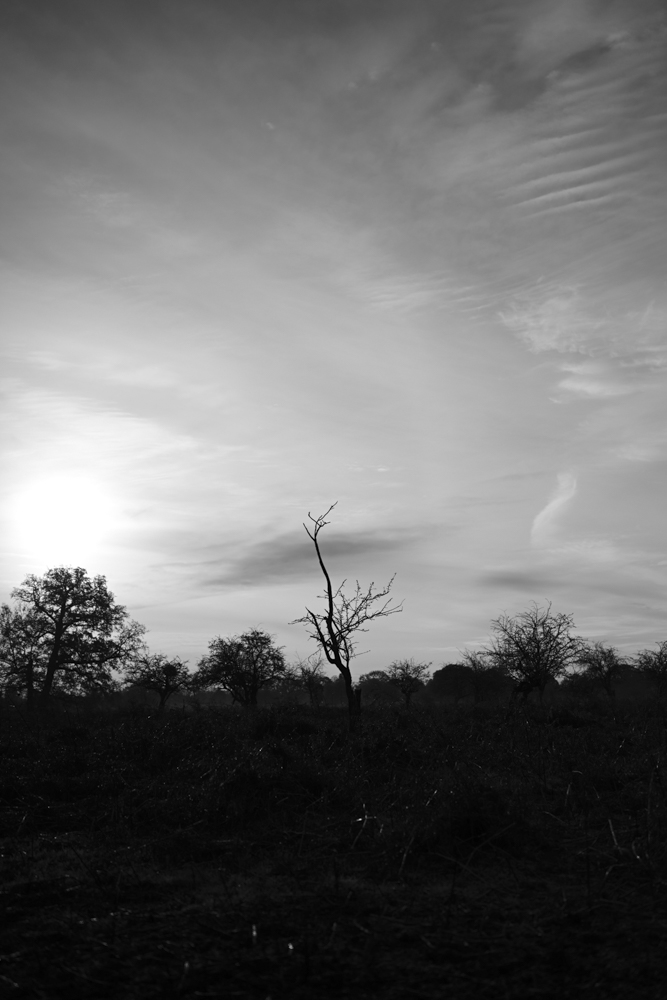
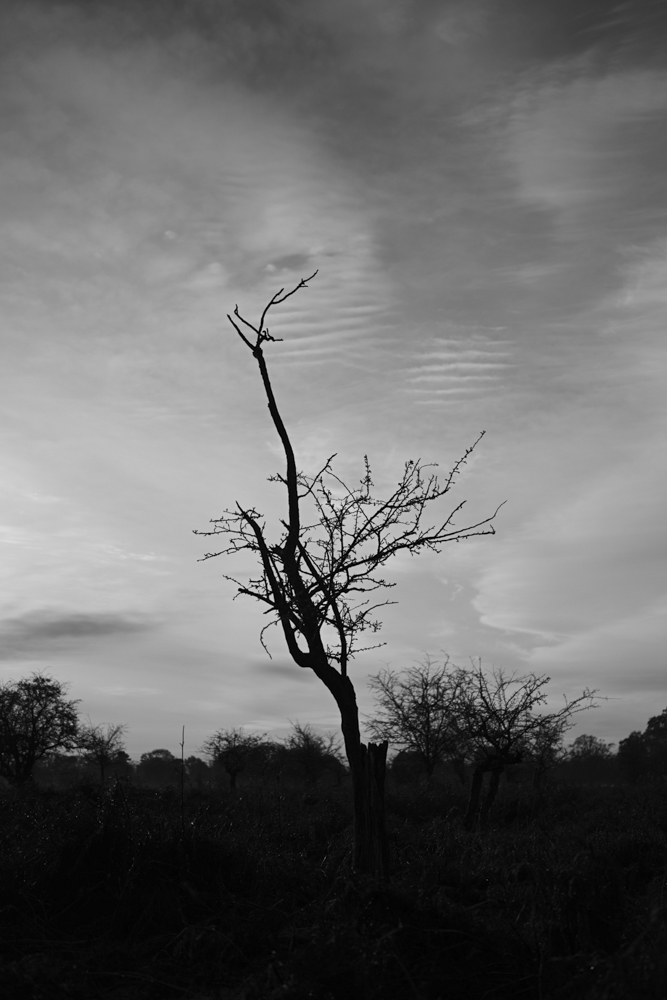
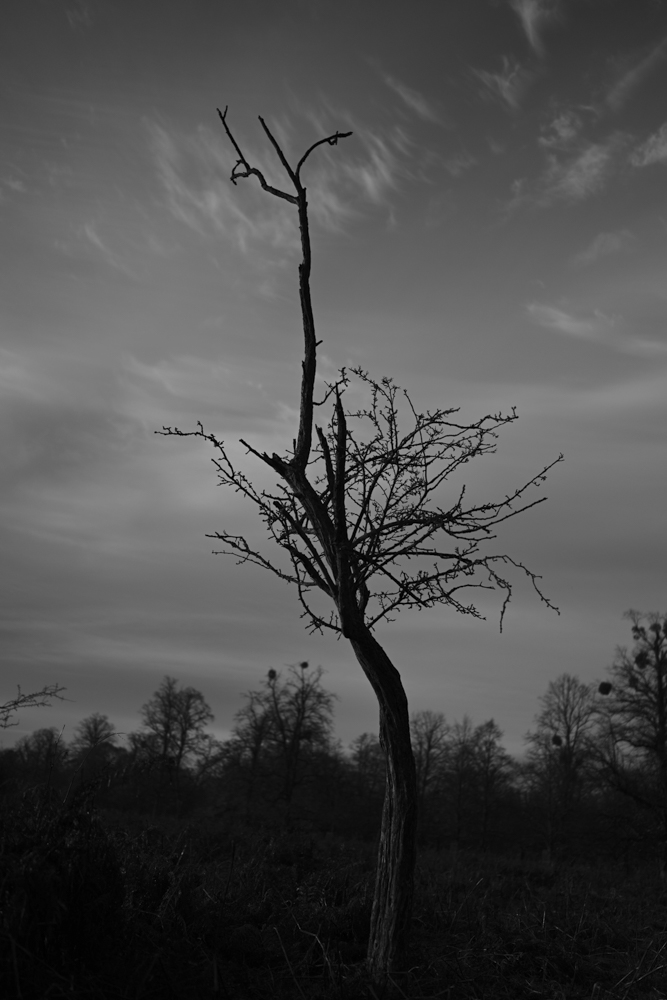
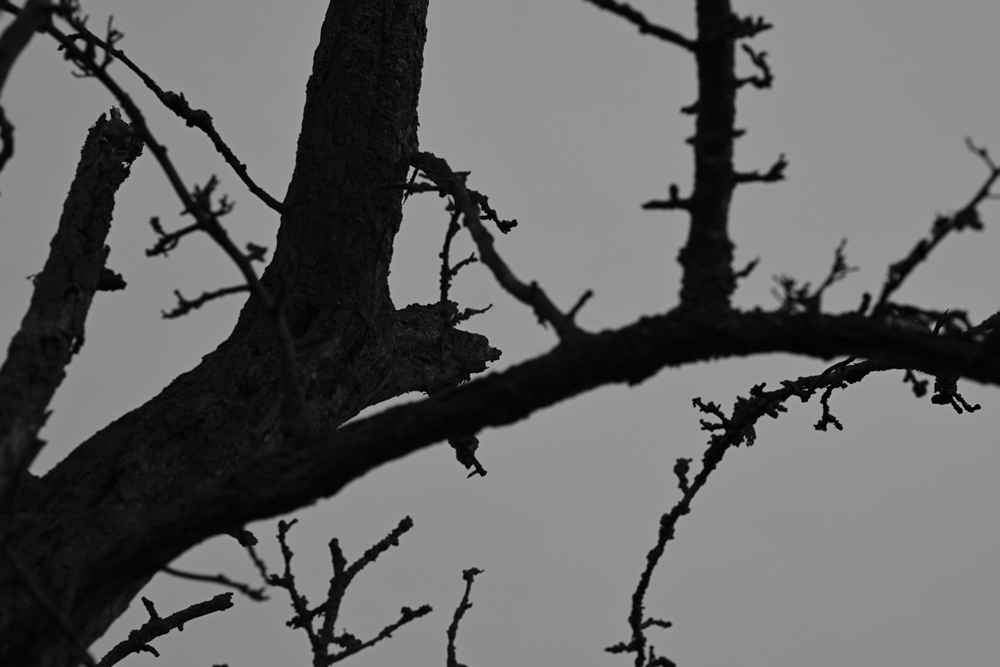
The following image, taken with at 53.21mm at F4, was pointed out as having this effect, which was mainly due to the misty conditions.
The other aspect was the conversion of the original colour images to Black & White. This was sparked by my classmate, Mark, who is also a purely digital photographer. Mark is now focusing on Waverley Abbey for his project and is also carrying out Black & White conversions. While talking about his images, Mark mentioned the Zone method (initially formulated by Ansel Adams). This approach to taking digital images then converting them to Black & White has to be carried out in a different way to analogue – expose for the highlights, not the shadows. When recovering ‘information’ in a digital image, the ‘blown’ highlights (pure white) cannot be restored. The darker areas can be made lighter in order to reveal the details. In analogue, it is the opposite.
While looking online for more information about this aspect, I came across a very useful article by Spencer Cox.
Complete Guide to Black and White Photography
Cox states in the opening sentence:
‘The art of black and white photography is surprisingly difficult to master. You can’t just slap a “noir” filter on your images and call it a day!’
(Cox, S. 2020)
Over the past seven years, I have been converting images to Black & White digitally and have certainly developed my particular methods. I am in complete agreement with Cox on his instructions and would never even consider whacking on a filter to create a particular effect. The conversion needs a subtle touch and a keen eye to achieve the best results.
One other recommendation that stood out was using the camera settings to take the shot in Black & White. When shooting in RAW, the file will retain the colour, but the monochrome version will appear on the screen. On that piece of advice, I set my camera to capture a RAW version and a low-quality JPG. This means I have both the original colour file that can be converted to Black & White utilising all of the available information and have a monochrome reference for editing.
Cox’s article is extremely useful and I will be taking his advice on board as this project progresses.
The other aspect was getting to know my camera better. This article by Nasim Mansurov was very informative.
Recommended Nikon Z7 Settings
By following Mansurov’s suggestions, I reset my camera to see how it would make a difference.
With this information in mind and the suggested changes made, I visited the park.
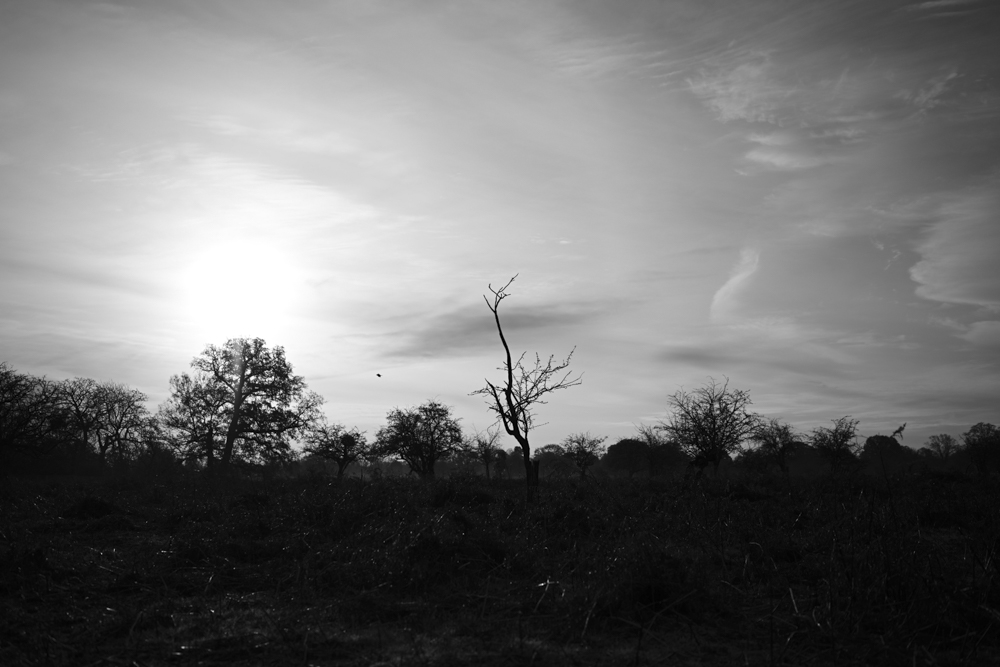
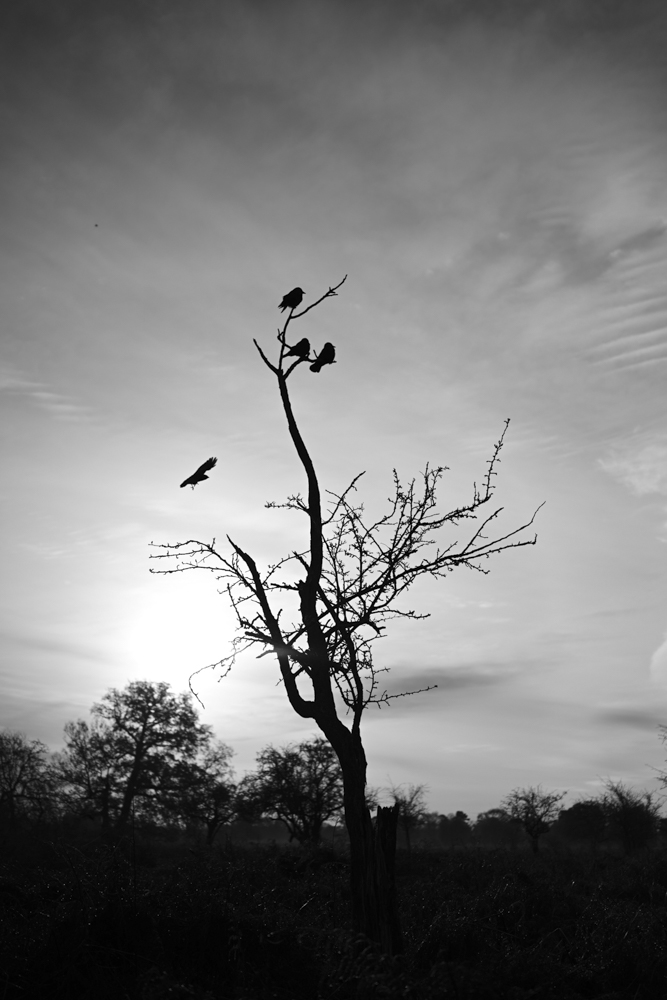
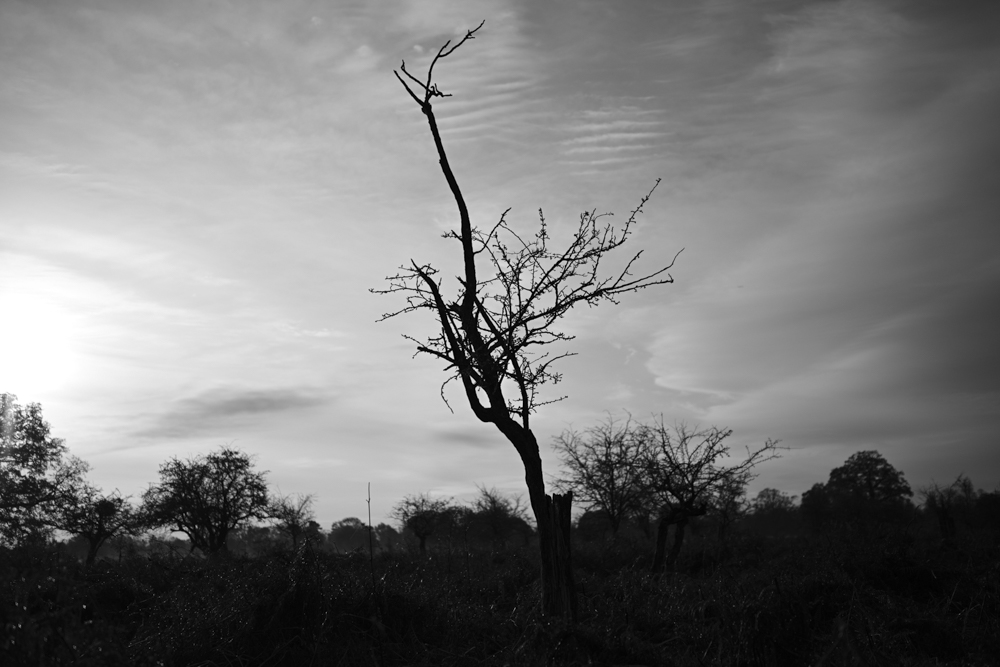
Tree One
The first hawthorn I revisited was the one that had elicted the best response.
35mm Shots
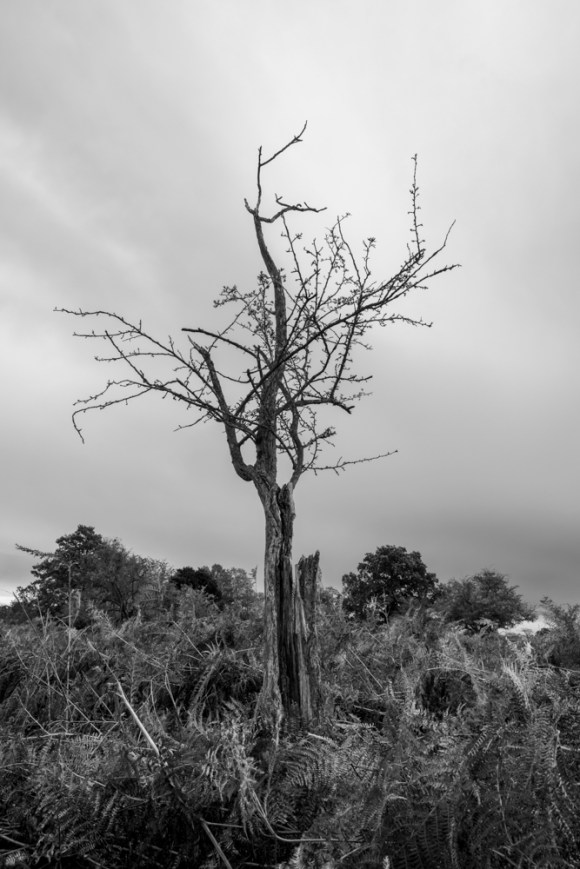
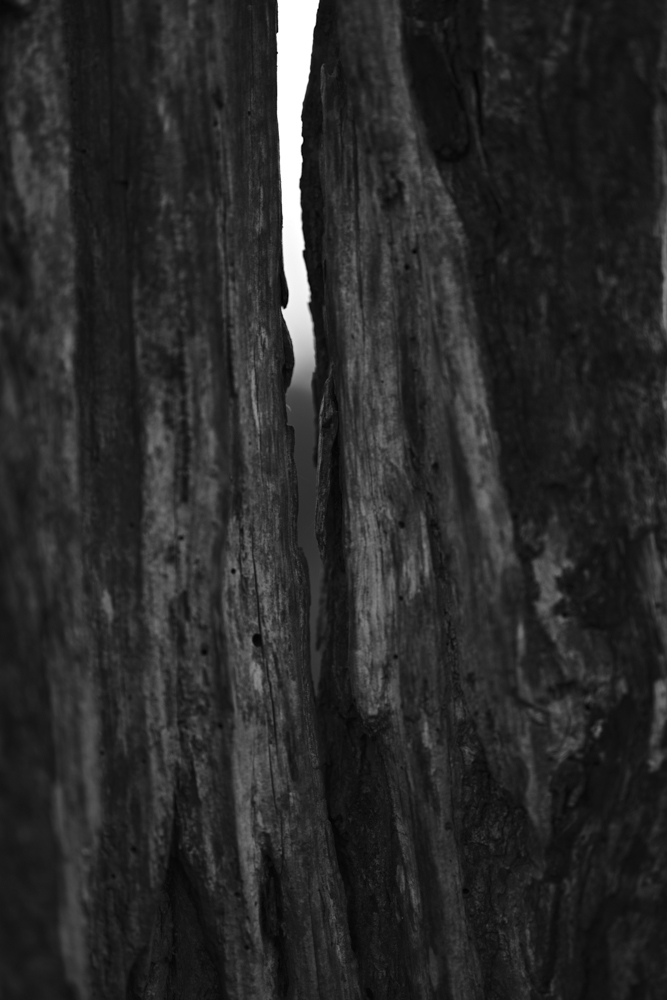
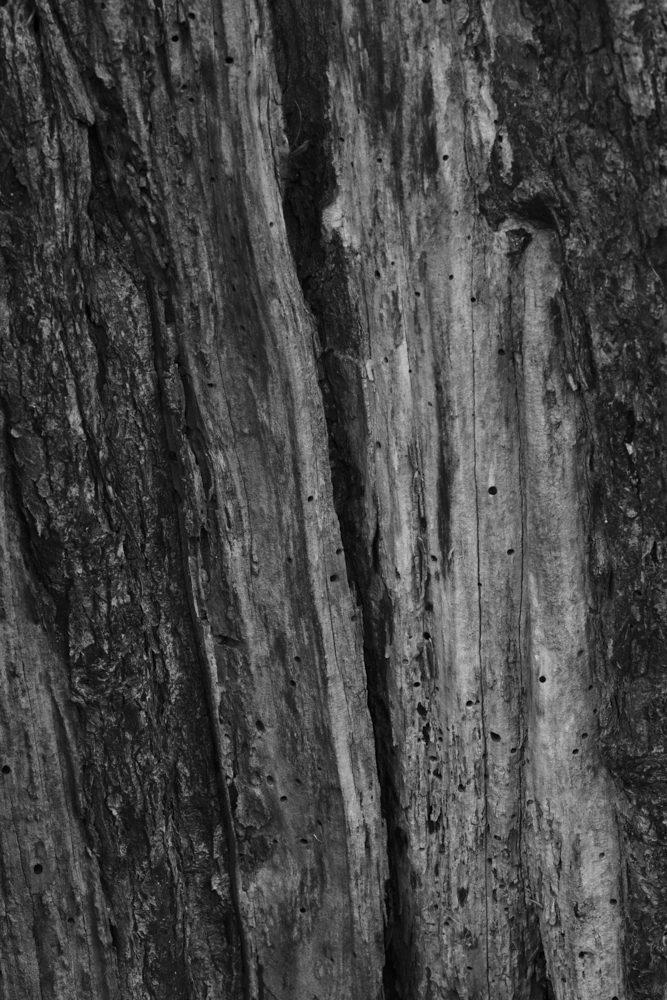
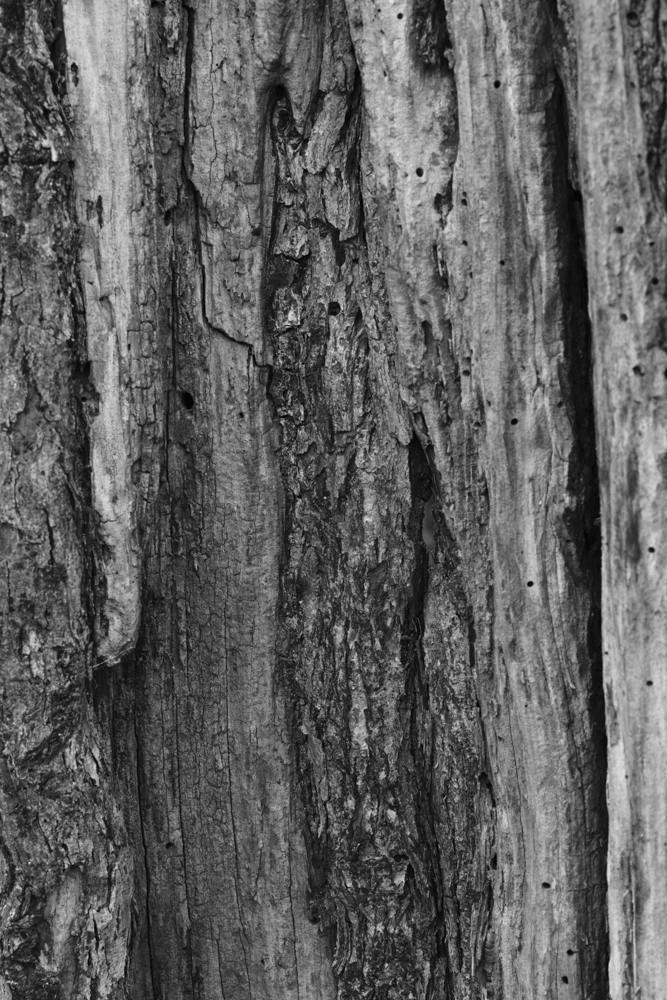
I first tried the 35mm lens. The sunlight was trying to pierce its way through the clouds and I noticed how the light exposed the texture on the side of the hawthorn. The following shots were taken using F1.8 and are the Black & White JPGs converted by the camera. These were shot in Aperture Priority, but with an exposure compensation of -0.67 in order not to blow the highlights.

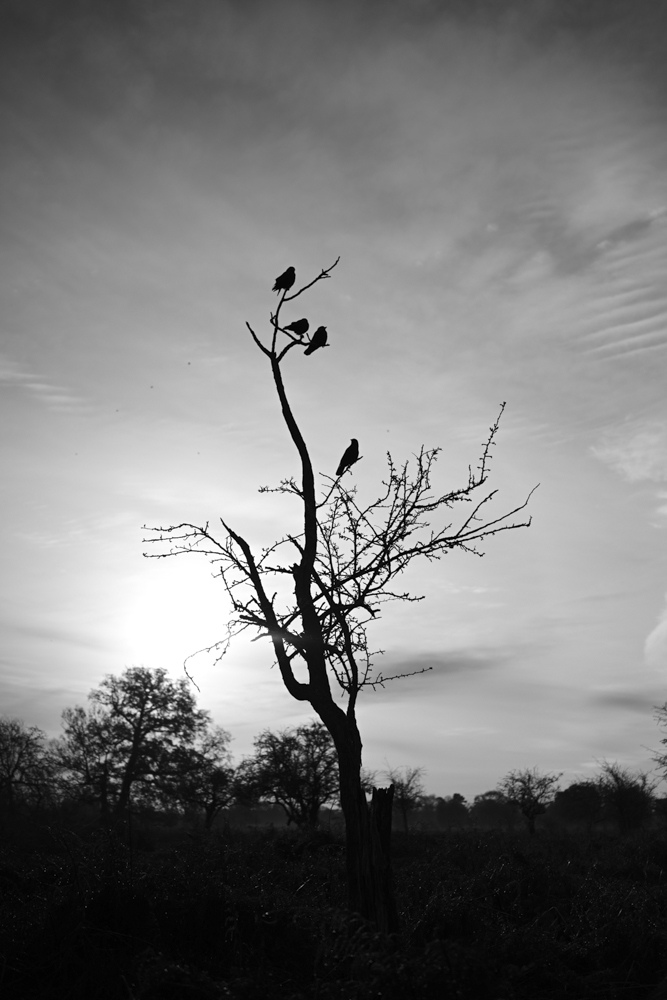

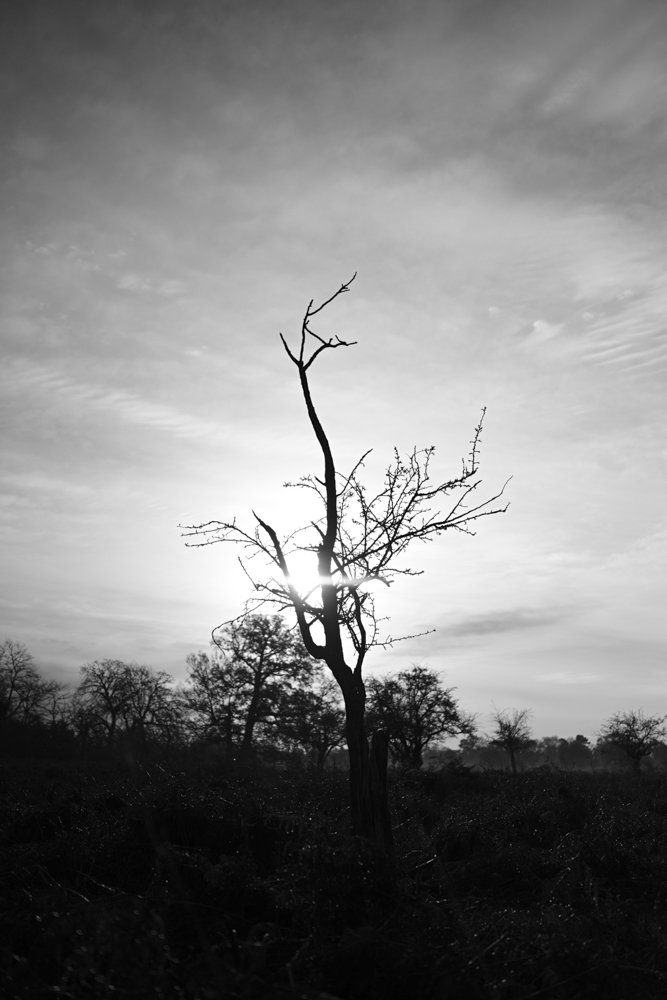

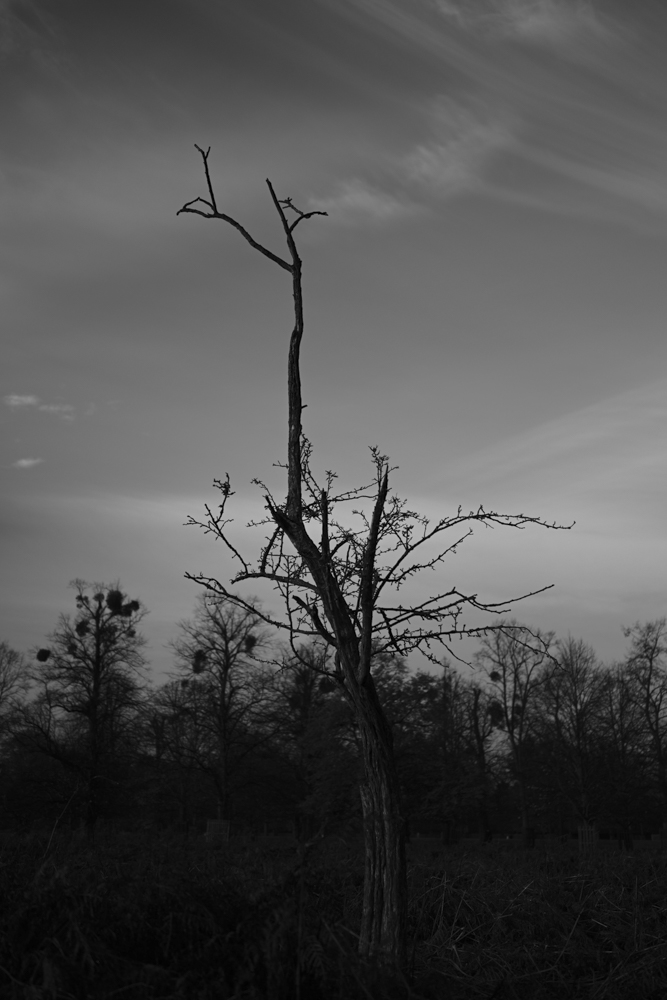
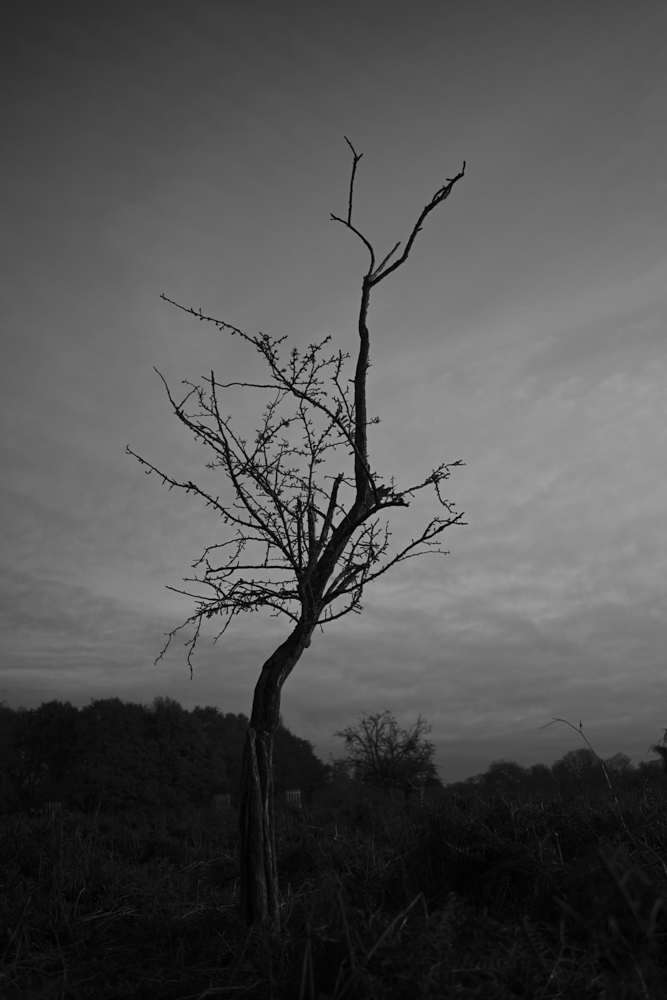
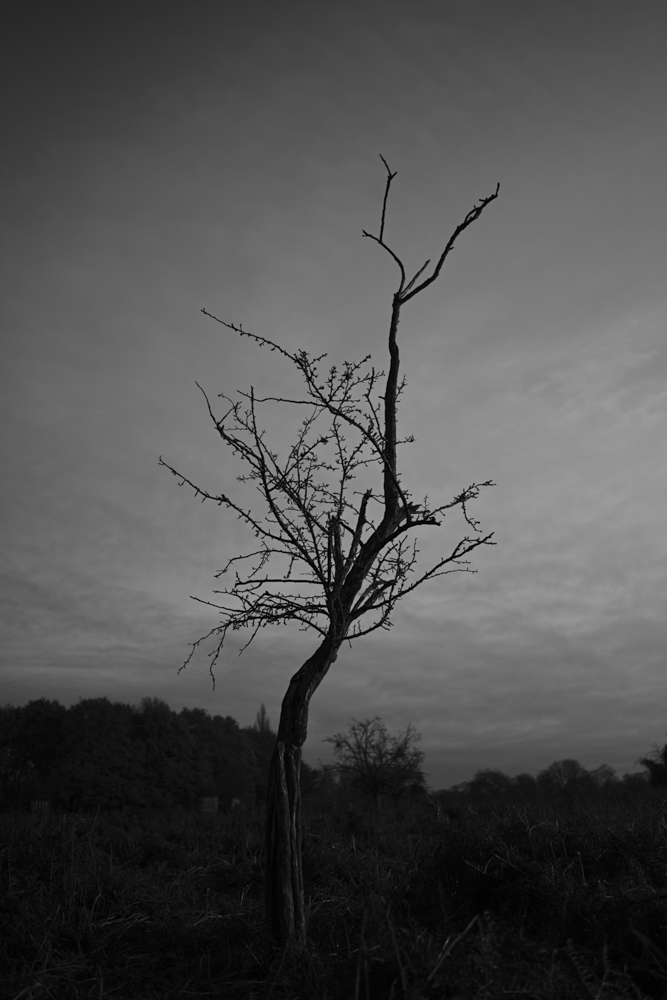
When initially looking at the resulting images, I chose this one to edit using my usual Camera Raw method. When I looked closer at this image, I could see the noticeable difference between the sharpness of the tree and the majority of the foreground in comparison to the out-of-focus background. I was not sure about this effect at this stage. It would have to be investigated further by placing the camera on a tripod then changing the settings. This would enable me to compare results and work out the optimum effect.

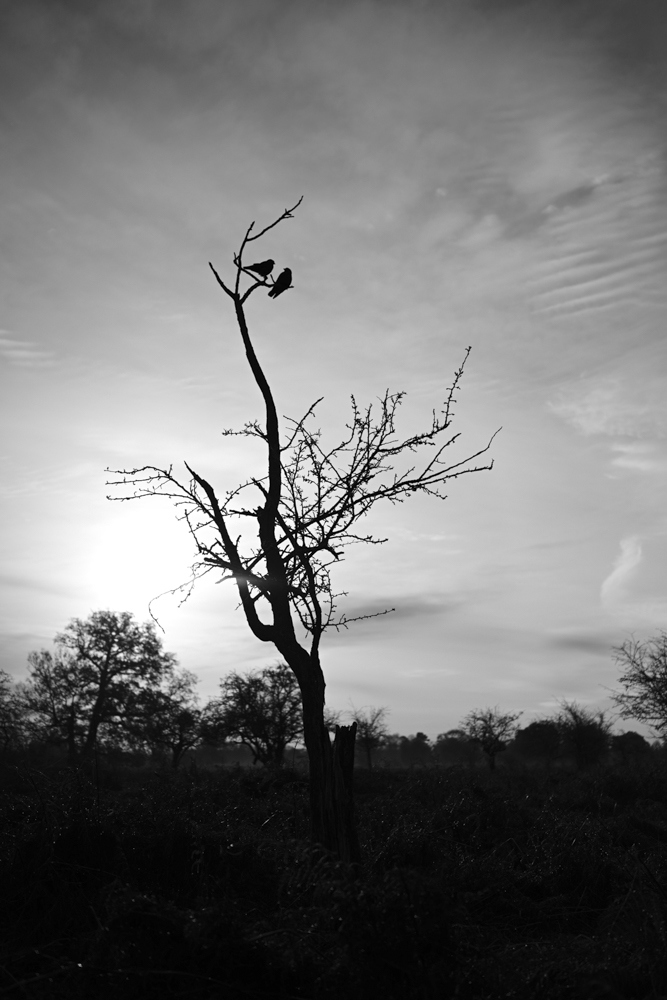
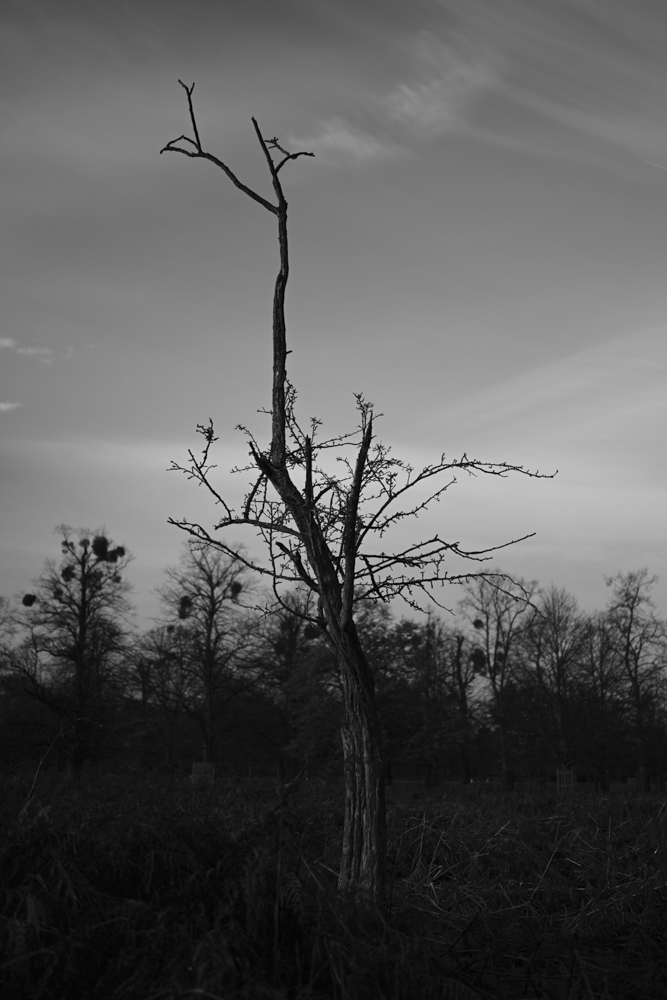
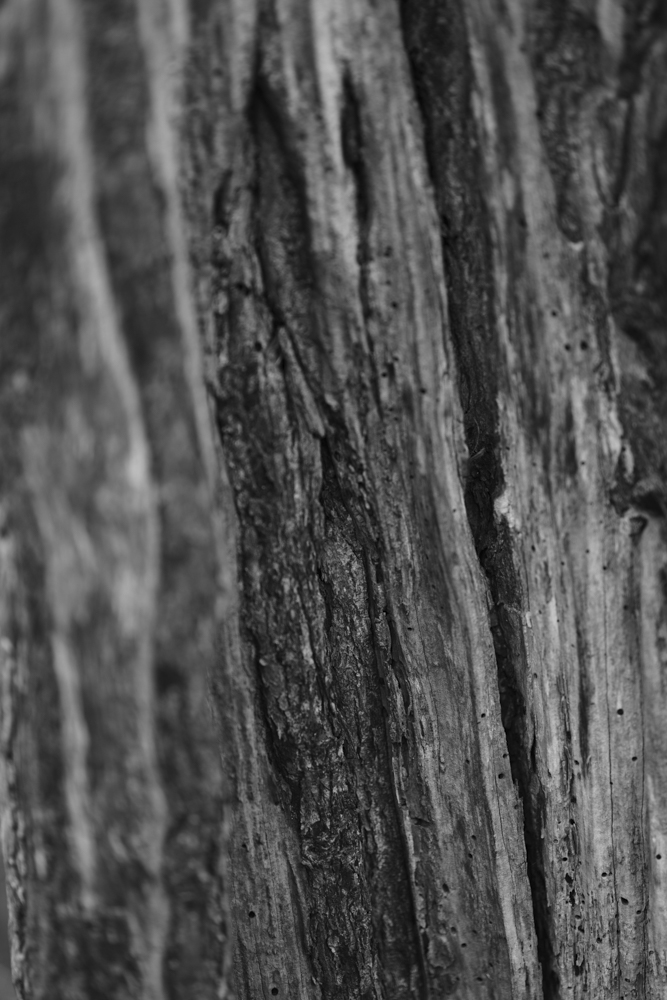
These are the Black & White JPG and converted RAW file images for comparison.
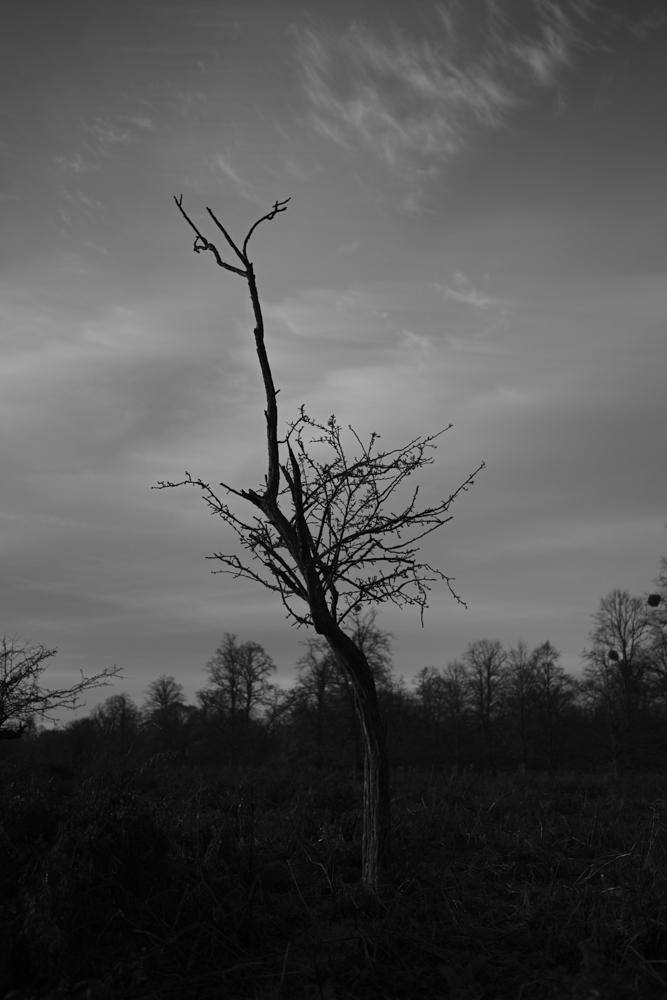
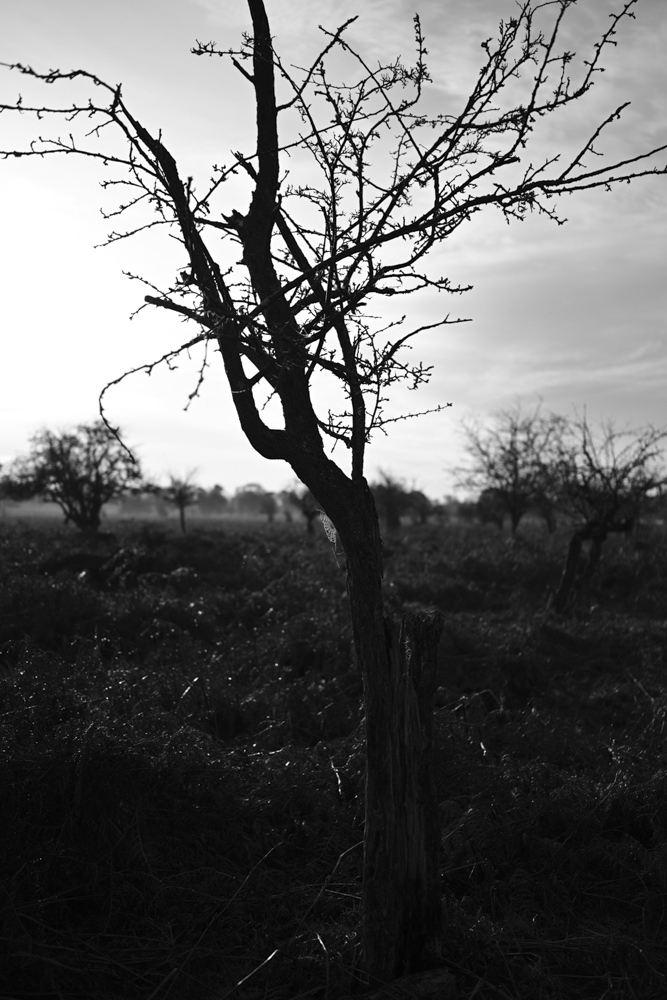
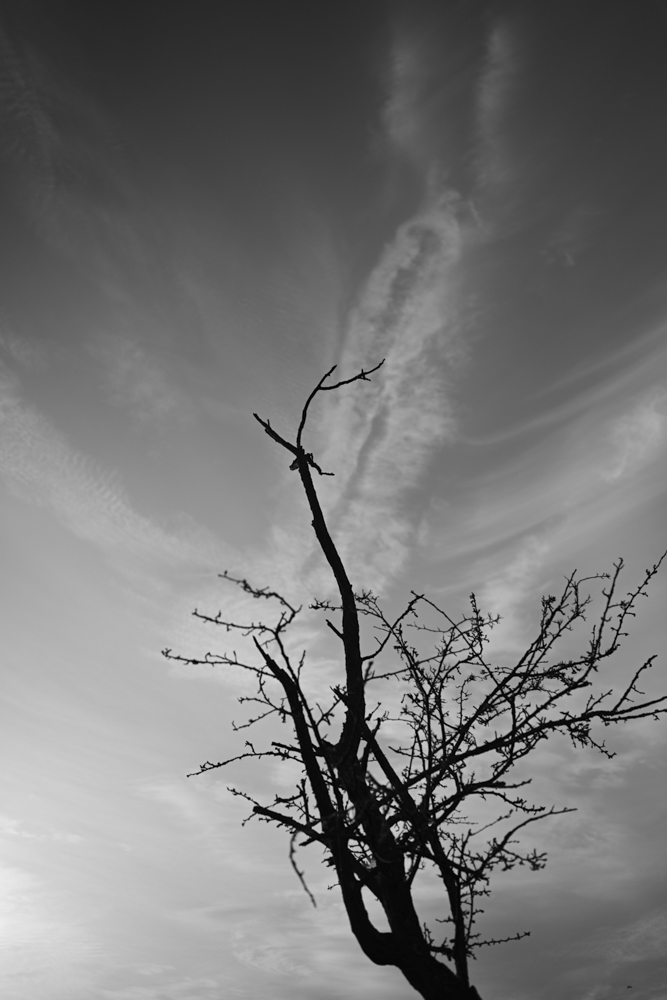
85mm Shots
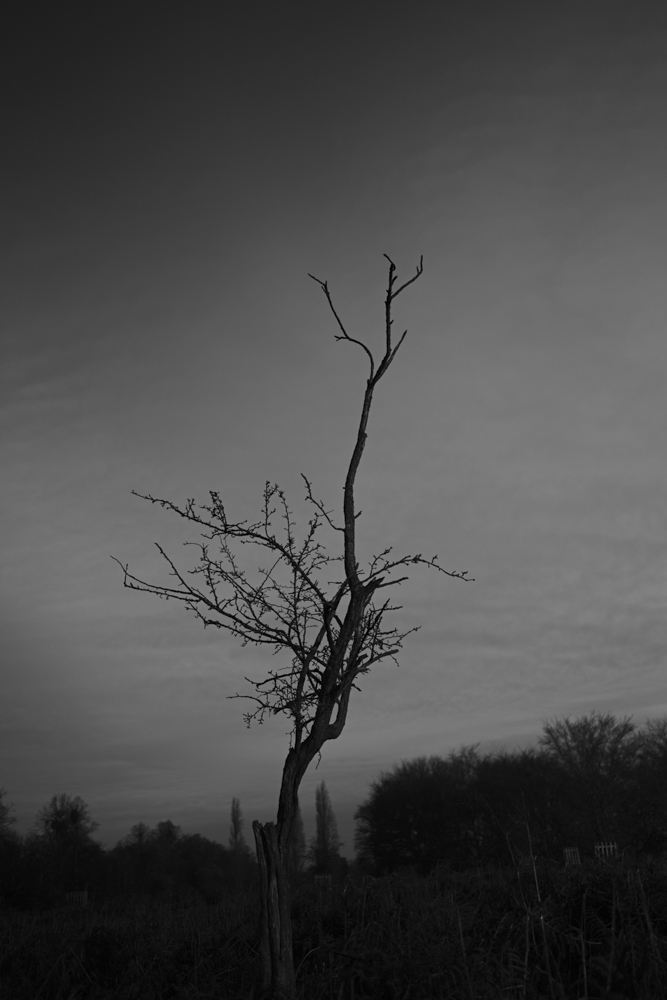
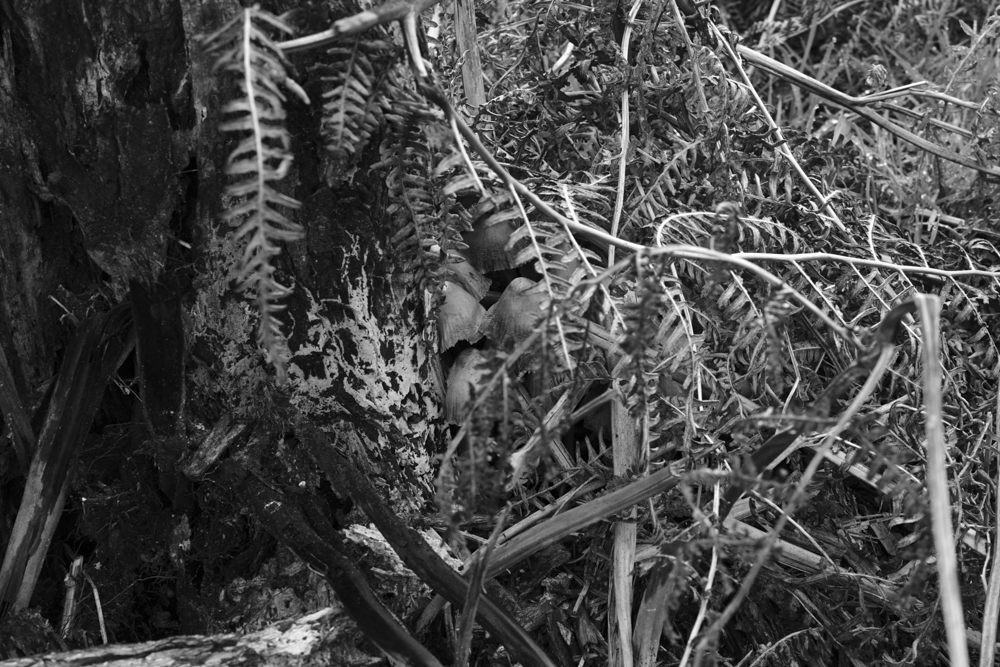
I then tried the 85mm lens. I wanted to get some close-up and abstract images of this tree. The reason behind this is that it was suggested I focus on just one particular hawthorn for this project. I wanted to know how the different angles and proximity of the lens could change the viewer’s perspective of an individual tree. Again, these are the Black & White JPGs created by the camera.
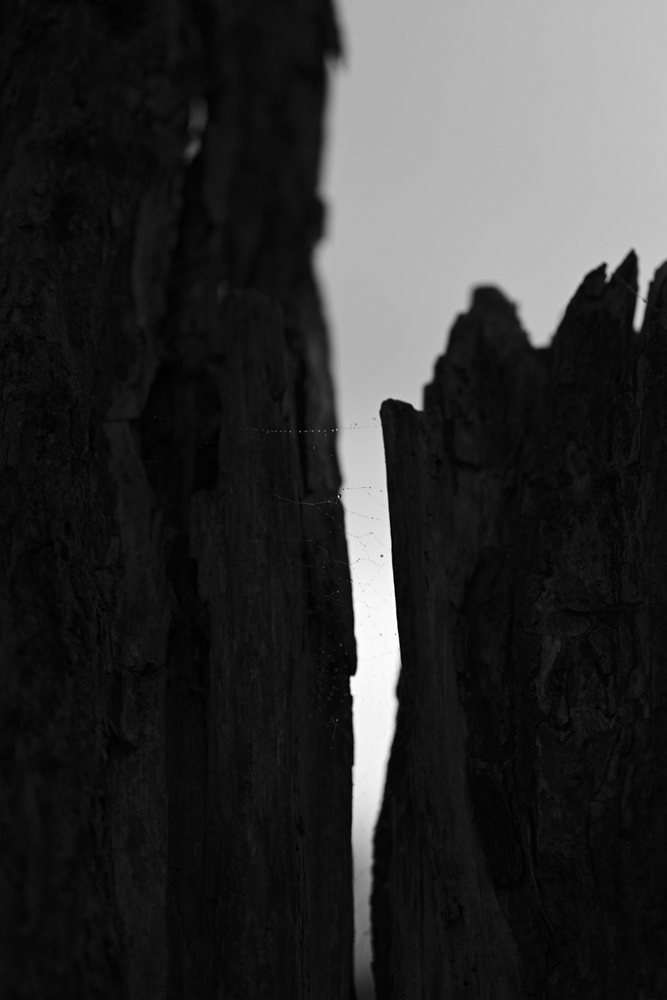

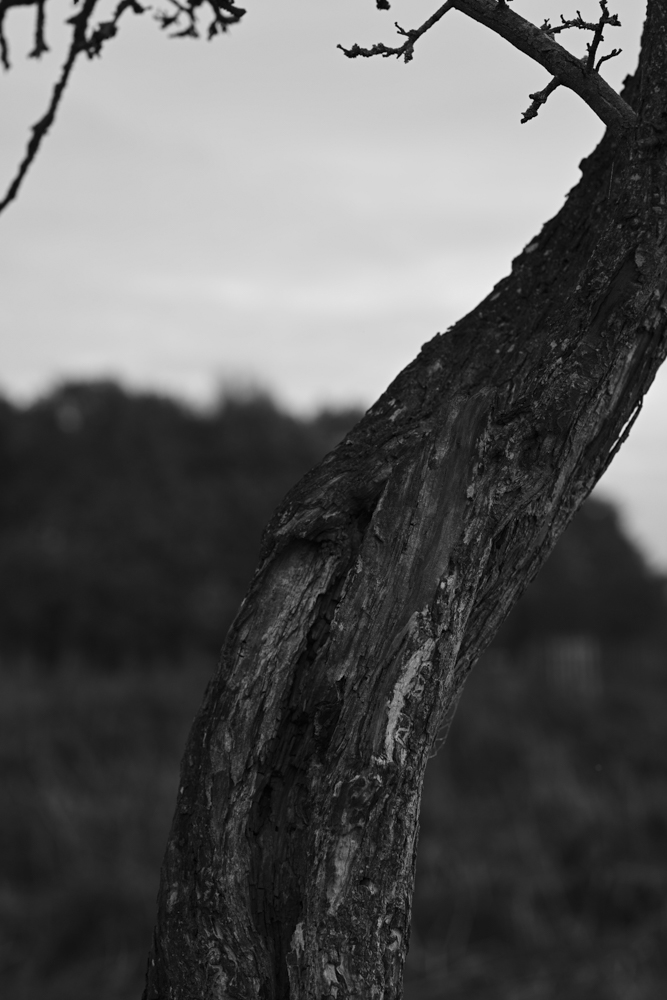
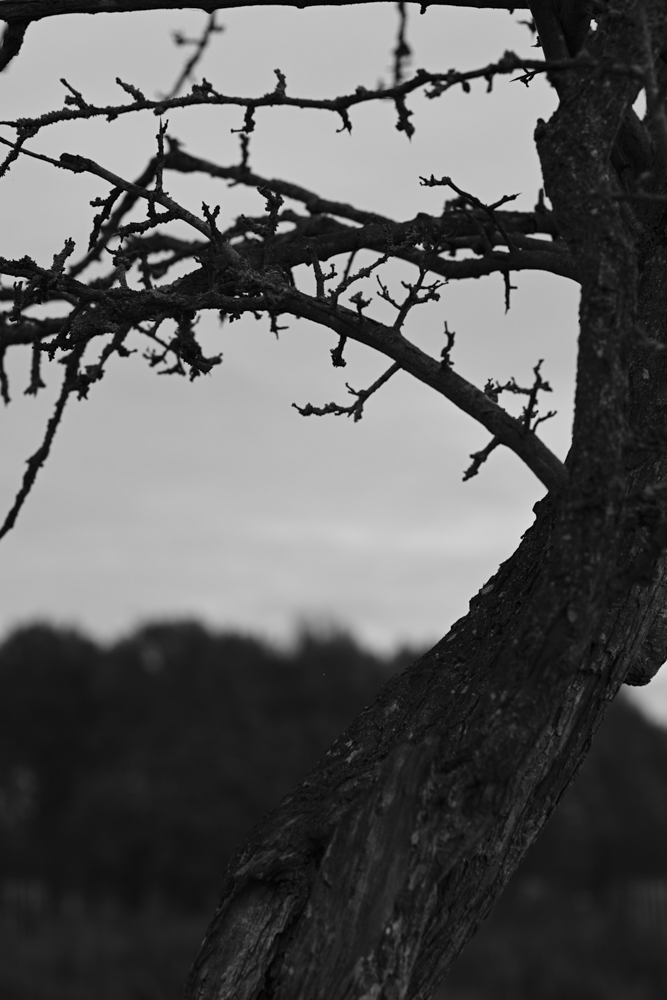
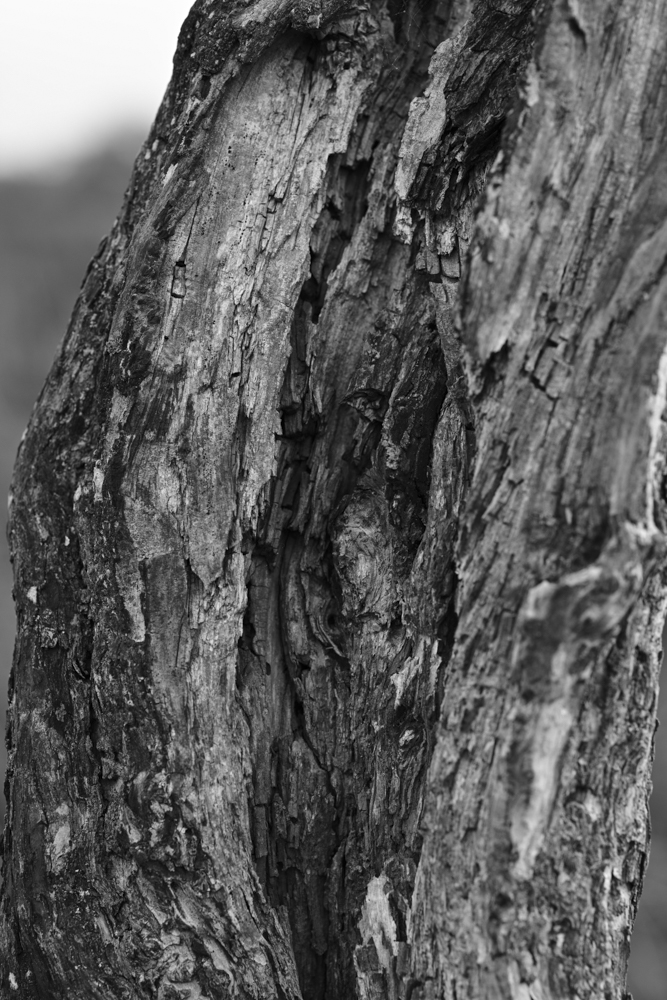
I created the following Black & White conversion to see the results.

Again, these are the Black & White JPG and converted RAW file images for comparison.

In reflection, different results were created by different methods. My aim for this exercise was to try something new and this was certainly achieved.
References
Cox, S., 2020. Complete Guide To Black And White Photography. [online] Photography Life. Available at: <https://photographylife.com/black-and-white-photography> [Accessed 20 November 2020].
Mansurov, N., 2020. Recommended Nikon Z7 Settings. [online] Photography Life. Available at: <https://photographylife.com/recommended-nikon-z7-settings> [Accessed 20 November 2020].
