Categories
AGM62 Photography Research Project Stage 1 Posts

AGM62 Bushy Park Hawthorns 1 December 2020

With a day of sunshine forecast, this was the time to get up early and catch the light. I also wanted to try out the 5:4 aspect ratio instead of my usual 3:2. My intention was to follow the tips outlined by Tony Sweet, Elliot Hook and Lindsay Silverman.

Sunrise was due at 7.45am, so I got to the park at 7.30am. This enabled me to both see and experience just how slow the light came up. It also made me look for the light’s direction and how it lit up my subjects and the environment.

My intention was to tryout the 85mm lens. I had returned the 105mm lens to its owner who assured me I could achieve a similar effect with the 85mm. However, I had made the mistake of not checking and packing my kit the night before. The camera had the 35mm lens on it. Annoying, but it would take me about 40 minutes to get the other lens and return to the park in time for the light.

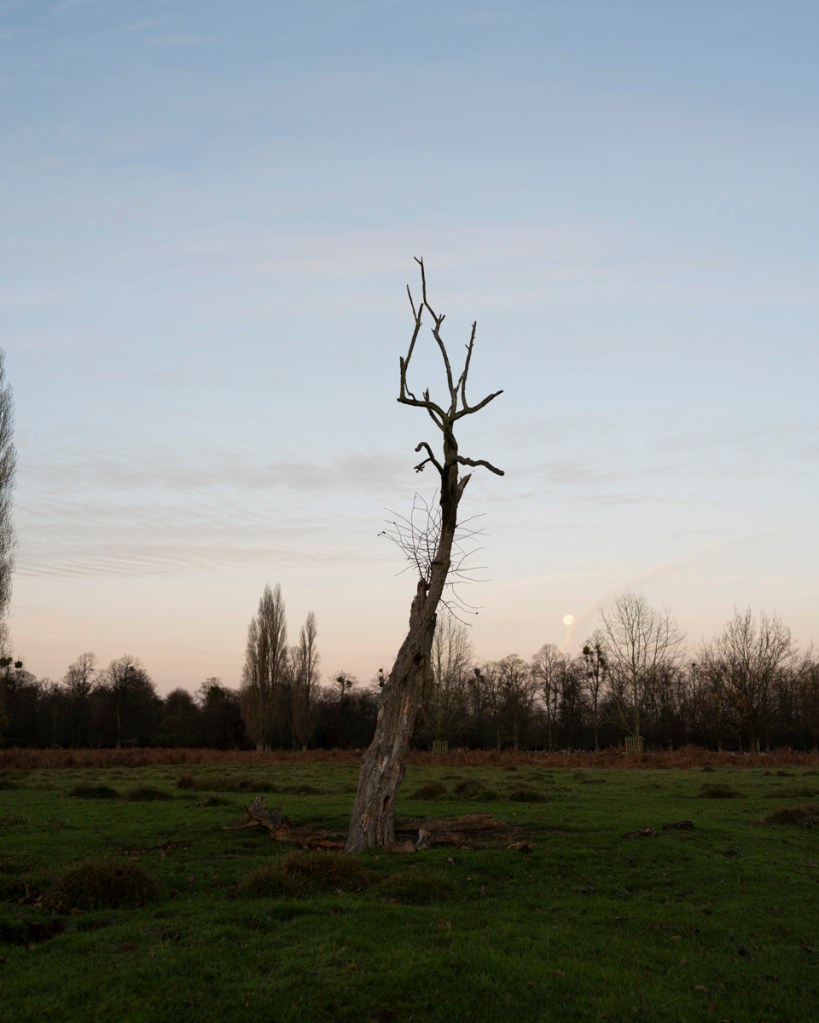
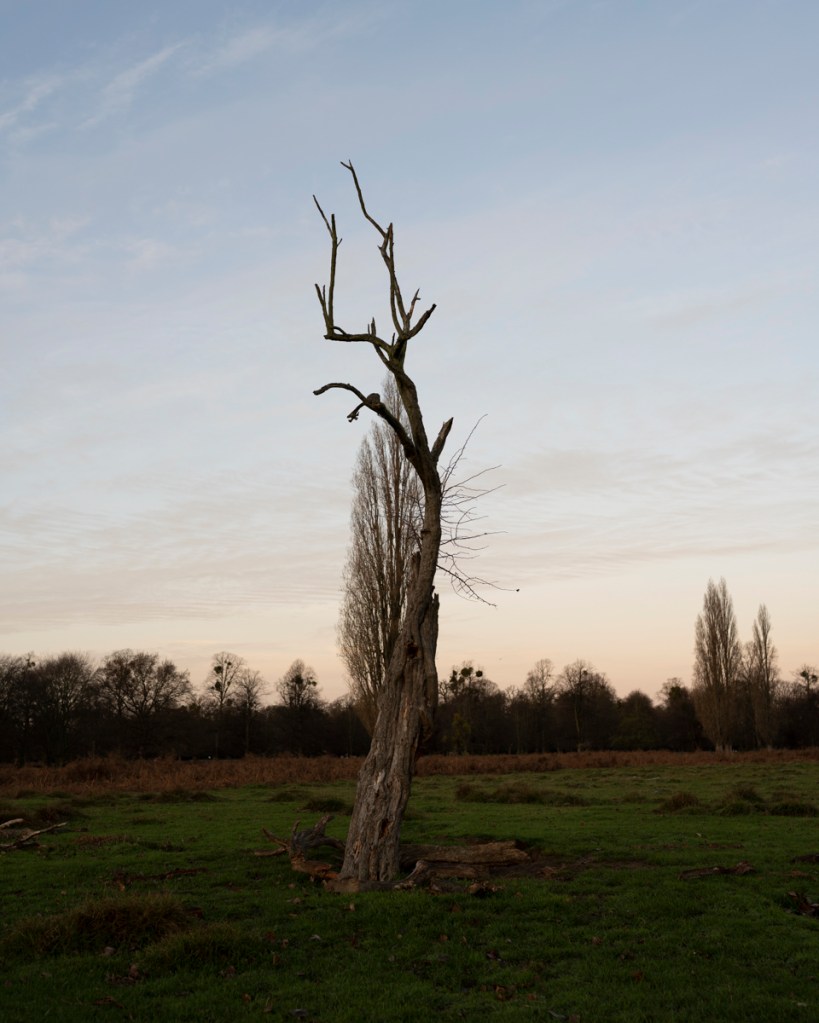
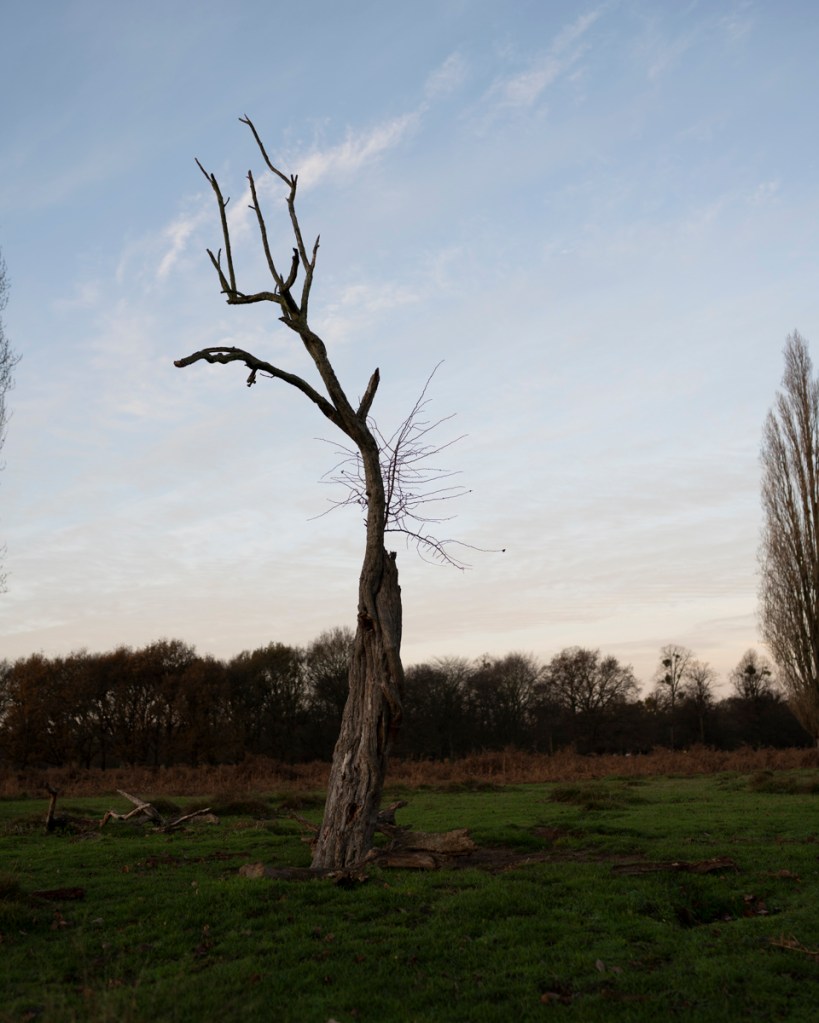
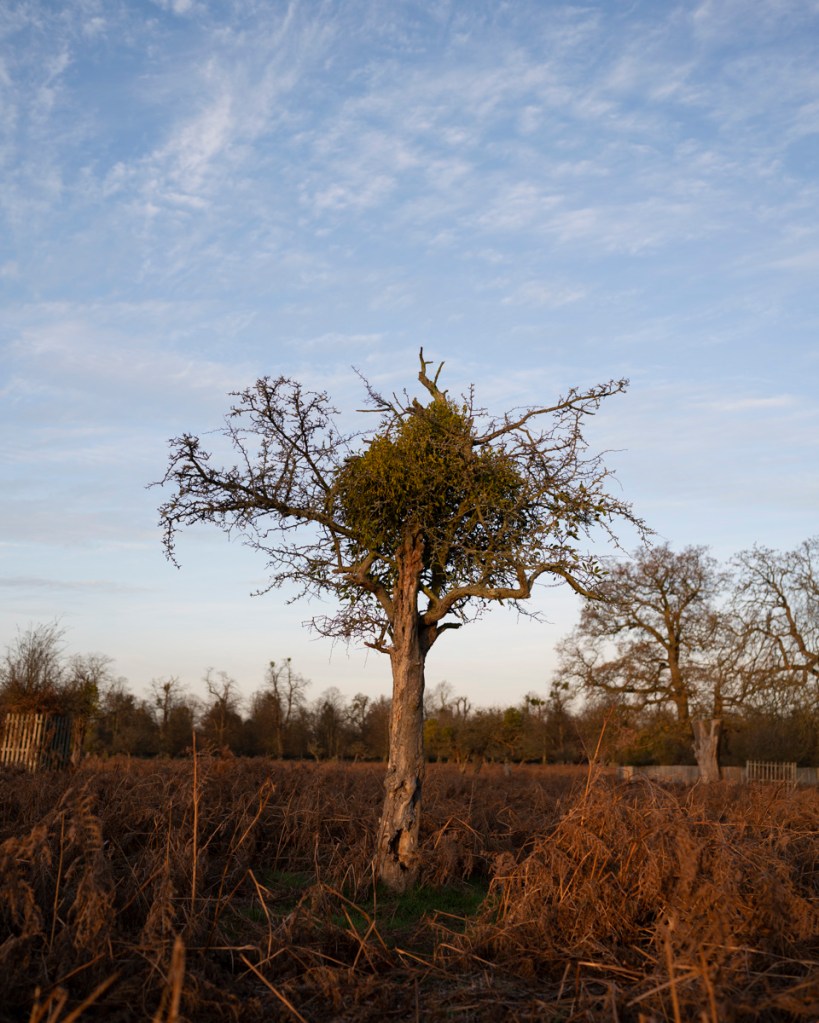
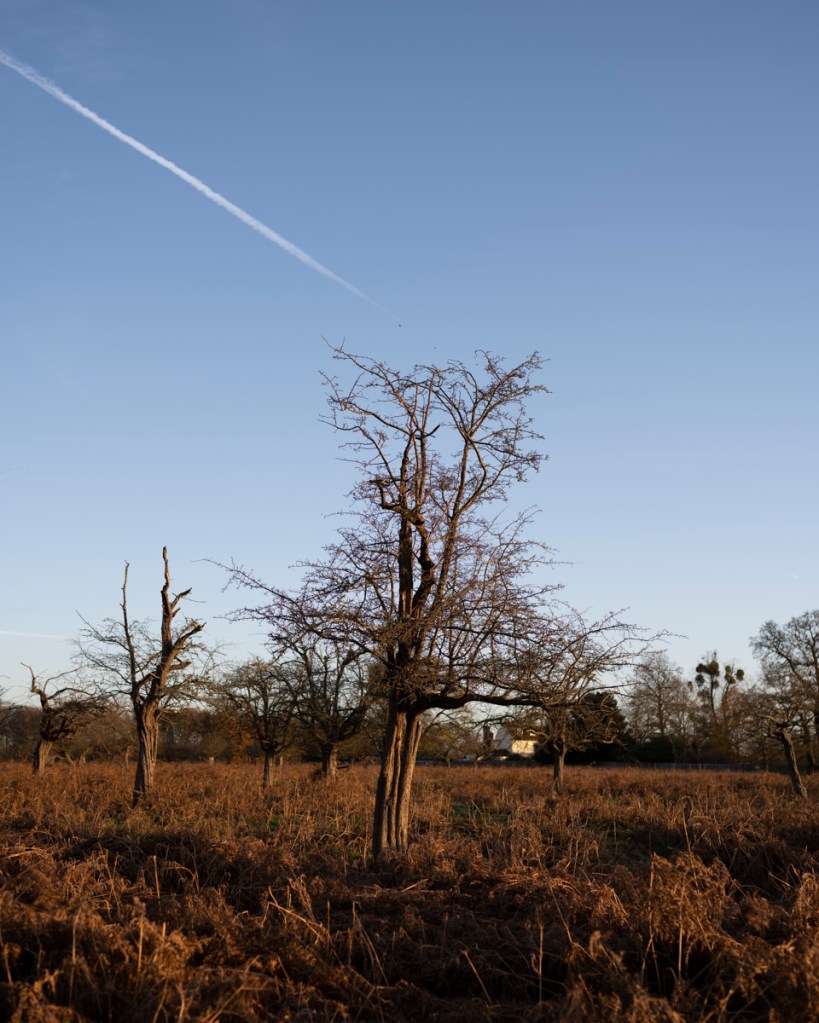
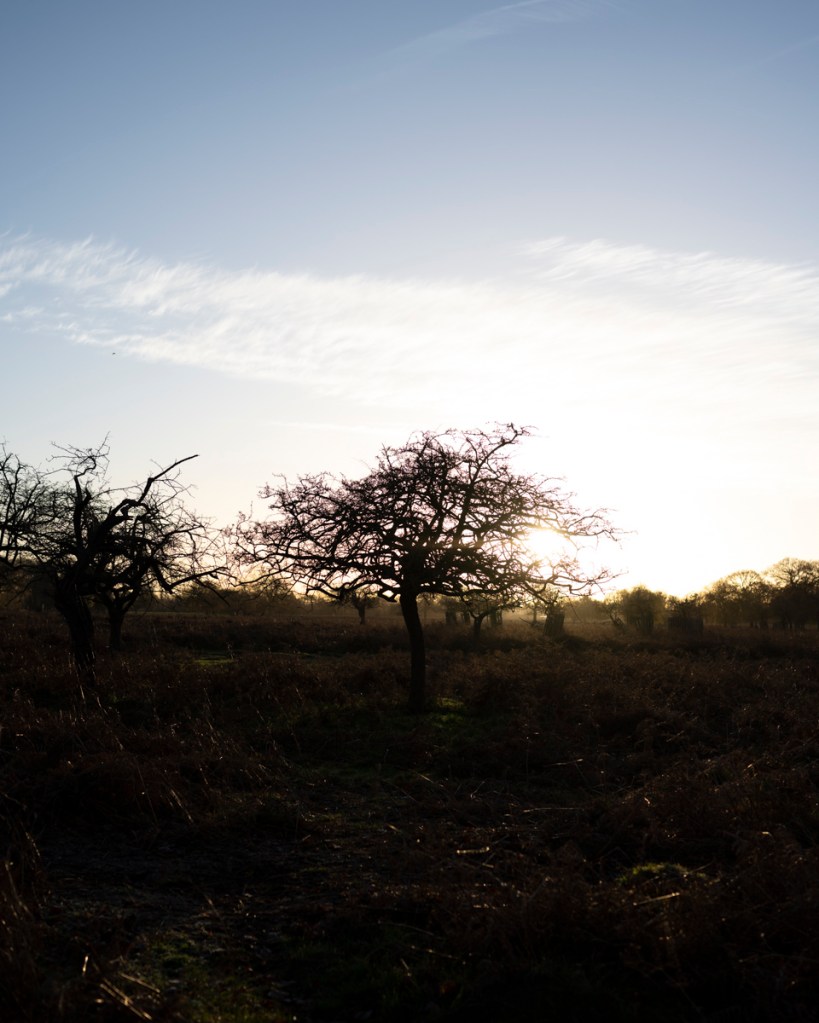
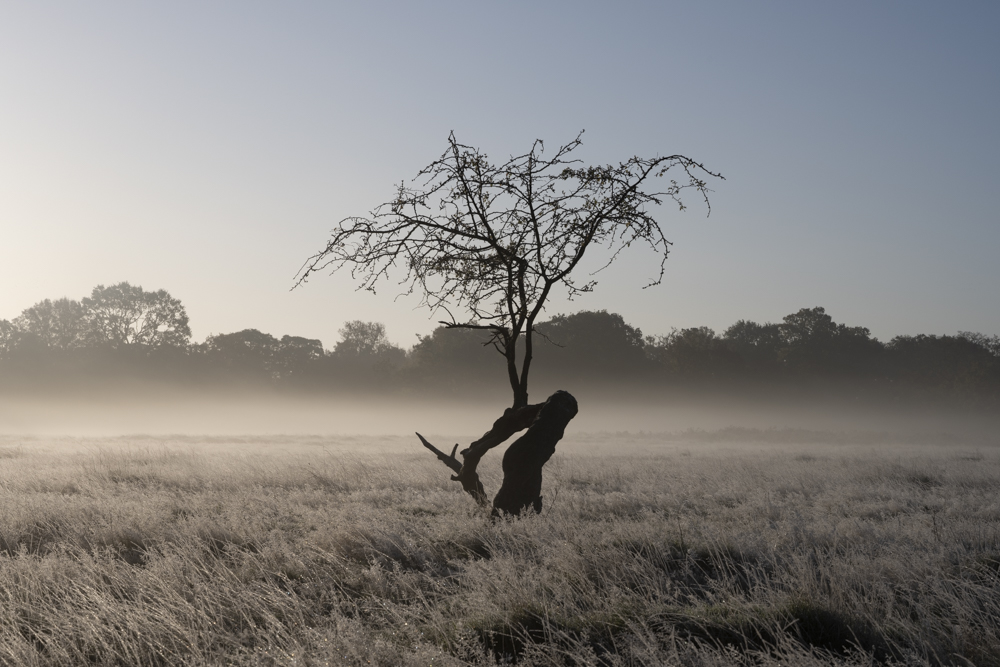
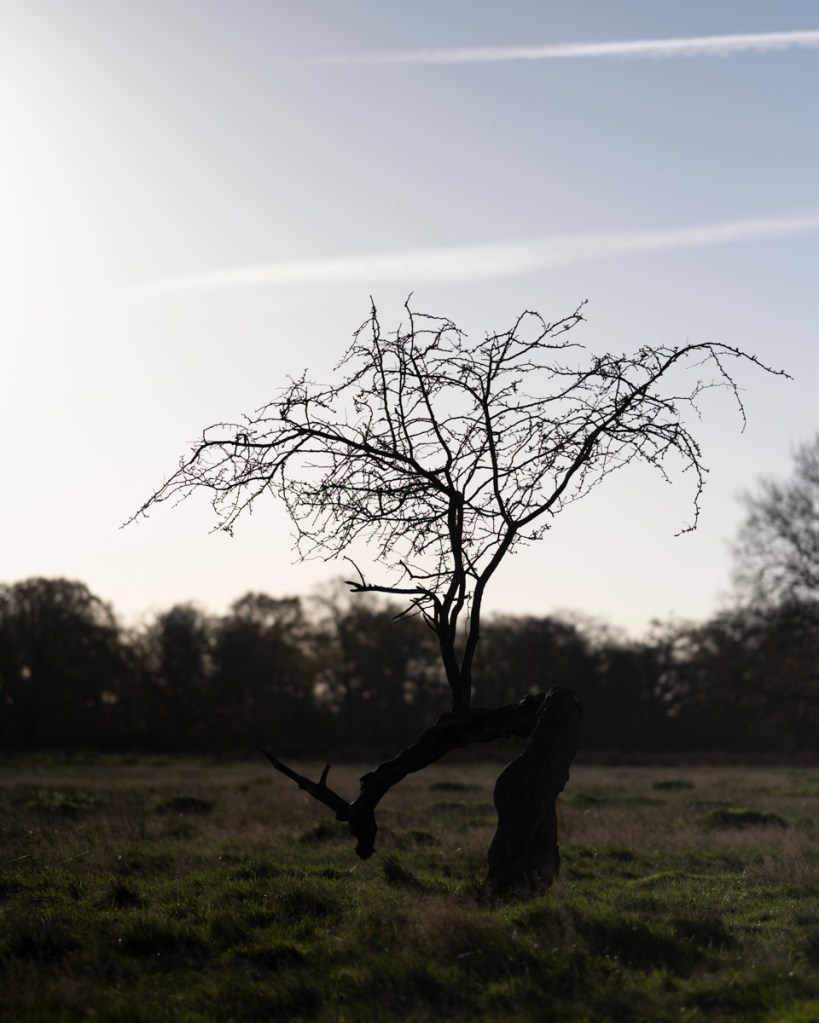
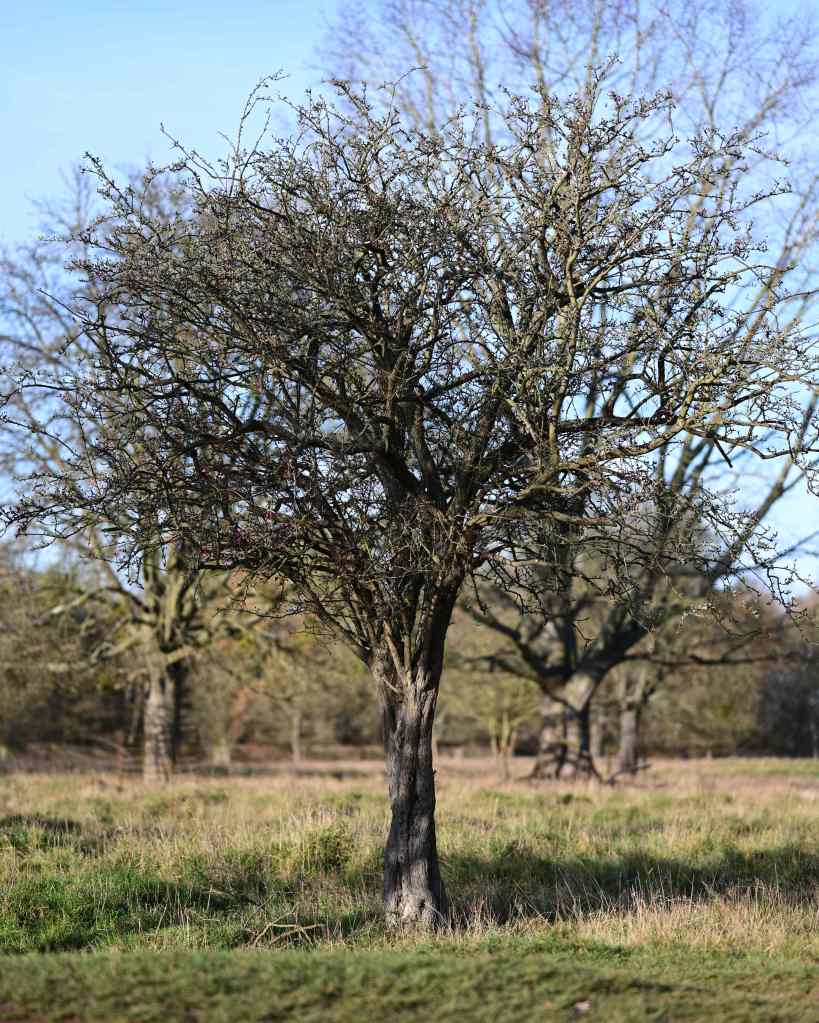
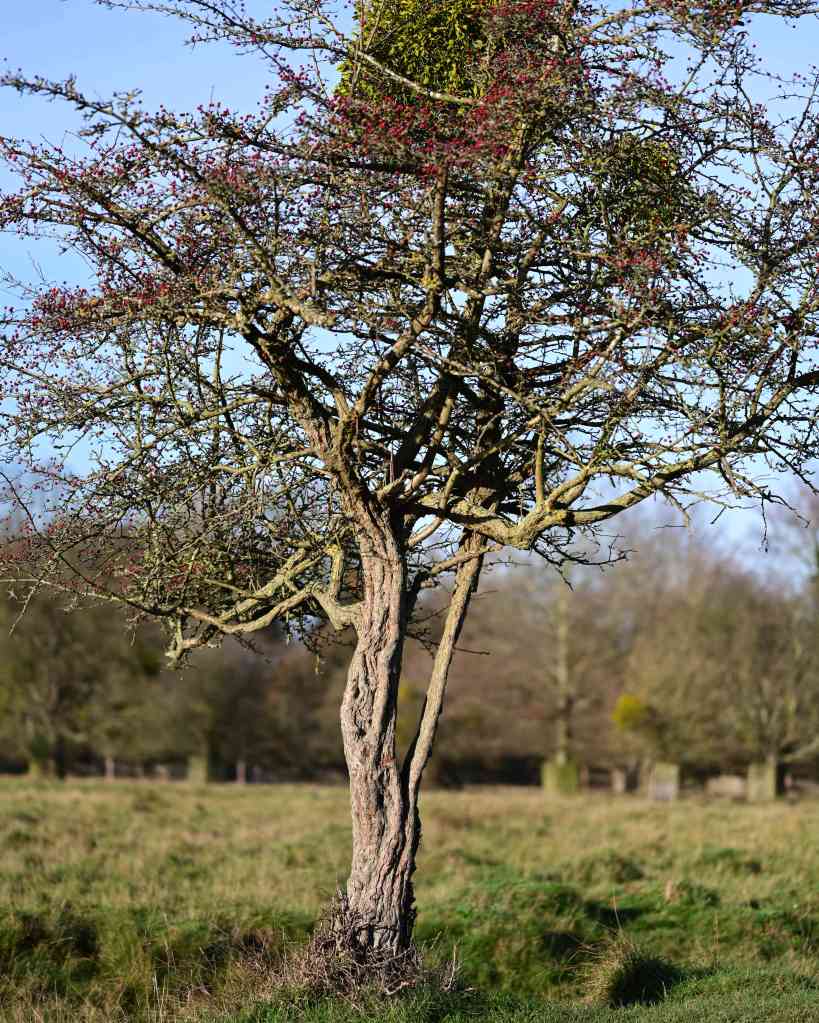
I decided to go to Teddington Gate and start with this tree below. The last time I was in the park on 27 November, there was a large herd of deer near to the tree so this could be the time to capture it from a different angle.

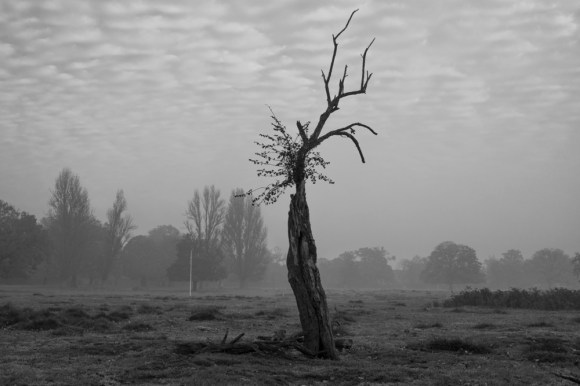
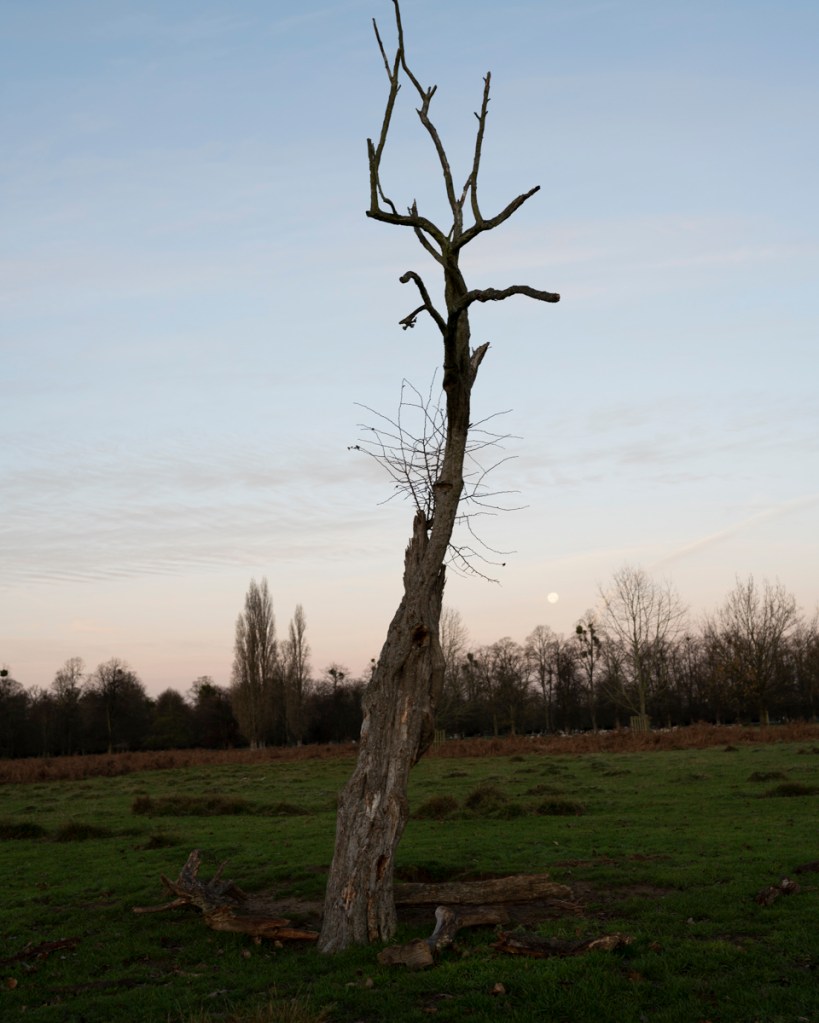
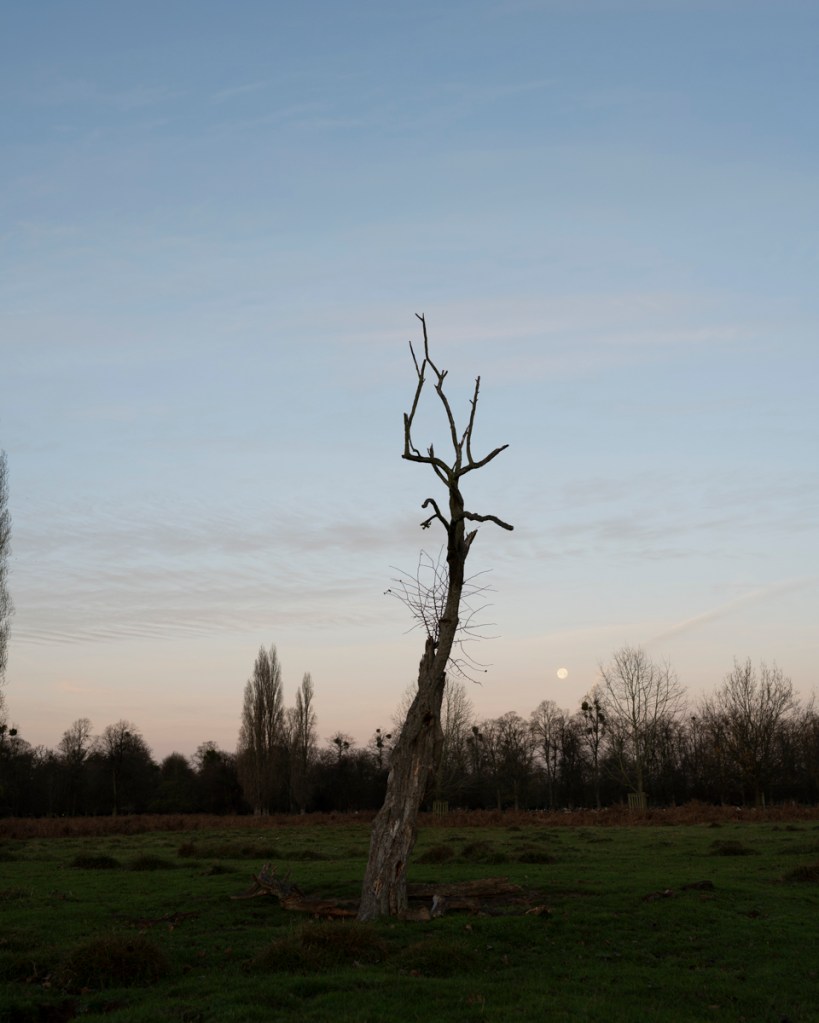
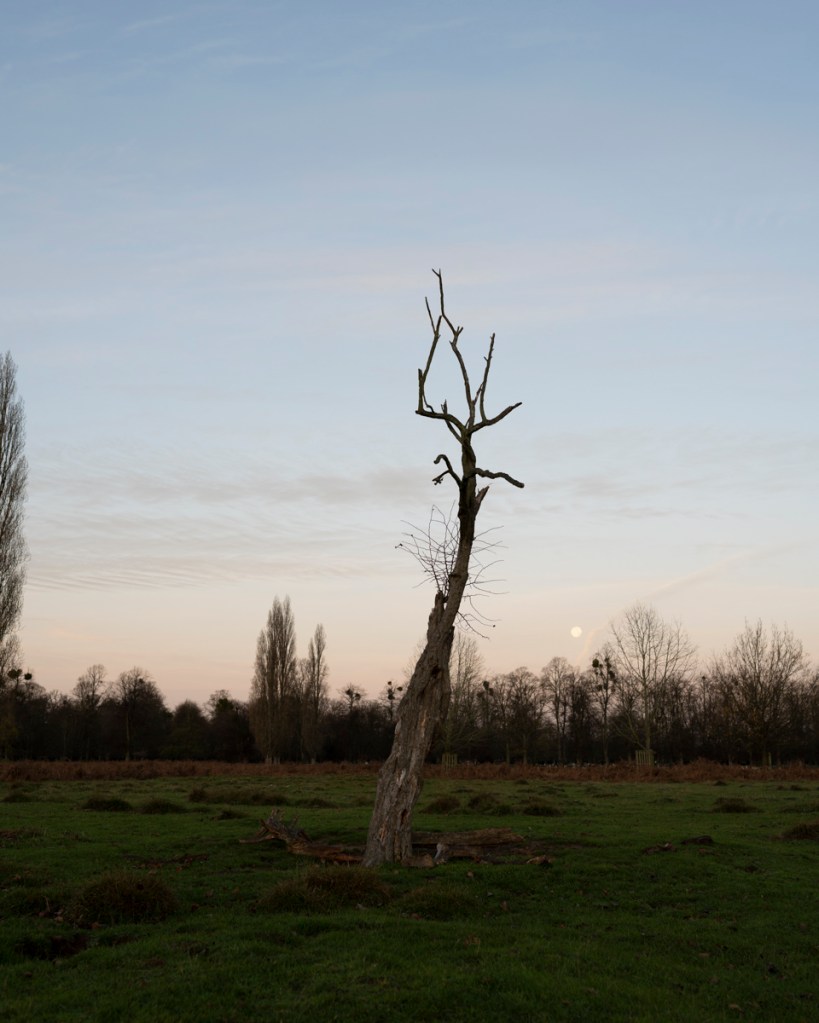
35mm Images – 5:4 Aspect Ratio

These images were taken between 7.41am and 7.50am. The light was still caught behind the trees behind me at this time.

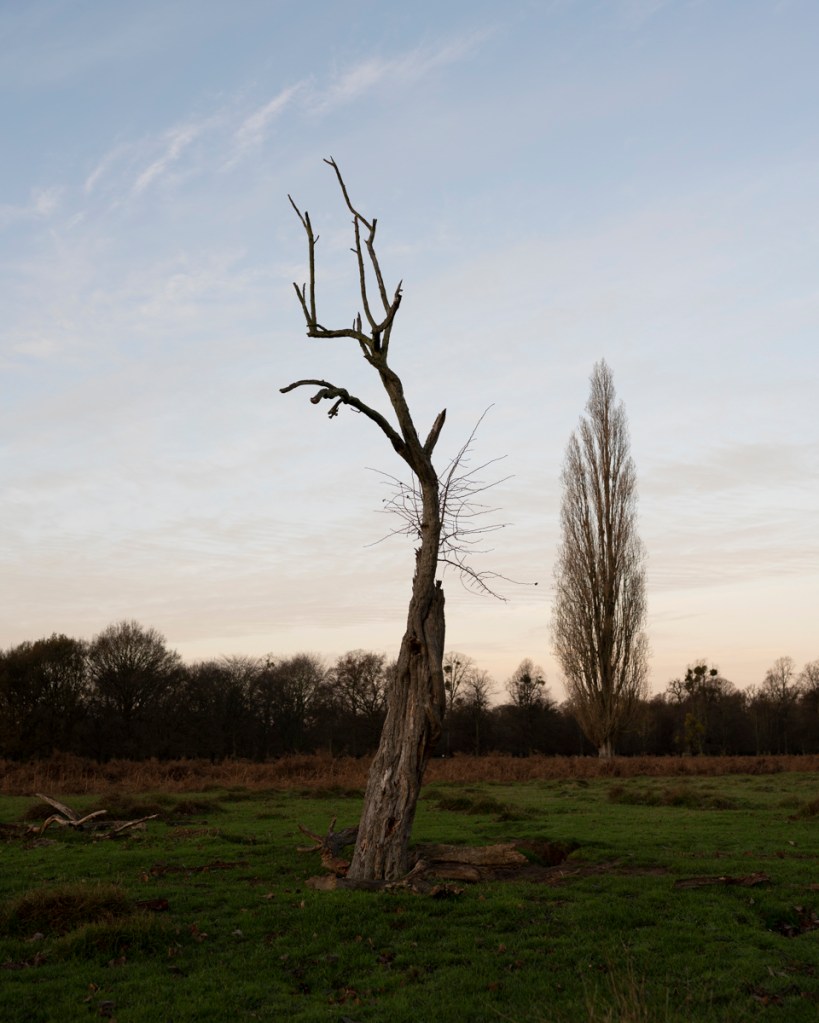
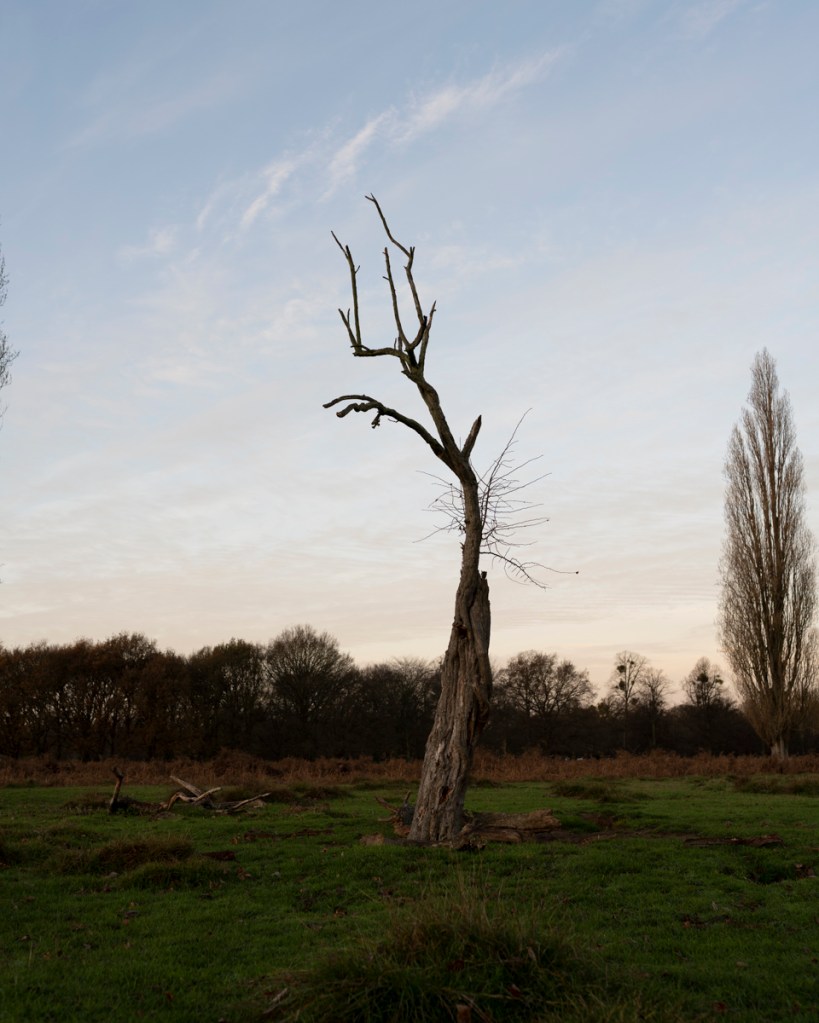
Admittedly, I was finding it difficult to get the composition and angle I was looking for. Realising I was in need of a bit of a warm up (photographically and corporeally) I walked to the patch of hawthorns on the left of Hawthorn Lodge.

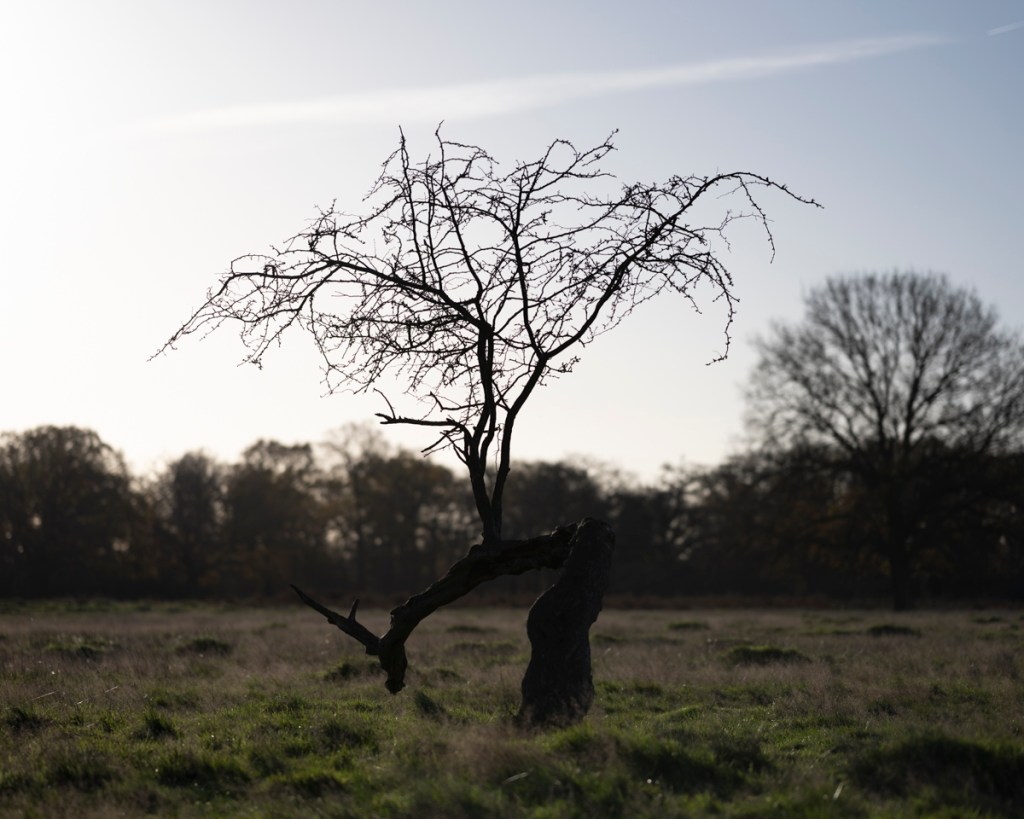
The sun was gradually coming up and I took the following shots at 8.00am.

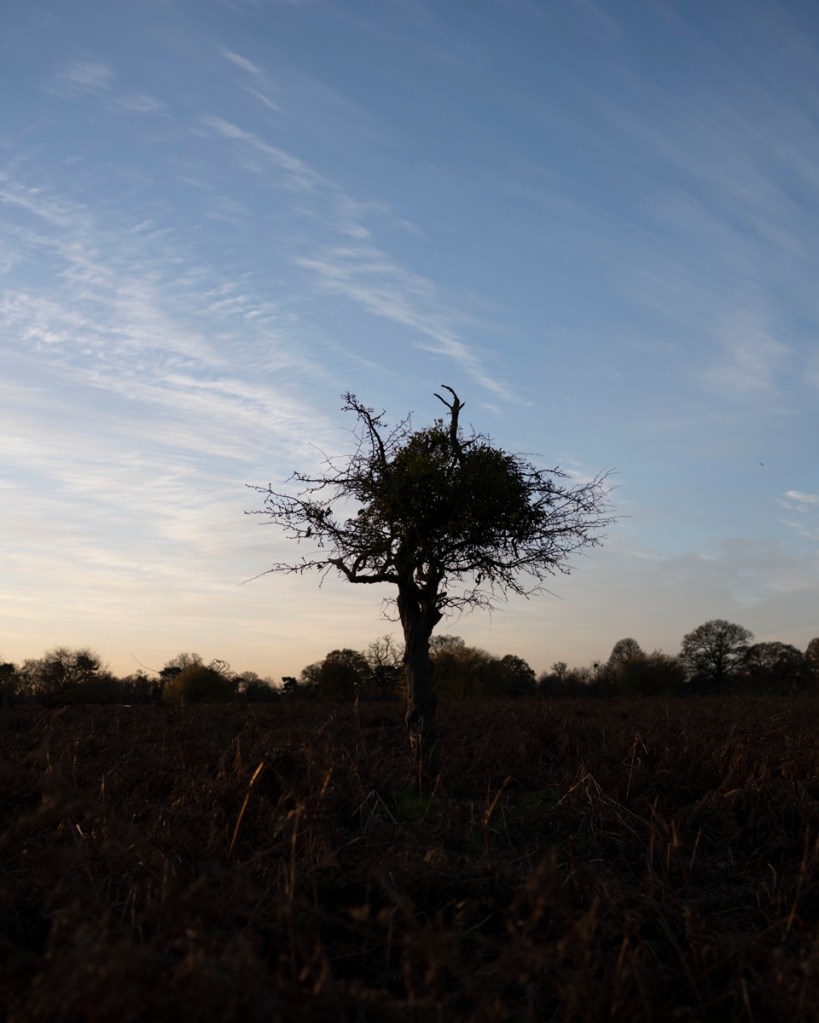
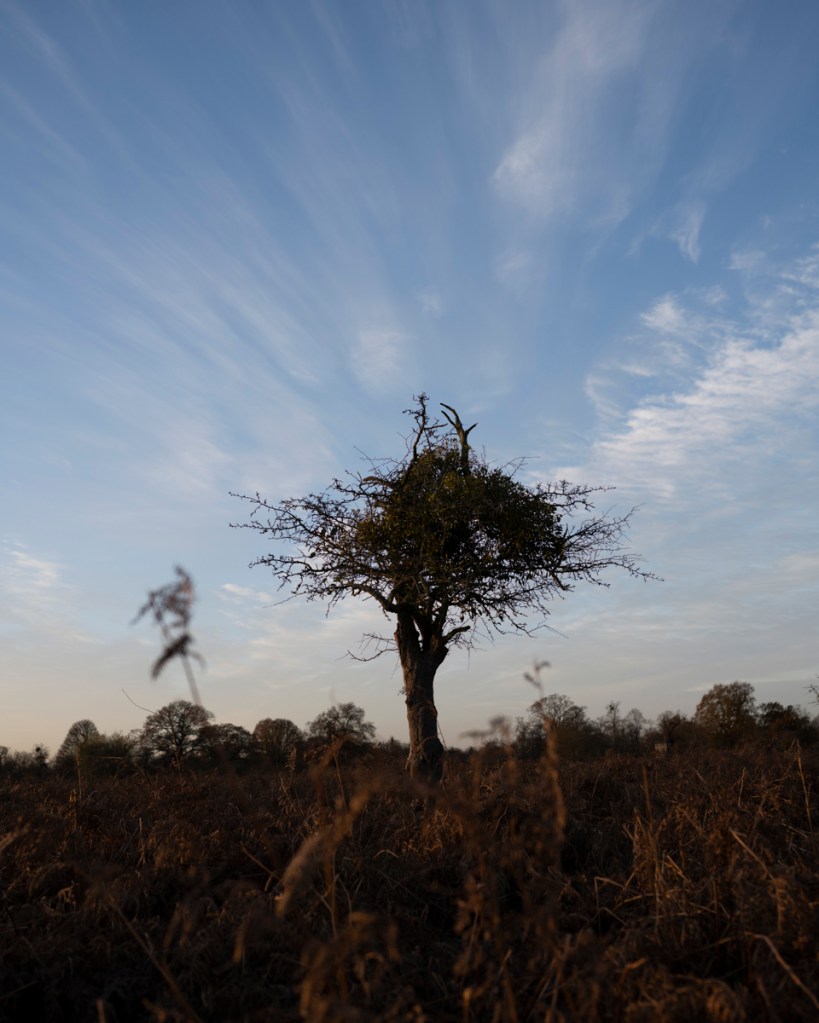
My patience was rewarded a minute later when the sun finally showed its glory.

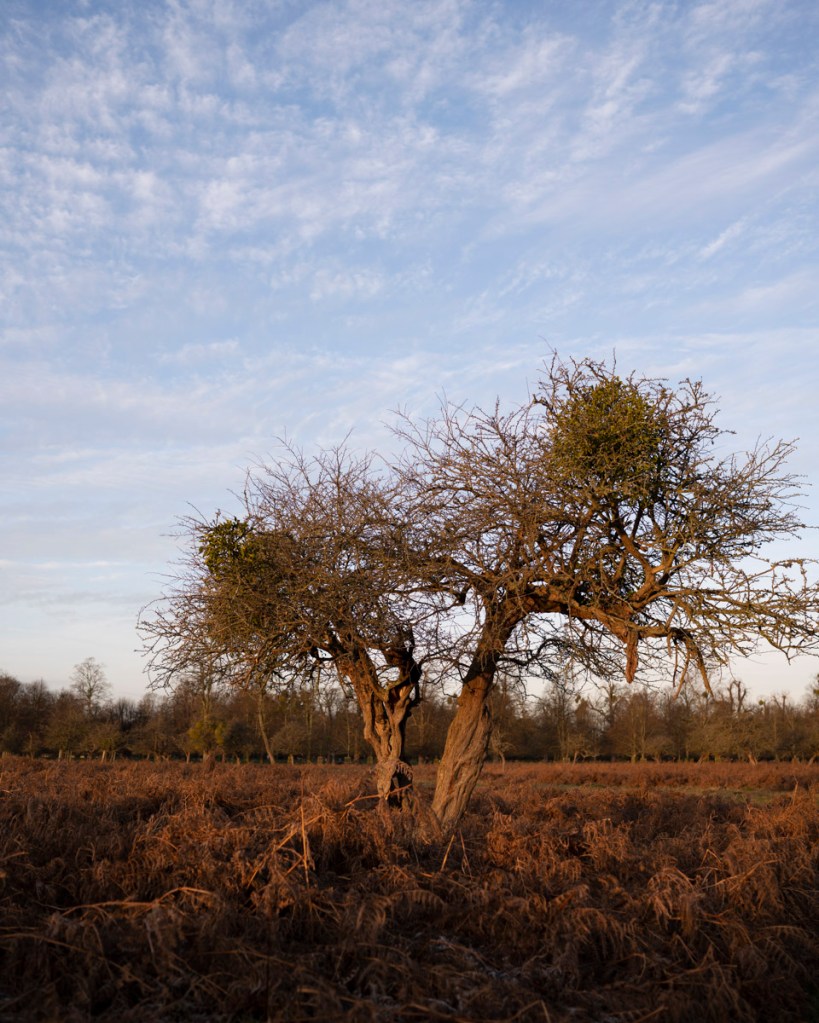
The light was stunning – it gave a coppery glow that lit up the ferns beautifully. Again, I was having difficulty in getting low enough with the camera to get the angle I was looking for and being able to see the display screen.

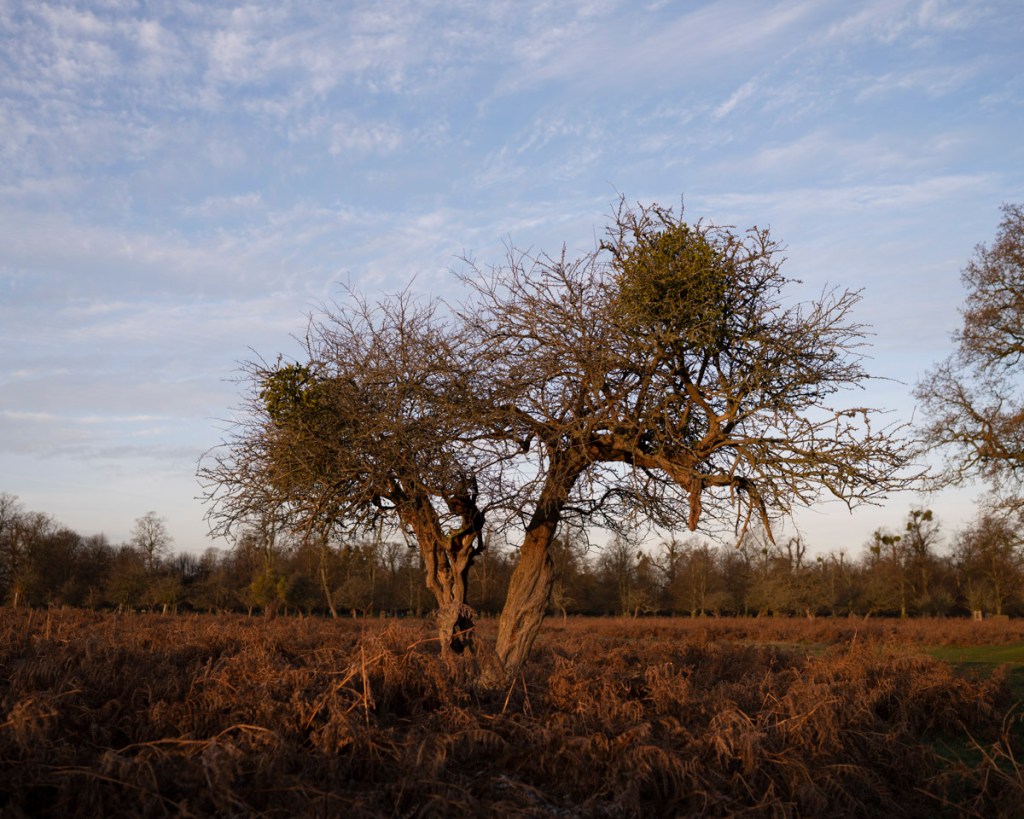
These are the two images I think work best (both have been rough edited in Camera Raw. What does need work is aligning the horizon line. I was using the 4 x 4 grid that can be shown on the display screen to help with composition. So that there would be uniformity, I aligned the top of the ferns with the bottom third line as a guide. This seems to provide a good ratio of foreground, subject, background and sky.

When I shared these two shots with my classmate, Mark, he made the following comments:

“I like the way the sun is coming from the side. I think the second image works. Also, if you didn’t know, they could have been taken on safari. I would try to keep then looking the same in the frame so it doesn’t give the viewer the feeling of ‘bouncing’ in and out. Great shots!”

Will take these on board!

By this time, I was itching to use the 85mm and the light was beginning to get a bit harsh.

The decision was made to return home the return to the park with the 85mm.

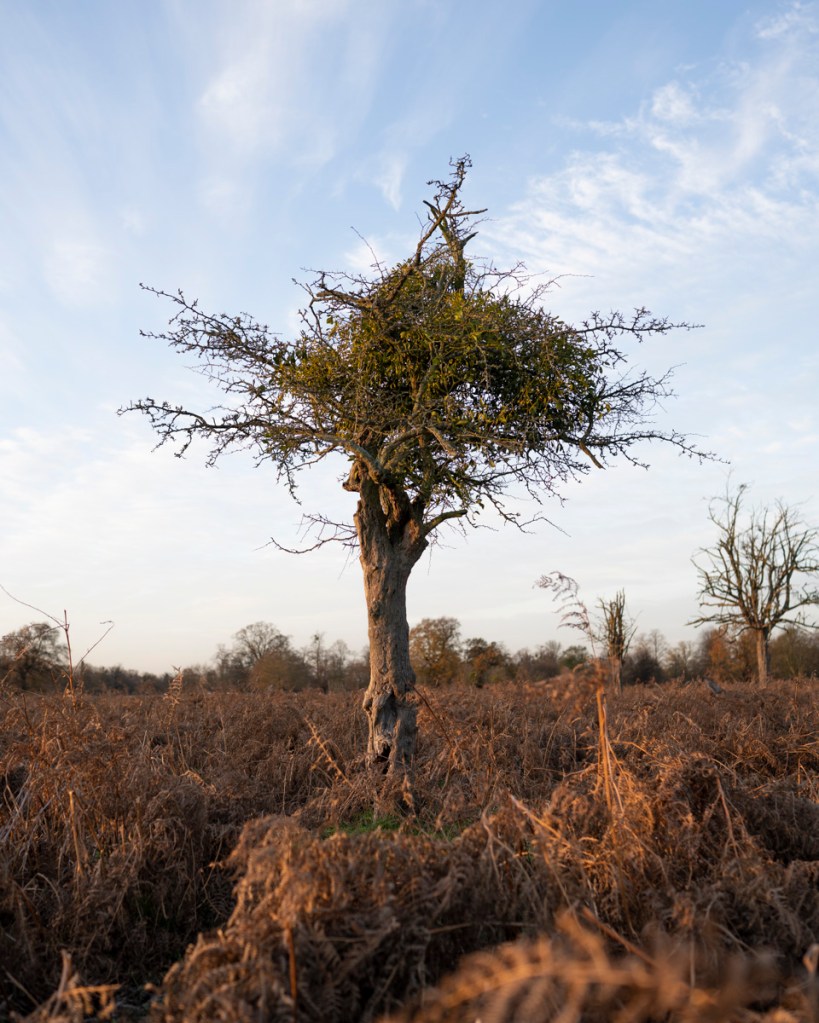
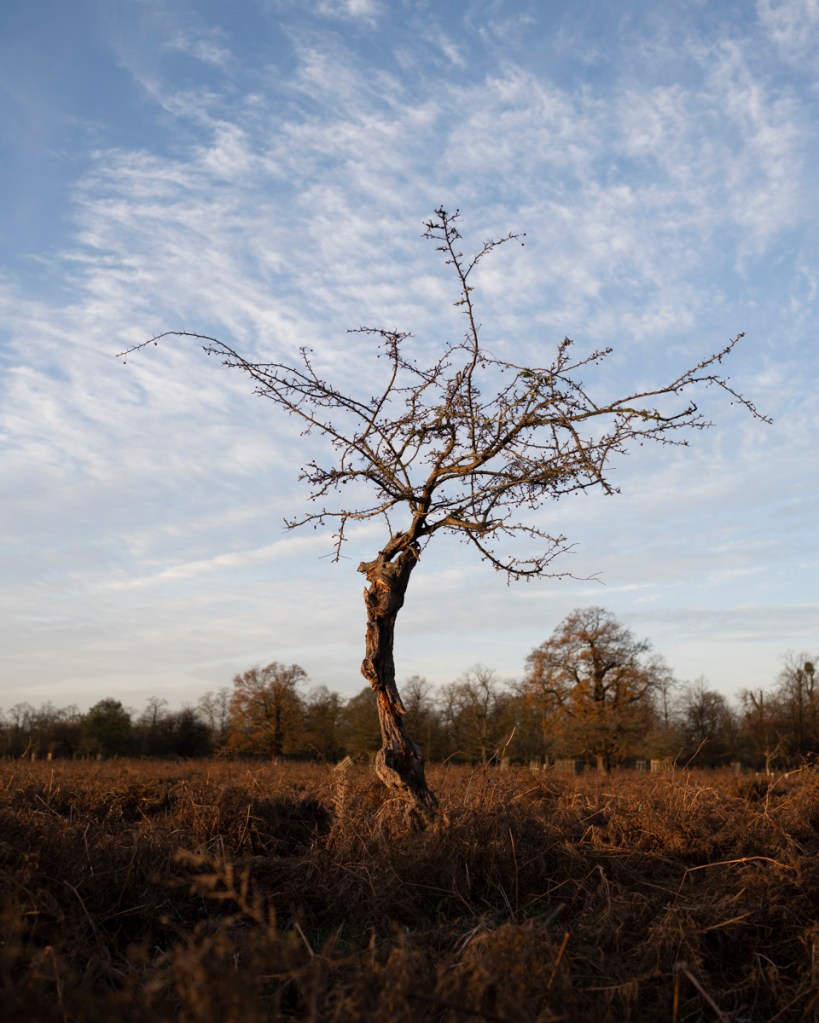
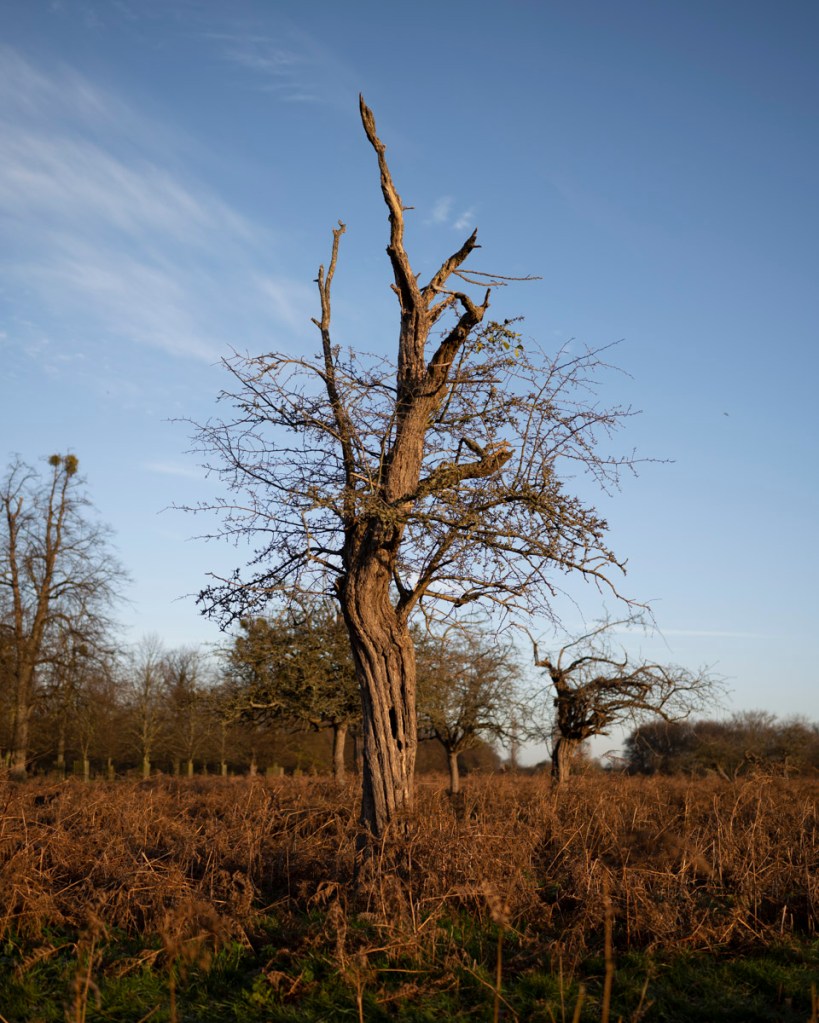
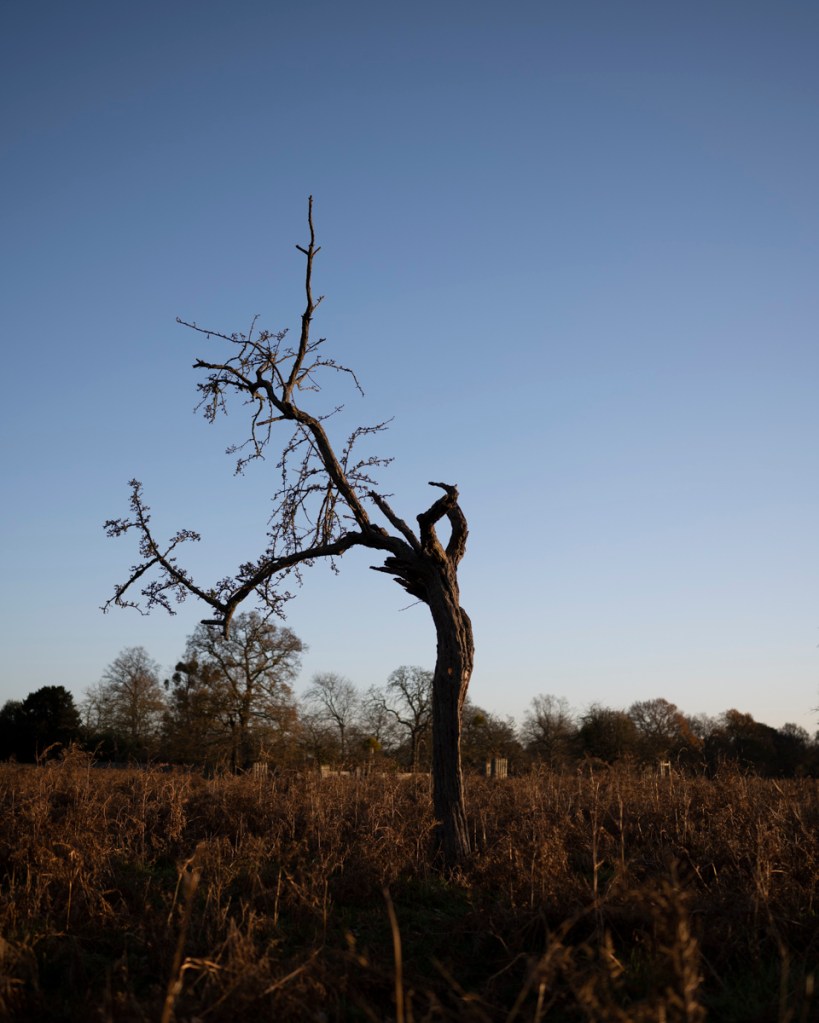
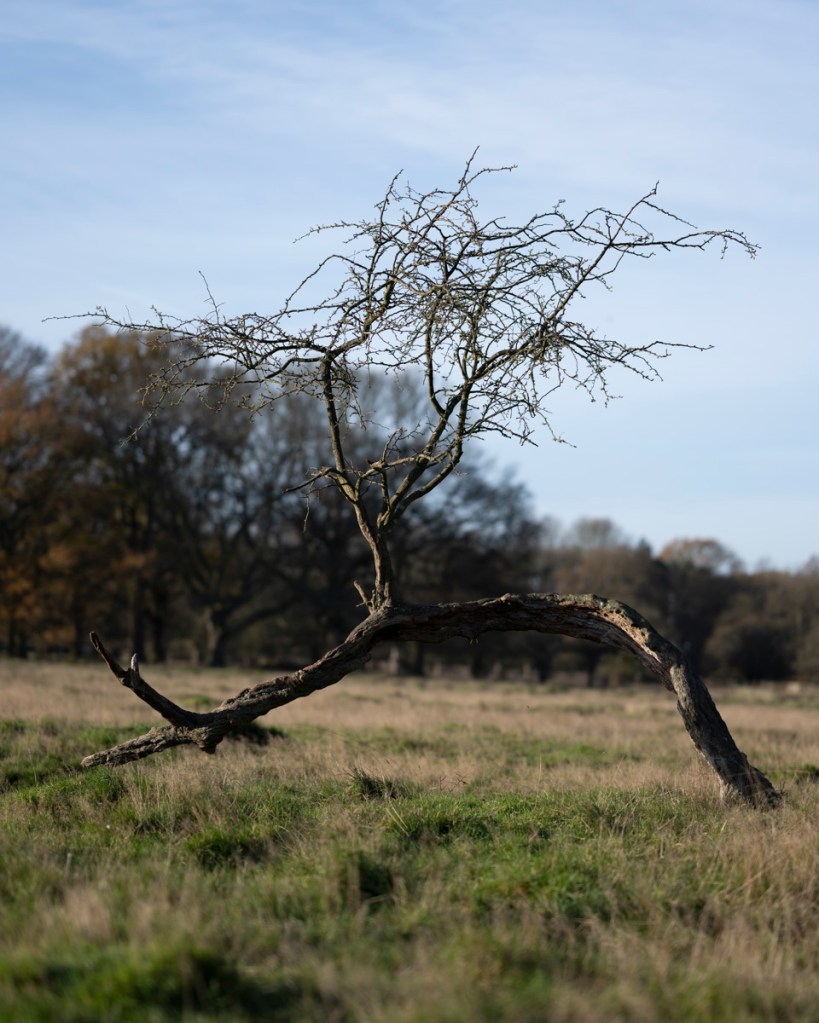
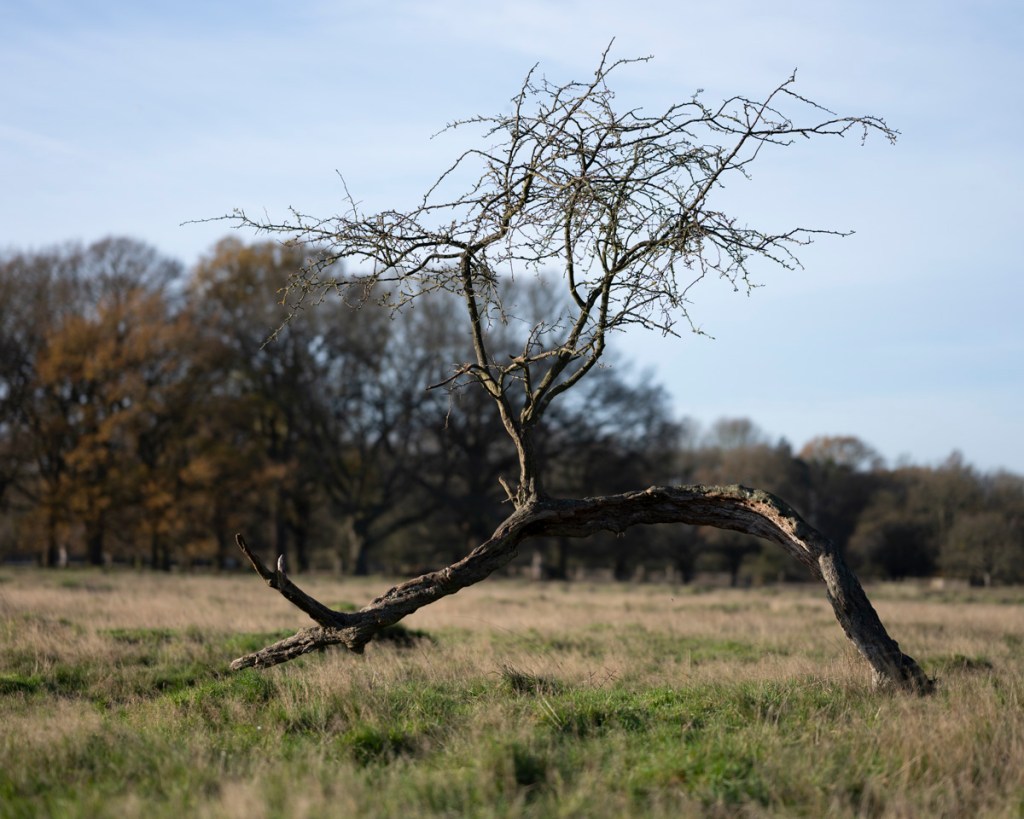
85mm Images 5:4 Aspect Ratio

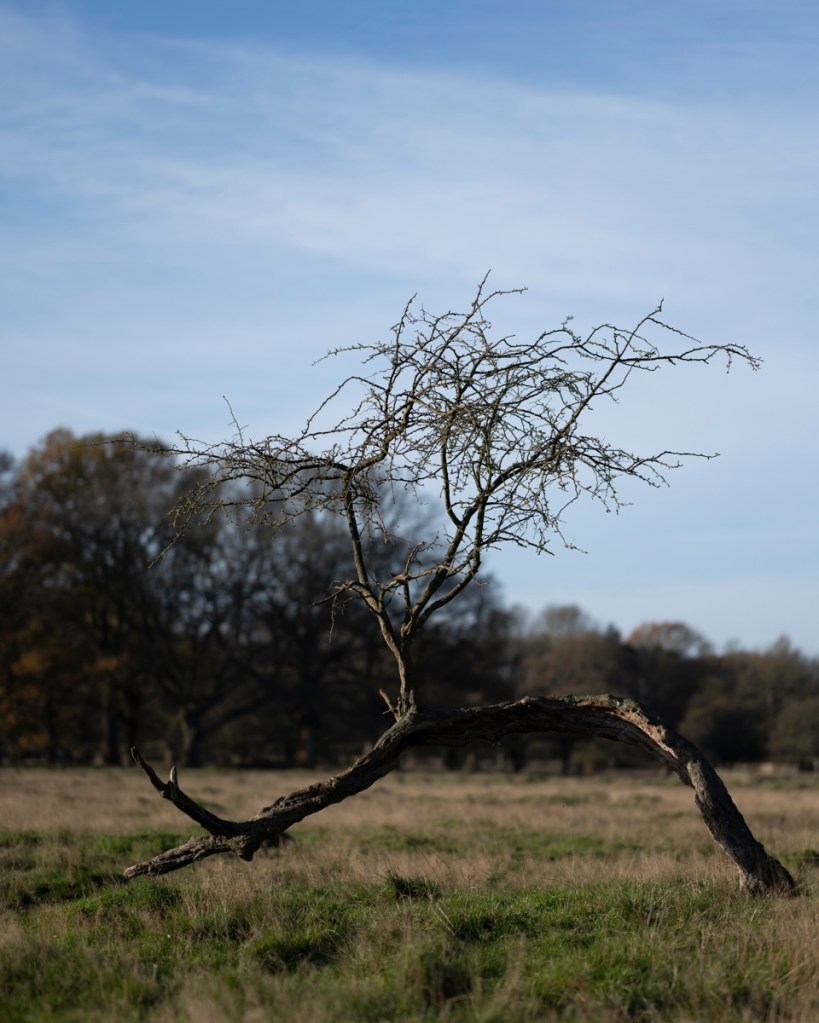
Unfortunately, the light had increased in harshness. Despite this, it was useful trying the 85mm lens with the 5:4 aspect ratio. The first tree I tried was this one (image below taken on 4 November 2020 using the 24mm-70mm zoom lens at 70mm and at 3:2 ratio).

These are the results.

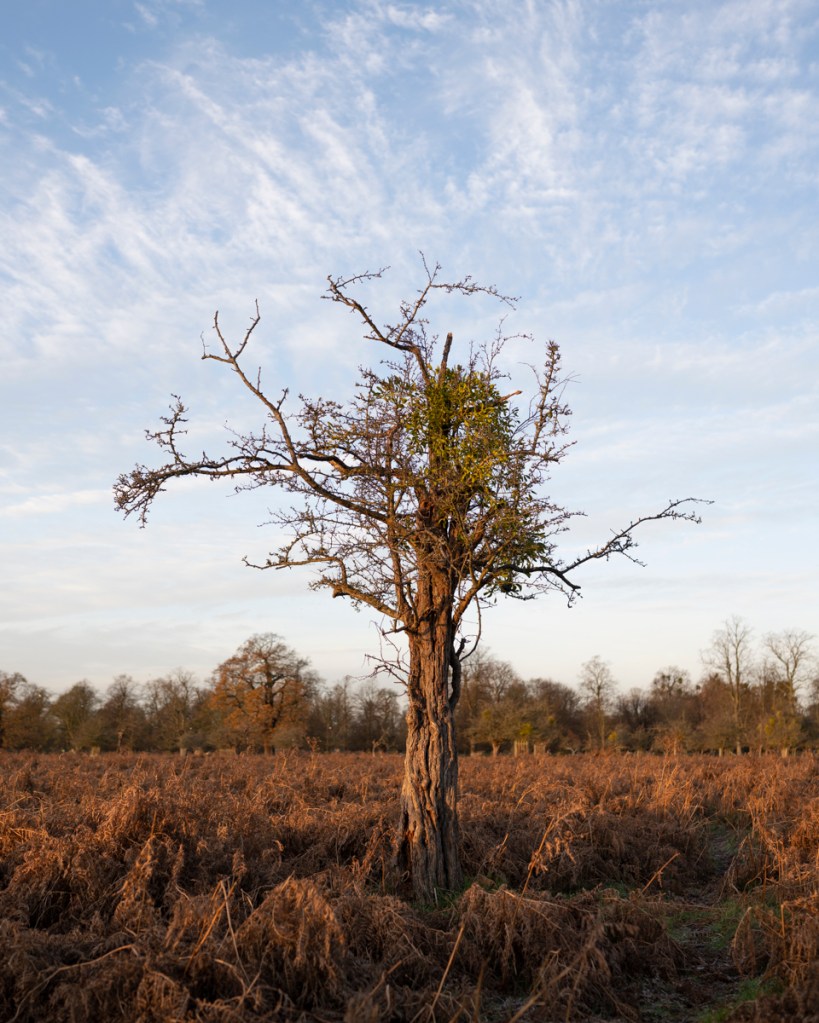
I then walked to the row of hawthorns leading to the gap between the Woodland Gardens plantations.

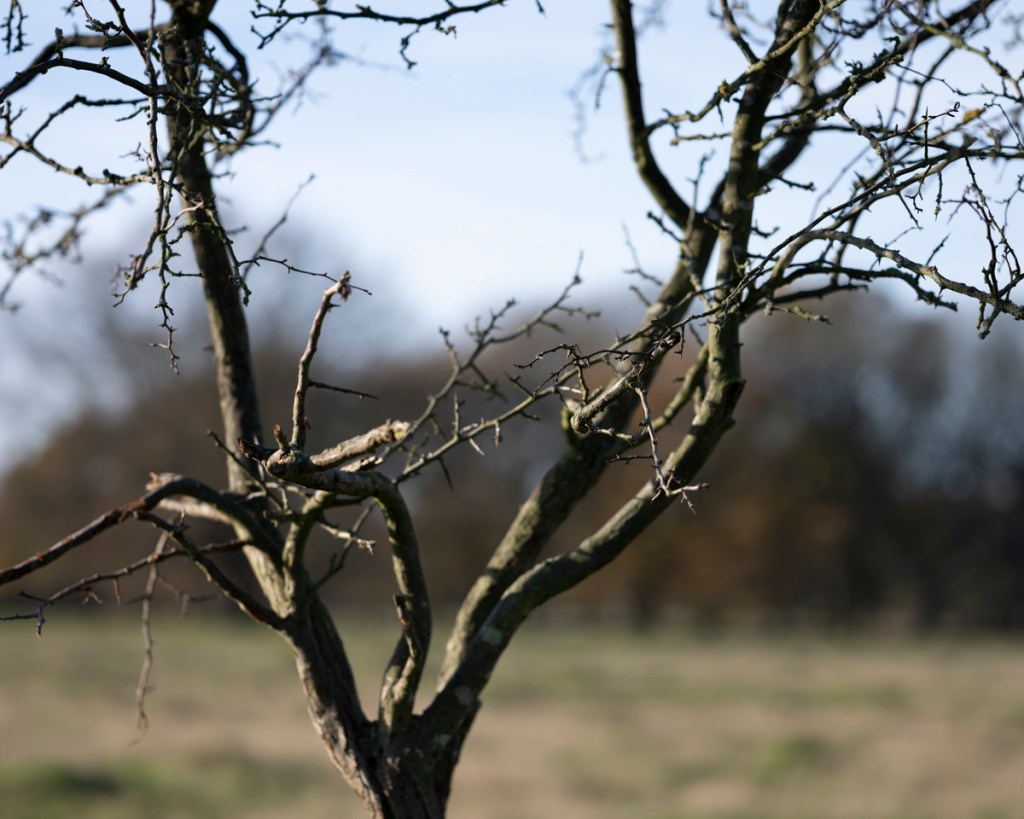
I did manage to get the effect of blurring the background, which I liked. Again, I wasn’t able to get low enough and see the display at the same time.

My next step is to revisit all aspects of this project in light of the feedback and actions resulting from the Interim Review and previous Group Tutorial.

References

Digital Photography School. 2020. Aspect Ratios In Landscape Photography. [online] Available at: <https://digital-photography-school.com/aspect-ratios-in-landscape-photography/&gt; [Accessed 2 December 2020].

“Landscape”, W., 2020. Want Better Landscape Photos? First Check Your Definition Of “Landscape” | Nikon. [online] Nikonusa.com. Available at: <https://www.nikonusa.com/en/learn-and-explore/a/tips-and-techniques/want-better-landscape-photos-first-check-your-definition-of-landscape.html&gt; [Accessed 2 December 2020].

Modes, P., 2020. Personal Touch: The Art Of Z 7 And Z 6 Crop Modes | Nikon. [online] Nikonusa.com. Available at: <https://www.nikonusa.com/en/learn-and-explore/a/tips-and-techniques/personal-touch-the-art-of-z-7-and-z-6-crop-modes.html&gt; [Accessed 2 December 2020].

Categories
AGM62 Photography Research Project Stage 1 Posts

AGM62 Aspect Ratios 30 November 2020

In my quest to improve my technique and skill base in regards to my hawthorn portraits, I realised I needed some external inspiration. To start my investigation, I carried out an initial online search regarding aspect ratios and landscape that resulted in the following findings.

Aspect Ratios

Up until this stage, I had been shooting in 3:2. This is the aspect ratio which matches my camera’s sensor size and, therefore, gives the maximum base for creating images. In addition to this ratio, my mirror-less camera can shoot in the following aspects:

  • 1:1
  • 4:5
  • 16:9

I first came across an online article by Elliot Hook called Aspect Ratios in Landscape Photography. This clearly written and enlightening piece put into perspective the differing ratios in relation to what I was attempting to achieve. By going through the pros and cons of each aspect, I could use this advice in my own work. As Hook points out at the beginning of the piece:

‘The aspect ratio of a photograph can make or break the composition by either emphasising the subject and removing distractions, or by putting the whole scene off-balance.’

(Aspect Ratios in Landscape Photography, 2020)

Within this article, Hook outlines a range of well-defined and familiar ratios. I’ve arranged this information into the following bullet points for my own reference:

1:1 Square Format

  • Use to simplify an image
  • Emphasise minimalism
  • Gives a subject a striking presence at the centre of the frame
  • Keeping the width equal to the height changes the way in which a photograph is read
  • Less of a need to move from left to right through the frame
  • Offers a good opportunity to break the rules (thirds, etc.) and strengthen the composition:
    • Place the horizon along the centre of the image
    • Place a subject in the centre of the frame

4:5 Four Fifths Format

Hook hasn’t specifically outlined a list of attributes for this ratio, but his tips involving a 4:3 Four Thirds Format can be applied (this is the default aspect ratio of cameras that use Four Third sensors).

  • Wider than it is tall
  • The eye naturally wants to move left to right through the image
  • The image is still fairly tall in relation to the width
  • Ratio is perfect for drawing the eye into the scene through leading lines
  • The relative height to width encourages the use of wide-angle focal lengths
  • Captures the depth of a scene
  • Excludes excess details at the edge of the frame

3:2 Format (also called 6:4 & 35mm)

  • Default aspect ratio for full-frame and APS-C sensors (Nikon and Canon)
  • Aspect ratio for 35mm analogue cameras
  • The width is significantly wider than the height
  • Encourages viewing the image from left to right
  • Pros
    • Works well for diagonal leading lines
    • Suited to capturing scenes where there is little to no foreground interest, especially if using mid-range focal lengths (e.g., 35mm)
  • Cons
    • Limitation of this aspect ratio is that the height is that much shorter in relation to the width
    • Capturing foreground detail using a wide-angle lens is more difficult due to the limited vertical space
    • 3:2 aspect ratio can even cause the subjects within the frame to become too disparate and therefore lose impact

16:9 Widescreen Panoramic

  • Supported in film by the Advanced Photo System (APS)
  • Becoming more popular due to the prevalence of 16:9 aspect ratio displays in the home on TVs, computer monitors, and mobile devices
  • Width of the image is dominant – leading the viewer in from the foreground is difficult
  • Ideally suited to presenting portions of landscape scenes captured with longer focal lengths (e.g. zoom lenses) from a distance

Portrait Orientation & Ratio

The part of this article that I found most interesting was in relation to shooting in portrait orientation. This is how I intend to photograph the hawthorns for this project. Hook points out that options for the successful presentation of landscapes in “portrait” format are much fewer in number. 

Hook suggests that, for a landscape to work, the composition throughout the frame has to be balanced. He highlights that, due to the image being too tall relative to its width, achieving this can be quite difficult. This is what I’ve observed so far in the majority of the hawthorn images.

To get around this, Hook advises on trying a ‘fatter’ rectangle such as 4:3, 7:6 or 5:4.

5:4 Ratio for Portrait-Orientated Landscapes

  • Heavily used by professional landscape photographers with medium and large format cameras
  • Aspect ratio allows the eye to be taken through the image from left to right
  • Reduces excess amount of sky knocking the frame off-balance

This is what could make a big difference to my own work.

In addition to the above, Hook does point out that there is an argument for taking the initial image at the full ratio of 3:2 then cropping it to a custom ratio based on the image’s subject matter. However, this can cause issues with both printing and framing. I would also think this could effect areas of focus and perspective within an image.

In addition to Hook’s article, I came across a piece on the Nikon website which encourages experimentation with the different aspect ratios available with my camera. Also useful was the relevant megapixel sizes for each ratio. Something to consider when sizing prints.

Nikon Z 7 and Z 6 Crops with Megapixel Sizes

  • FX, the full-frame default mode, is a 45.7-megapixel image for the Z 7, 24.5 megapixels for the Z 6. The image is roughly 36x24mm, the size of a 35mm film frame.
  • DX crop mode, at a 1.5 magnification factor, produces a 19.5-megapixel Z 7 image, a 10.3-megapixel Z 6 photo.
  • In 5:4 mode the Z 7 image is 37.9 megapixels, Z6 doesn’t have a 5:4 mode.
  • 1:1 produces a square image at 30.3 megapixels for the Z 7, 16.1 megapixels for the Z 6.
  • 16:9 mode—38.3 megapixels for the Z 7, 20.5 megapixels for the Z 6—is the common aspect ratio for TVs and computer monitors

The stand-out part of this information was in relation to the DX crop. At the time of writing, I don’t know exactly how it could influence this current project, but the following extract may be useful:

Based on his experience, Lindsay feels that the most popular of the modes will be the DX crop. “Let’s say you’re shooting with a 70-200mm or 80-400mm telephoto at a sports event—baseball, soccer, a horse race. There probably will be times you’re not really close enough to the action, or you’ll  want to be closer to a detail of the action or a player’s stance or grip or expression. You could come home with the picture, crop and enlarge to get that detail, but I prefer to do that in the field, right there at the event, so I’ll go to DX crop mode with an 80-400mm and effectively get a 600mm focal length.”

(Modes, 2020)

This begs the question ‘How would the use of the DX crop affect the image and composition choices when used with my current lenses?’

My intention after discovering and processing all of the above information was to apply it to my current project.

References

Digital Photography School. 2020. Aspect Ratios In Landscape Photography. [online] Available at: <https://digital-photography-school.com/aspect-ratios-in-landscape-photography/&gt; [Accessed 2 December 2020].

Modes, P., 2020. Personal Touch: The Art Of Z 7 And Z 6 Crop Modes | Nikon. [online] Nikonusa.com. Available at: <https://www.nikonusa.com/en/learn-and-explore/a/tips-and-techniques/personal-touch-the-art-of-z-7-and-z-6-crop-modes.html&gt; [Accessed 2 December 2020].

Design a site like this with WordPress.com
Get started